Published on May 20, 2024
How to Create a Board and Batten Accent Wall
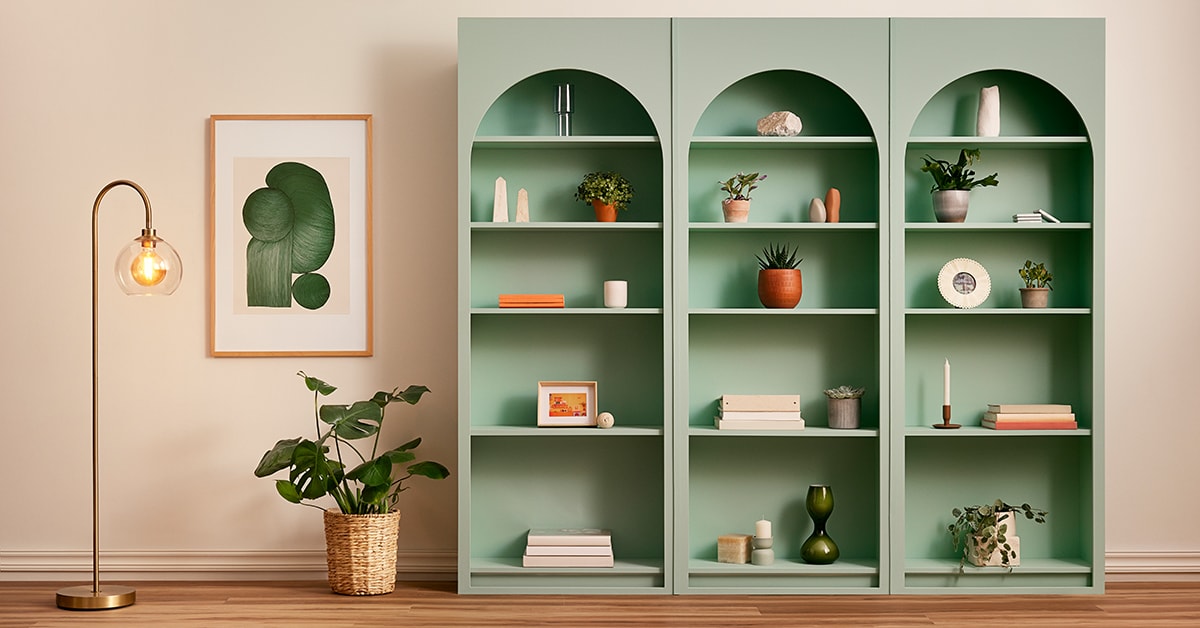
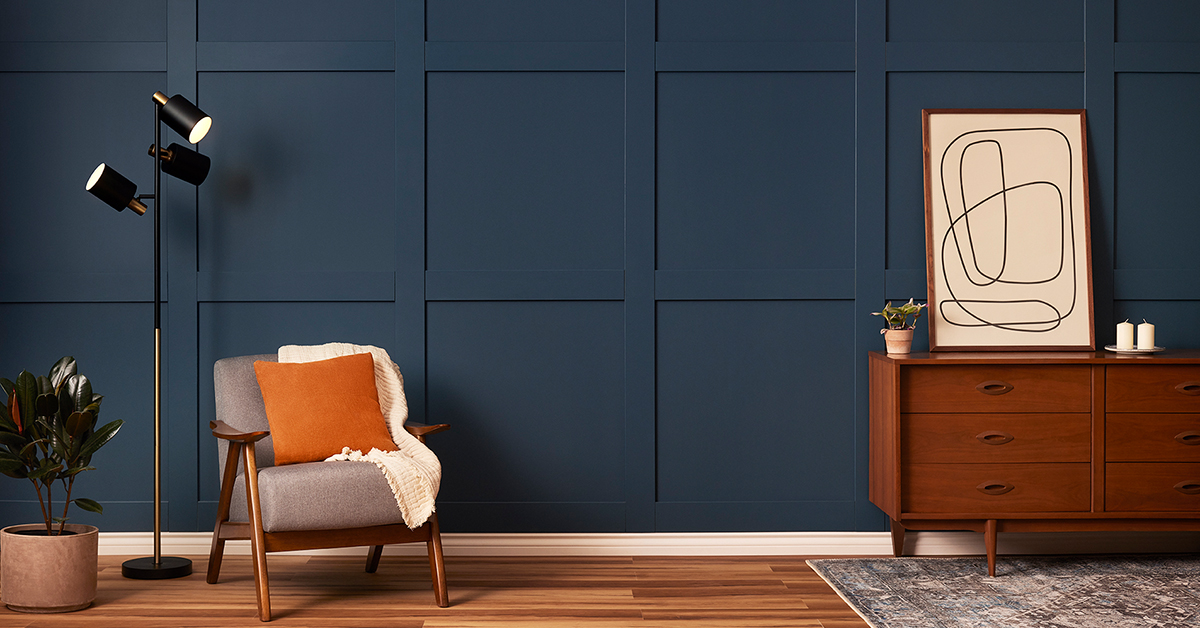
A board and batten (or shaker-style) accent wall adds personality and texture to any room in the house. Find out how to use mouldings to create a wall decor that’s perfectly suited to your taste, then install it in just a few easy steps, as seen on the reality TV series Le grand chantier RONA.
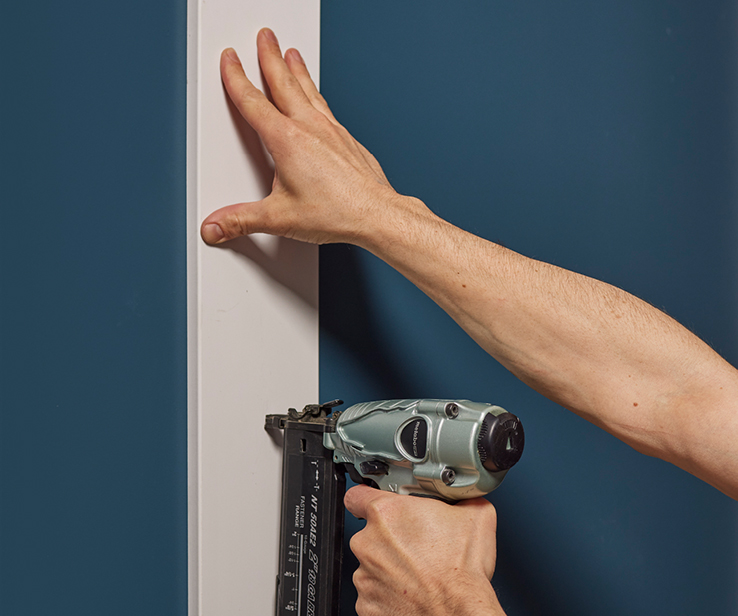
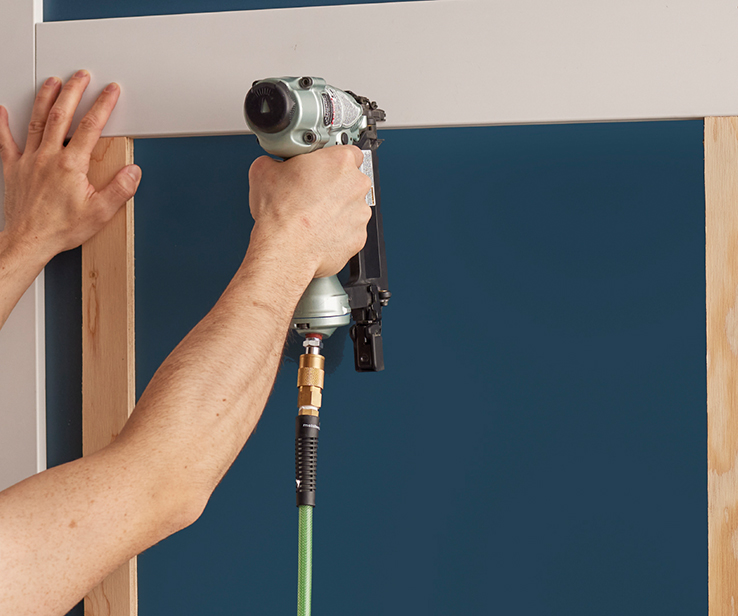
Note: A finish nailer with an air compressor is the best way to place nails accurately without damaging mouldings. However, using a hammer is also an option.
1Plan Out Your Design
- 1.1Remove all existing mouldings.
- 1.2Make a sketch of the layout to calculate the number of mouldings required and double-check the measurements:
- Take 3 wall measurements on the height and width (one at each corner and one in the middle), then use the smallest measurement for both. This way, if the floor or ceiling isn’t level, or has a dip or bump, your design won’t be too long for the lowest point.
- Consult or print out our board and batten calculator to help you plan your design.
- If your wall has light switches or outlets, you can either plan your design so that they’re inside the boxes, or trim your mouldings with a jigsaw before installing them.
Pro Tip
The goal is to achieve a grid pattern that’s as consistent as possible, so careful planning is crucial. Our board and batten calculator and the and steps above can be used to tailor the project to a wall of any size. However, you may have to make several sketches and calculations before getting the design that suits you.
2Prepare the Wall
- 2.1Apply 2 coats of paint (or more if needed) of the chosen colour to the entire wall.
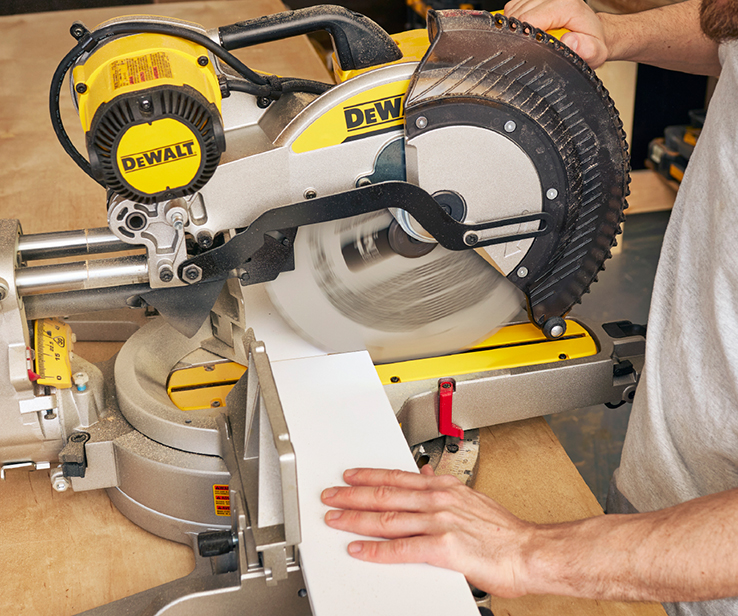
- 2.2Using a mitre saw, cut the mouldings that will make up the contour of the wall.
- 2.3Using a brad nailer, install the mouldings around the wall.
- 2.4Following the plan, measure the wall and mark the location of the vertical mouldings, then the horizontal mouldings, with painter’s tape; these marks should correspond to the centre of the mouldings.
- 2.5Recheck measurements and marks before proceeding: if the wall has an even number of columns, the centre of the wall will correspond to the centre of a moulding; if the wall has an odd number of columns, the centre of the wall will correspond to the centre of a box.
Pro Tip
You might have to trim one end of the vertical mouldings around the wall so that they fit with the baseboards on the adjacent walls. Simply use a contour guide to obtain the exact shape of the baseboard. Transfer this measurement to your vertical moulding and mark with a pencil, then cut using a jigsaw. Test the fit and sand if necessary to obtain a tighter fit.
3Install the Vertical Mouldings
- 3.1Measure before each cut; do not pre-cut any mouldings.
- 3.2Apply construction adhesive to the back of the moulding, leaving a generous clearance space to prevent glue from spilling over.
- 3.3Place the moulding in the marked position, making sure it’s level, then secure in place with painter’s tape.
- 3.4Double-check that everything is level and in line with the plan, then secure using a brad nailer.
- 3.5Repeat this step for the other vertical mouldings.
Pro Tip
The challenge is to ensure that everything is level and properly dimensioned. It’s important to measure twice, cut carefully, check angles and level, and make adjustments so that everything is perfectly straight and aligned. Rigour and finishing touches are what will make this project a success.
4Install the Horizontal Mouldings
- 4.1Starting at the bottom, measure the space between the vertical mouldings at the height of the first mark.
- 4.2Cut a moulding to size, then secure on the wall as described above.
- 4.3Once the first row is complete, cut 2 wood scraps (or pieces of moulding) to the exact height of the boxes, ensuring that the cuts are perfectly square. These pieces will be used as spacers.
- 4.4Place a spacer near each bottom corner of the box, without nailing them down, then slide the moulding you just cut so that it rests on the two spacers.
- 4.5Secure this moulding in place as described above.
- 4.6Follow these steps for all horizontal mouldings.
5Add the Finishing Touches
- 5.1If needed, set the nails with a nail punch so that they’re just below the surface, without going straight through the moulding.
- 5.2Apply spackling to all nail holes and let dry.
- 5.3Use spackling to fill joints between mouldings, then allow to dry.
- 5.4Sand lightly.
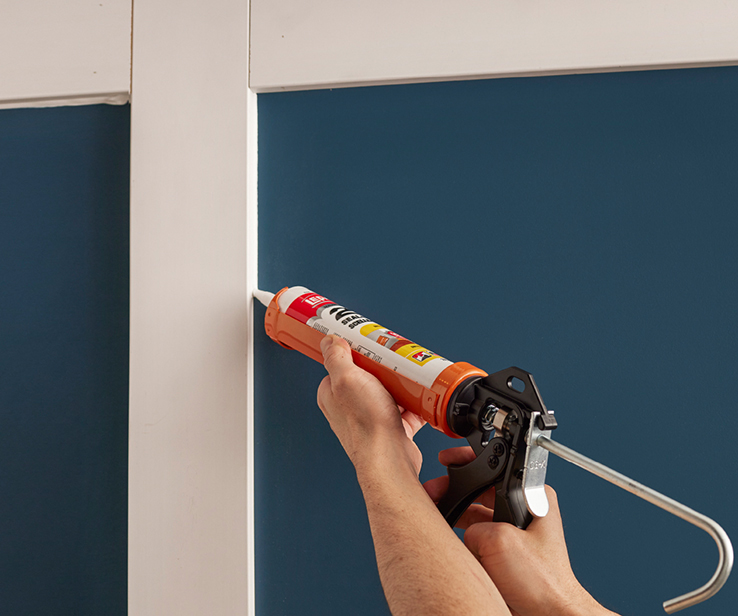
- 5.5Apply caulk to all joints between the mouldings and the wall.
- 5.6Smooth out the caulking beads, then let dry.
- 5.7Apply 2 coats of paint (or more if needed).
Pro Tip
Not a fan of caulking? If you wish to skip this step, simply pre-paint all your mouldings, then touch up with paint where you’ve used spackling.
Disclaimer
These DIY projects are provided for informational purposes only. The information contained in RONA’s DIYs is intended to provide general guidelines to simplify jobs around the house. Because tools, products, materials, techniques, building codes, and local regulations are continually changing, RONA inc. assumes no responsibility for the accuracy of the information contained herein and disclaims any liability for the omissions, errors, or outcome of any project. RONA inc. makes no representation on the feasibility of any project and the viewer bears all risks coming with the realization of the projects. It is the responsibility of the viewer to ensure compliance with all applicable laws, rules, codes, and regulations for a project. The viewer must always take proper safety precautions and exercise caution when taking on any project. If there is any doubt in regard to any element of a project, please consult a licensed professional.


