Published on April 2, 2024
How to Create and Cut an Arch Design
The highly trendy arch design adds softness, personality, and a vintage vibe to any room in the house. Discover how to trace and cut an organic and harmonious arched shape in just a few easy steps, as seen on the TV series Le Grand chantier RONA.
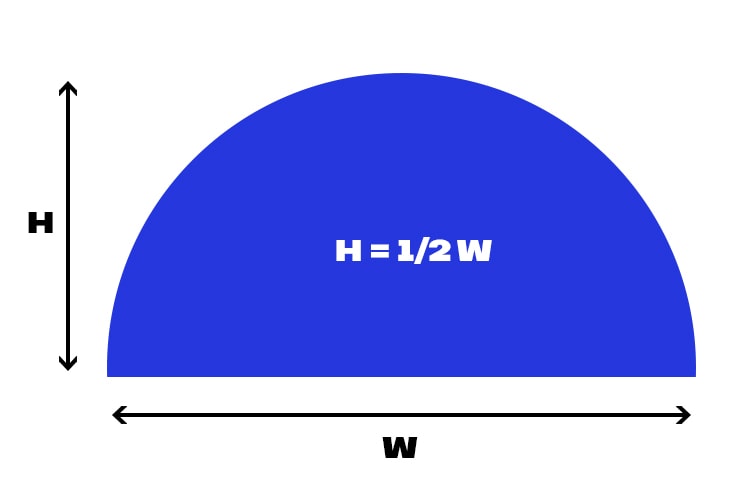
1Plan Out Your Design
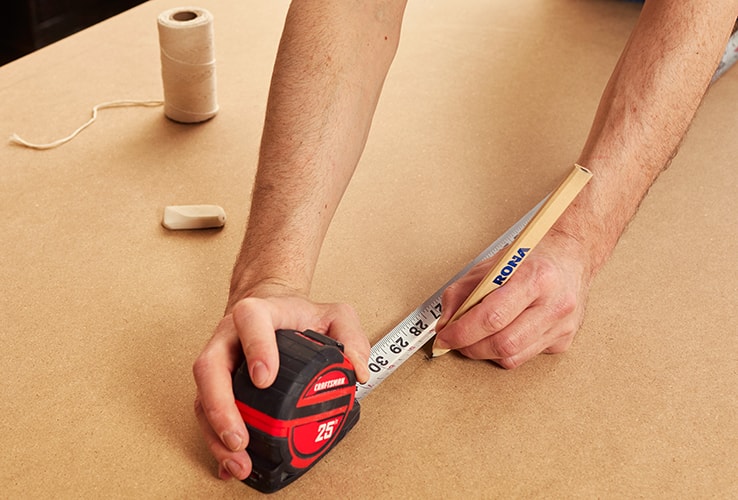
2Add Markers
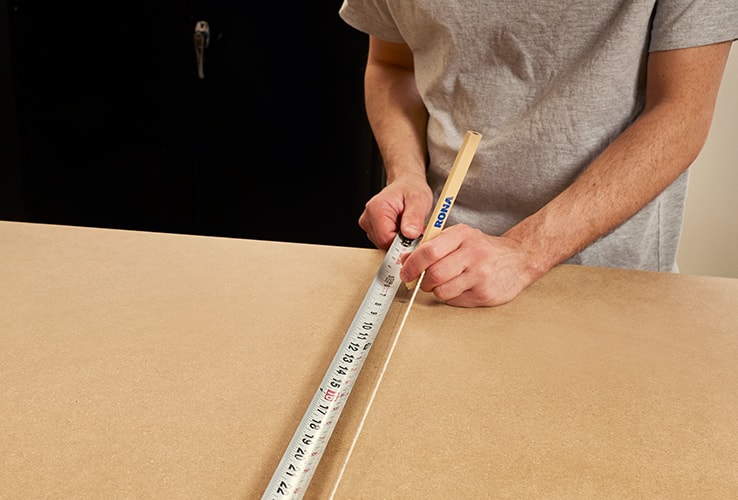
- 2.1Draw the reference lines (top edge and side edges) using a ruler and square.
- 2.2Mark both sides of the arch near the bottom edge, measuring to make sure the design will be centred.
- 2.3Finally, mark the centre of the arch near the bottom edge.
3Trace the Curve
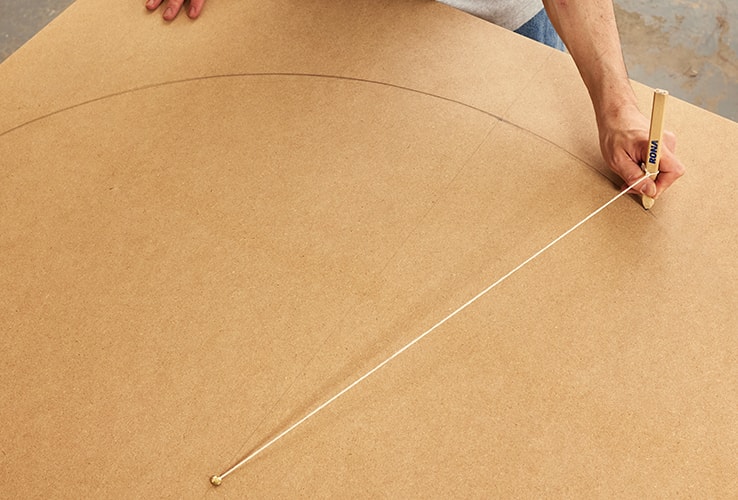
- 3.1Tie a piece of string to a thumbtack, then push the thumbtack into the centre mark as close to the bottom edge as possible.
- 3.2Stretch the string towards one side of the arch, then tie a pencil at this exact spot.
- 3.3Before you go on, take the pencil and gently pull the string; the tip of the pencil should be aligned with the side of the arch. If not, untie the pencil and try again until the length is correct.
- 3.4Keeping the string taut, slowly move the pencil from side to side to trace the curve.
4Make the Cuts
- 4.1Remove the thumbtack.
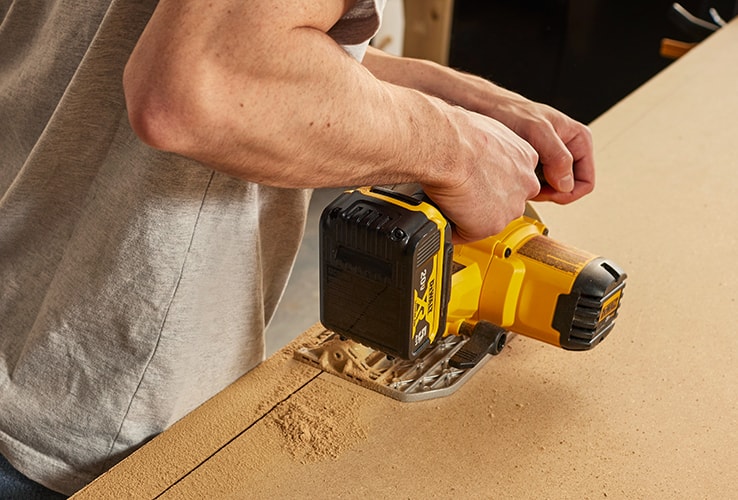
- 4.2Clamp the board to a workbench.
- 4.3Using a jigsaw (or a circular or table saw), cut the board to the desired size.
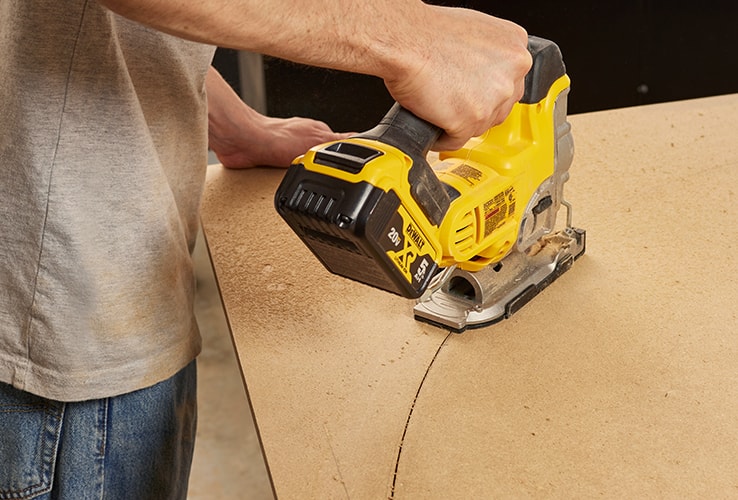
- 4.4Carefully cut along the arch line using a jigsaw.
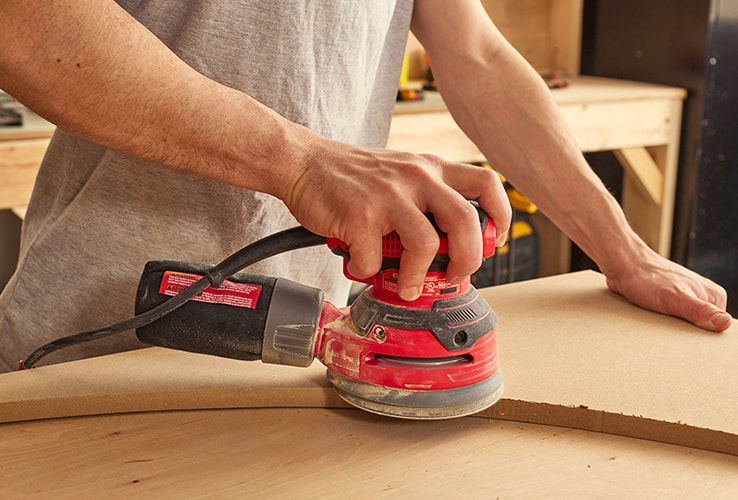
5Add the Finishing Touches
- 5.1Using a sander and fine-grain sandpaper, lightly sand all cuts until soft to the touch. Hand sanding is also possible.
- 5.2Apply 2 coats of paint (or more if needed).
Pro Tip
When adding a shape such as an arch into interior design, it can be interesting to recall this shape elsewhere in the room or house. You can do this by adding home decor elements in this shape, painting arches on a wall, or keeping the cut arch shape for another project, such as a bulletin board or chalkboard.
Disclaimer
These DIY projects are provided for informational purposes only. The information contained in RONA’s DIYs is intended to provide general guidelines to simplify jobs around the house. Because tools, products, materials, techniques, building codes, and local regulations are continually changing, RONA inc. assumes no responsibility for the accuracy of the information contained herein and disclaims any liability for the omissions, errors, or outcome of any project. RONA inc. makes no representation on the feasibility of any project and the viewer bears all risks coming with the realization of the projects. It is the responsibility of the viewer to ensure compliance with all applicable laws, rules, codes, and regulations for a project. The viewer must always take proper safety precautions and exercise caution when taking on any project. If there is any doubt in regard to any element of a project, please consult a licensed professional.


