1Identify the Studs
- 1.1Clean the wall and ensure it is sound.
- 1.2Locate the studs using a stud finder and mark them.
- 1.3Take the mouldings off.
Veuillez vous connecter à votre compte afin de profiter de vos rabais en ligne.
Se connecterPlease sign in to your account to take advantage of your online discounts.
Sign in
Published on May 4, 2023
Learn how to install wood slats on a wall. This DIY guide helps you to create vertical wood slat accent walls with minimum tools and experience. In this project, we combine wood slats with concrete-style panels to create an industrial look. Follow our step-by-step guide to create yours!

Taping the edges is unnecessary since the panels will conceal them. When it comes to the paint, your colour choice should complement the wood and enhance its appearance. Top options include warm hues (yellow, orange, or red), natural tones (green, grey, or brown), pastel, or black.

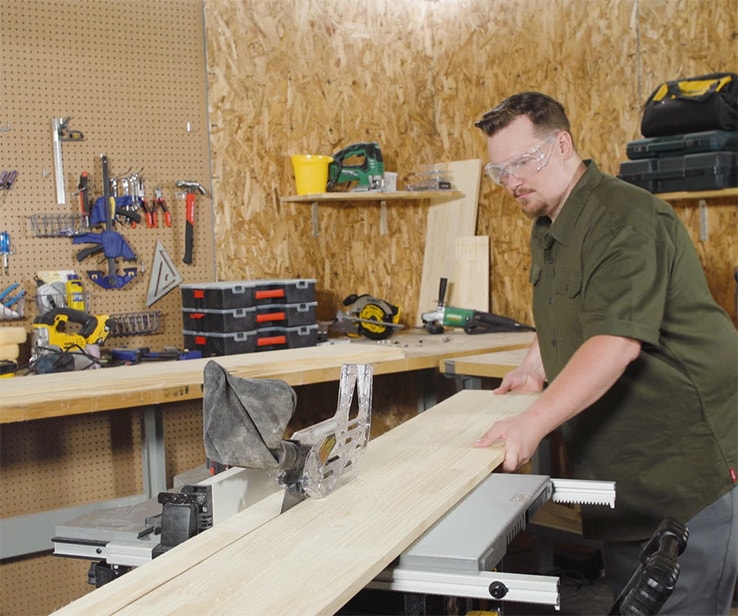
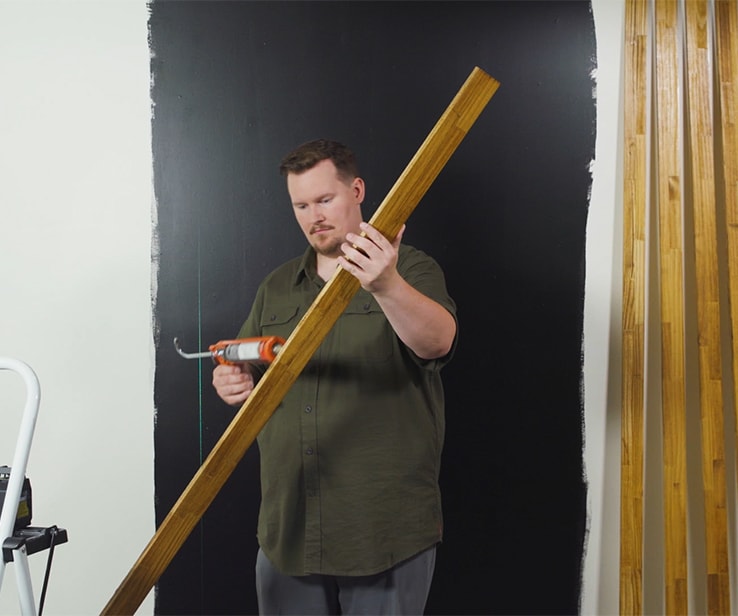
For this project, you can use painted MDF panels or pre-cut mouldings. We chose laminated pine slats with 1” spacing.


These DIY projects are provided for informational purposes only. The information contained in RONA’s DIYs is intended to provide general guidelines to simplify jobs around the house. Because tools, products, materials, techniques, building codes, and local regulations are continually changing, RONA inc. assumes no responsibility for the accuracy of the information contained herein and disclaims any liability for the omissions, errors, or outcome of any project. RONA inc. makes no representation on the feasibility of any project and the viewer bears all risks coming with the realization of the projects. It is the responsibility of the viewer to ensure compliance with all applicable laws, rules, codes, and regulations for a project. The viewer must always take proper safety precautions and exercise caution when taking on any project. If there is any doubt in regard to any element of a project, please consult a licensed professional.
