Share
Dining room with a 3D tile accent wall
Do it yourself

How to Create an Accent Wall with 3D Wall Tiles

Using ceiling tiles and paint, create a 3D feature wall that will add elegance and character to any room. For that “Parisian apartment” look, opt for pale colours. Or, for a dramatic and alluring effect, choose a very dark colour. Find out how to create yours!

Person drawing a sketch
1

Select a Design

  • 1.1 - It is possible to start from scratch and cut materials to create a truly unique textured or 3D effect. However, starting with materials that are already textured or embossed will help save time while making the project more accessible, as it will require fewer tools and less knowledge or skills.
  • 1.2 - Raised profile ceiling tiles are a budget-friendly and easy-to-install option. We also chose to add a chair rail to break up the pattern, make the space feel lighter, and rest the eye. However, the possibilities are almost endless! Take a look at the materials available and choose the one you like best. The steps below will remain essentially the same.
  • 1.3 - Sketch out the project first. This blueprint should be close to scale to help determine where to place the tiles, edge moulding, and chair rail.
  • 1.4 - To determine how many tiles are needed, simply divide the square footage of the wall by the square footage of the tile.
DOWNLOAD THE PLAN

Pro Tip

We recommend opting for a matte paint. Because it accentuates the pattern, a glossy or sheer finish may make the space feel too busy.
Person using a stud finder
Person marking stud locations on a floor
Person making marks on a wall
Person tracing a vertical line on a wall
Person tracing a horizontal line on a wall
2

Prep, Measure, and Level

  • 2.1 - Paint the wall.
  • 2.2 - Using a tape measure, find the centre of the wall and mark it.
  • 2.3 - Using the stud sensor, locate the studs in the wall and mark their location on the floor with tape.
  • 2.4 - Divide the total square footage of the room by the square footage of a tile to determine how many tiles will need to be installed.
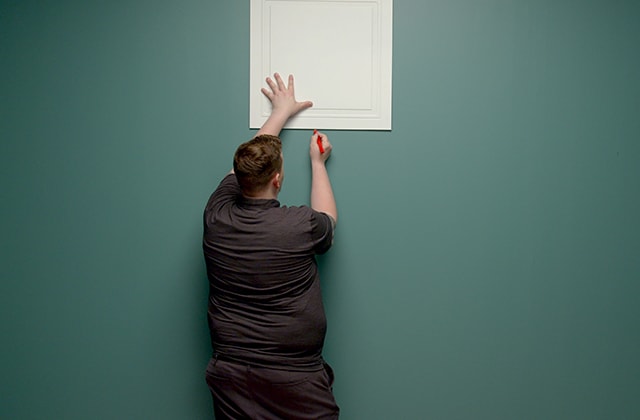
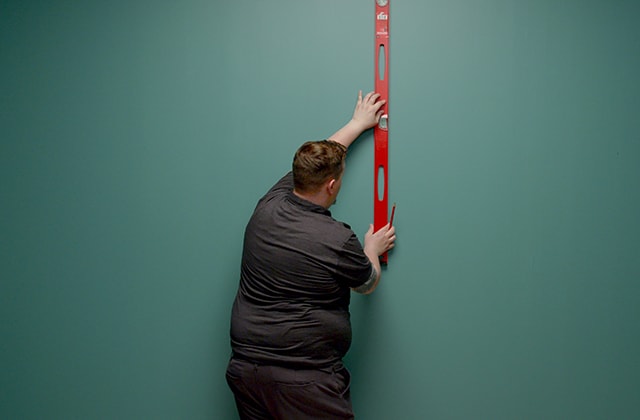
  • 2.5 - Measure a tile and use the level to mark the starting line on the wall. Centre the first tile on the wall so that cuts along the sides, if any, will be even on both sides. We also recommend starting near the ceiling with a full tile for a balanced and professional look.

Pro Tip

Before starting, check the level of the ceiling. You’ll want to make sure that if there is a bow or dip in the ceiling, you start from the lowest point. This will help keep your joints tight and keep everything level.
Person applying construction adhesive with a caulk gun
Person installing a tile on a wall
Person using a level to trace a line on a wall
Person installing tiles on the lower part of a wall
3

Install the Textured Tiles

  • 3.1 - Apply construction adhesive to the back of the tile, leaving a 1-2” clearance space around the edges.
  • 3.2 - Press the tile against the wall, making sure it is aligned with the level line.
  • 3.3 - Double-check the level and placement, as the first tile will influence the rest of the wall.
  • 3.4 - Use finishing nails to secure the tile in place.
  • 3.5 - Keep installing tiles until the desired location of the chair rail. Save the tiles that are adjacent to the other walls for later if they need to be cut or trimmed.

Pro Tip

Tap ever so lightly with your hammer to make sure not to damage the surface of the tiles!
Person measuring a wall
Person transferring a measure onto a tile
Person cutting a tile
4

Cut the Remaining Tiles

  • 4.1 - Measure the gap between the baseboard and the bottom of the tile. We recommend taking 3 measurements—both sides and the middle of each panel—as the floor may not be perfectly level.
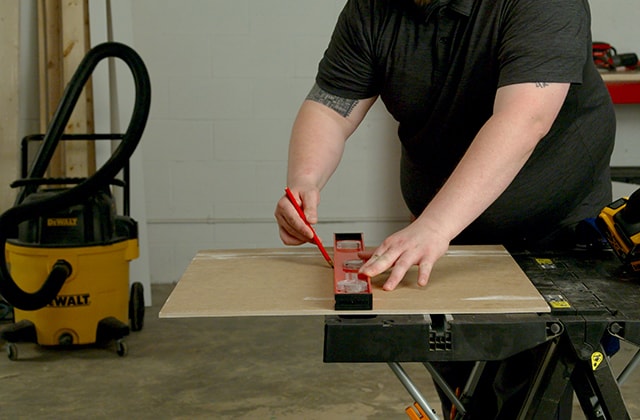
  • 4.2 - Transfer the measurements to the tile
  • 4.3 - Using a circular saw or table saw, cut the tiles as needed.
  • 4.4 - Once the pieces are trimmed, apply adhesive, then install.

Pro Tip

Always work on a solid surface to avoid movement, using clamps to hold panels in place while cutting.
Person measuring a wall
Person nailing a chair rail in place
Person using a level to install a chair rail
5

Install the Chair Rail and Edge Mouldings

  • 5.1 - Measure the length of your wall to determine how much chair rail and edge moulding are required.
  • 5.2 - If the total length of the wall is longer than the moulding, use 2 pieces of moulding and make a scarf joint so that the pieces overlap more seamlessly:

    • Using a mitre saw or mitre box, cut the right side of the left piece at a 45° angle, making sure that the factory edge will be against the wall.
    • Then, cut the left side of the right piece in the opposite direction to the cut in the first piece.
    • Adjust to ensure a perfect fit if needed.
  • 5.3 - Hold the moulding against the wall, keeping it relatively level, then place a nail in the middle. This will hold the moulding it in place while you check the level.
  • 5.4 - Add more nails in to secure the chair rail in place, making sure the nails sink into the studs.
  • 5.5 - Install the edge mouldings to get a really clean finish and hide the edges of the ceiling tiles.
Person applying caulking along a baseboard
Person sinking nail heads into a wall tile
Person filling nail holes
Person painting a 3D wall
6

Add the Finishing Touches

  • 6.1 - Caulk along walls and chair rail with acrylic caulking.
  • 6.2 - Smooth the caulking beads.
  • 6.3 - If needed, set the nails with a nail set or punch so that they’re just below the surface, without going through the tile.
  • 6.4 - Apply spackling to nail holes, let dry, and sand lightly.
  • 6.5 - Apply 2 coats of paint (or more if needed).

Disclaimer

These DIY projects are provided for informational purposes only. The information contained in RONA’s DIYs is intended to provide general guidelines to simplify jobs around the house. Because tools, products, materials, techniques, building codes, and local regulations are continually changing, RONA inc. assumes no responsibility for the accuracy of the information contained herein and disclaims any liability for the omissions, errors, or outcome of any project. RONA inc. makes no representation on the feasibility of any project and the viewer bears all risks coming with the realization of the projects. It is the responsibility of the viewer to ensure compliance with all applicable laws, rules, codes, and regulations for a project. The viewer must always take proper safety precautions and exercise caution when taking on any project. If there is any doubt in regard to any element of a project, please consult a licensed professional. 

Suggested Products

SHOP PAINT ACCESSORIES