Published on May 6, 2024
How to Build a Butcher Block Rolling Island
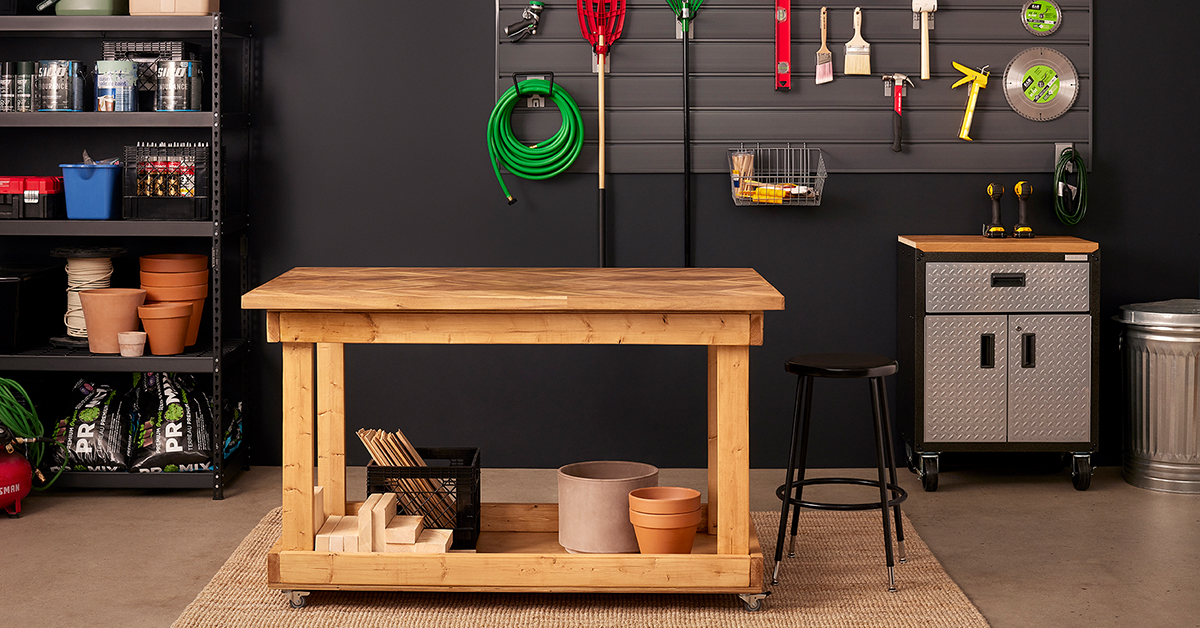
Learn how to build a versatile rolling island in a few easy steps, as seen on the TV series Le grand chantier RONA! With its sturdy butcher block countertop and convenient storage shelf, this project is ideal for a garage, workshop, or home bar.
1Make All the Cuts
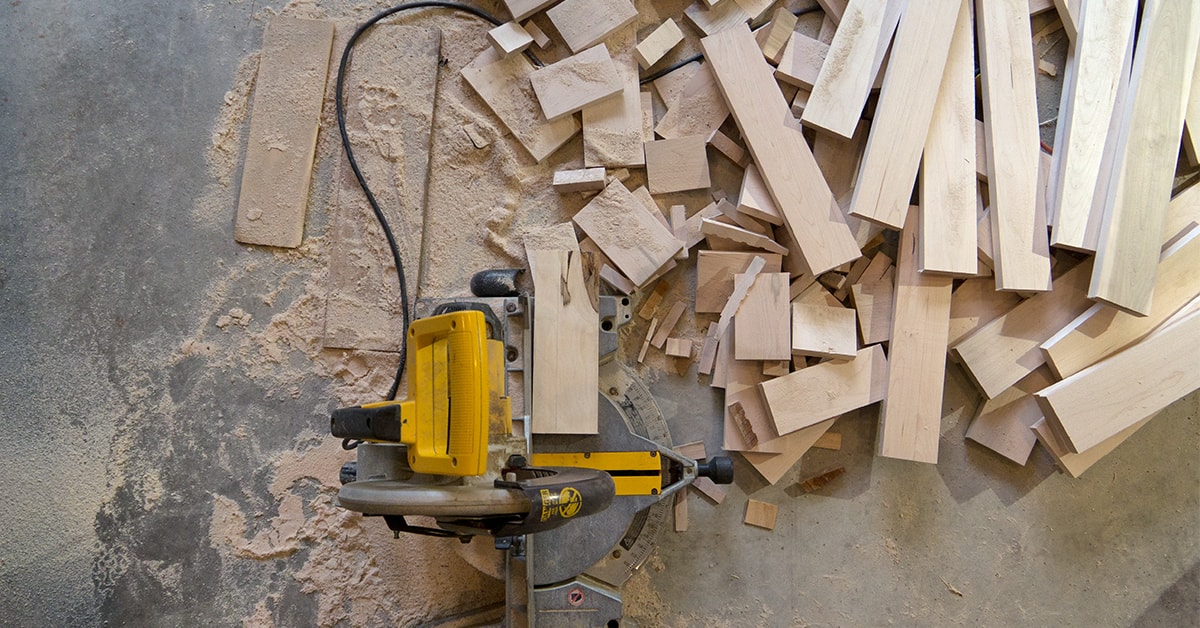
- 1.1Using a mitre saw, cut all 2x4s to size.
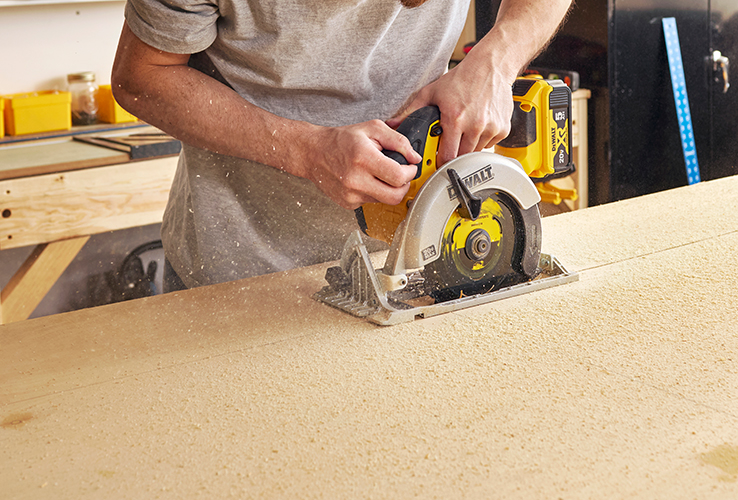
- 1.2Using a circular saw (or table saw), cut the plywood and counter to size.
2Assemble the Base
- 2.1Lay out the 2x4s for the base, using a carpenter’s square to ensure they are square and flush.
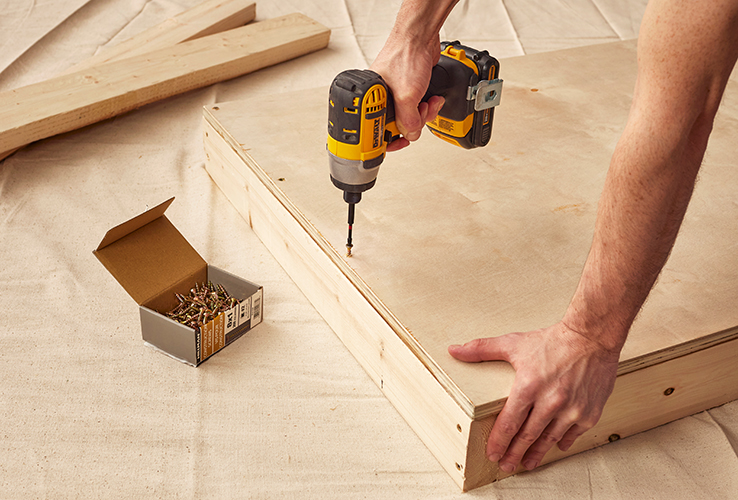
- 2.2Attach the pieces together using screws to form a rectangular structure.
- 2.3Place the plywood sheet so that it is flush with the frame, then screw into the base.
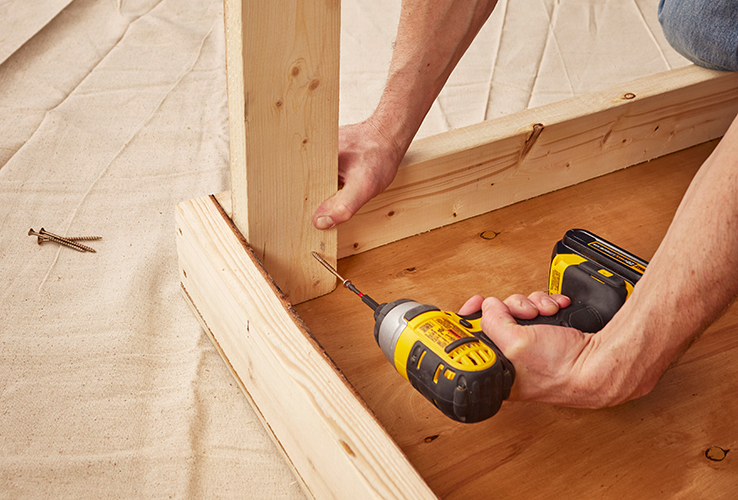
3Add the Legs
- 3.1Following the plan, position a leg at a corner of the base.
- 3.2Ensure the leg is perpendicular and flush to the base, then secure by screwing through the plywood.
- 3.3Repeat for the other legs, then lay the structure on the plywood side so that the legs are sticking up.
4Assemble the Top Frame
- 4.1Lay out the 2x4s for the top frame using a carpenter’s square to ensure they are square and flush.
- 4.2Attach the pieces together using screws to form a rectangular structure.
- 4.3Place the plywood sheet so that it is flush with the frame, then secure using screws.
- 4.4Place the top frame over the legs, then secure by screwing into the base.
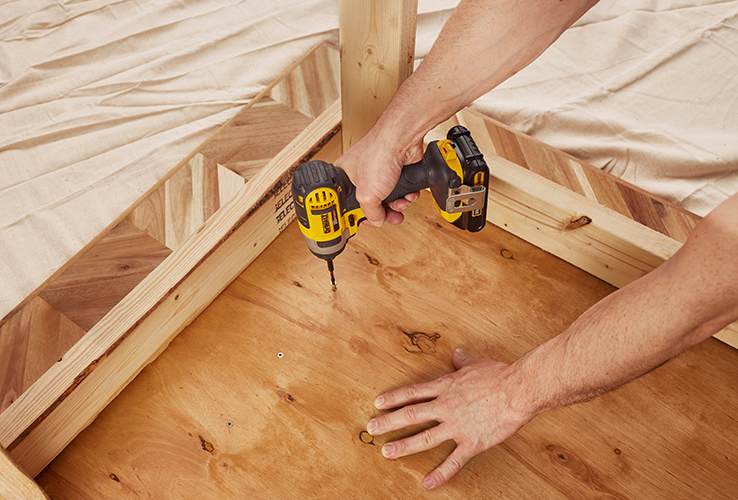
5Add the Counter
- 5.1Lay down a soft drop cloth and place the counter on it so that the top surface is facing the drop cloth.
- 5.2Place the structure of the island upside down on the counter, measuring to make sure it’s well positioned and square.
- 5.3Using short screws, screw through the plywood and into the counter, ensuring to only set the screws as required to avoid penetrating the top of the counter.
Pro Tip
If the structure is too heavy to lift alone, don’t hesitate to ask for help. It’s important to recognize your own physical limits so you can avoid back pain or injury.
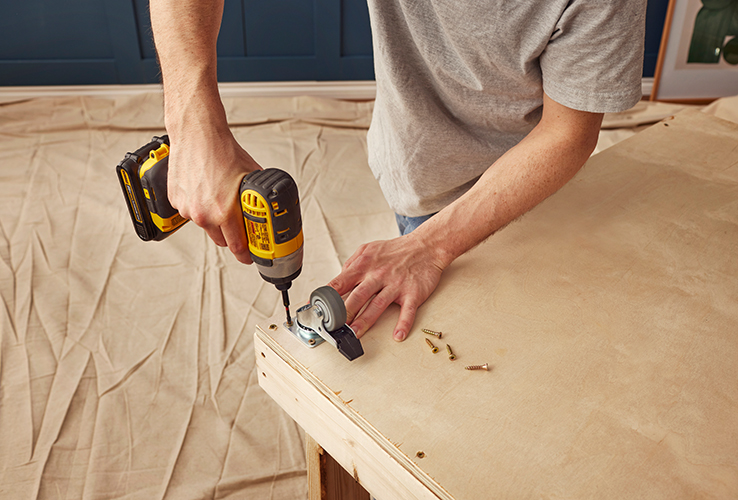
6Install the Caster Wheels
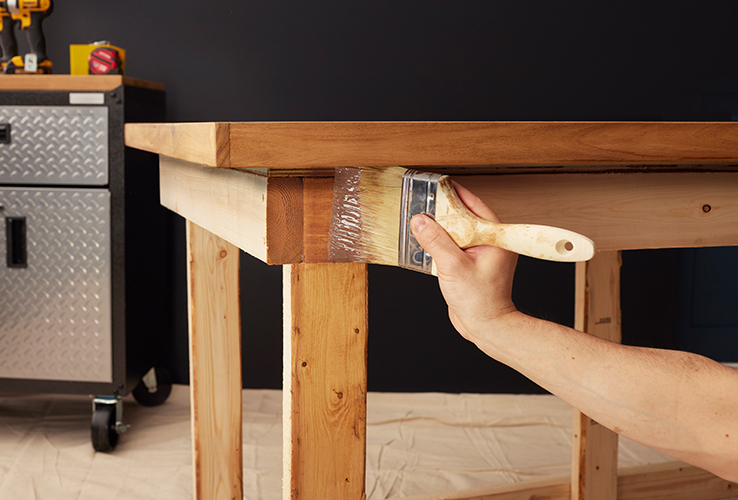
7Add the Finishing Touches
- 7.1Sand down any rough edges or uneven surfaces.
- 7.2Apply wood stain to all sides of the 2x4s using a stain brush or rag and allow to dry completely according to the manufacturer’s instructions.
- 7.3Apply a second coat of stain.
Disclaimer
These DIY projects are provided for informational purposes only. The information contained in RONA’s DIYs is intended to provide general guidelines to simplify jobs around the house. Because tools, products, materials, techniques, building codes, and local regulations are continually changing, RONA inc. assumes no responsibility for the accuracy of the information contained herein and disclaims any liability for the omissions, errors, or outcome of any project. RONA inc. makes no representation on the feasibility of any project and the viewer bears all risks coming with the realization of the projects. It is the responsibility of the viewer to ensure compliance with all applicable laws, rules, codes, and regulations for a project. The viewer must always take proper safety precautions and exercise caution when taking on any project. If there is any doubt in regard to any element of a project, please consult a licensed professional.


