Share
Home theatre with a lighted moulding accent wall
Do it yourself

How to Create an Accent Wall with Mouldings and LED Lights

A two-toned accent wall with decorative mouldings is nice. But add LED lights and a nice shelf, and it becomes stunning! Discover how to make your own wall design in just a few easy steps.

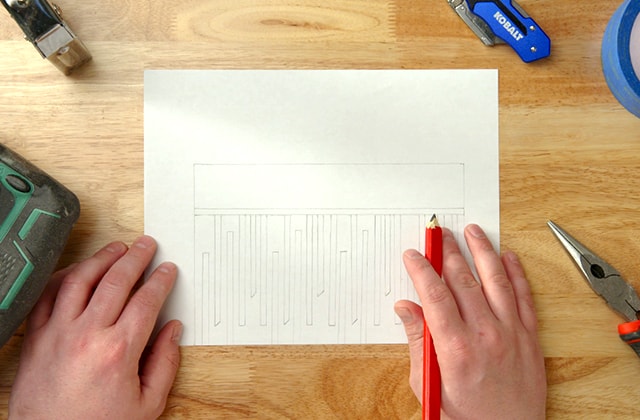
Person drawing a sketch
1

Select a Design

  • 1.1 - If you’re not yet a pro, consider choosing a pattern that is easy to adapt to the space. No matter what you choose, consistency is important. Even if you play with the length of the mouldings, we recommend either using the same spacing throughout, or deciding on a pattern and repeating it.
  • 1.2 - The addition of LED lights accentuates the mouldings as well as the pattern. We recommend placing the strip downward to avoid catching the eye of those seated.
  • 1.3 - As for the height of the shelf, make sure there is enough clearance to rest the eye. Decorative objects such as frames and plants can be placed on the shelf.
  • 1.4 - Why not use a different finish for the paint? For example, if you use a matte finish for the wall and a glossy or sheer finish for the mouldings, the pattern will be emphasized even during the day, when the light is not on.
  • 1.5 - Draw a sketch of the design close to scale before getting started. This will help you to get an idea of the materials required and the final look.
DOWNLOAD THE PLAN
2

Paint the Wall

  • 2.1 - Dust, wash, and smooth out any imperfections on the wall.
  • 2.2 - Apply 2 coats of paint.
  • 2.3 - Allow the paint to dry completely.
Person measuring wood
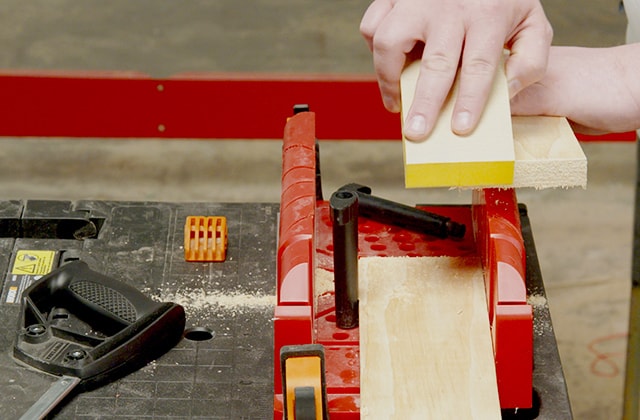
Person cutting a piece of wood
Person sanding a piece of wood
Man assembling a wall shelf
3

Build the Shelf

  • 3.1 - Measure the wall.
  • 3.2 - Cut to size the wood for the shelf.
  • 3.3 - Sand all pieces.
  • 3.4 - Drill pilot holes into the back and bottom pieces to hide the screws.
  • 3.5 - Assemble the bottom and back pieces of the shelf with glue and screws.
  • 3.6 - Use another piece of wood to make a ledge with some overhang to conceal the LED strip.
  • 3.7 - Mount the front-facing piece in place with glue.
  • 3.8 - Hold all three pieces in place with clamps to allow them to fully dry.
  • 3.9 - Apply a coat of primer before painting to ensure a smooth finish.
  • 3.10 - Paint the shelf and allow it to dry completely.
Man using a stud finder
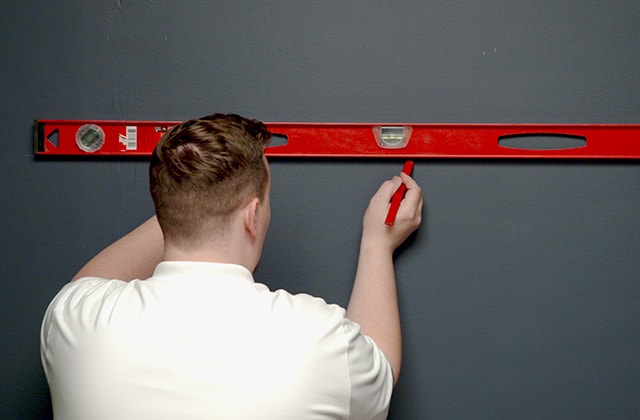
Man tracing a horizontal line on a wall
Man securing a wall shelf in place
Man checking that a wall shelf is level
4

Install the Shelf

  • 4.1 - Mark a level line on the wall where the shelf will be installed.
  • 4.2 - Install the shelf by sinking the screws into the studs. If some screws don’t hit the studs, make sure to use anchors or toggle bolts.
Man cutting a moulding with a hand saw
5

Measure and Cut the Mouldings

  • 5.1 - Measure the height of the mouldings and decide on their placement.
  • 5.2 - Using a mitre saw or mitre box, cut each moulding so that it is flush on one end and at an angle on the other (we went with 45° and 90°).
  • 5.3 - Measure the space between the bottom of the shelf and the top of the baseboard to determine the length of the spacer.
  • 5.4 - Cut a wood scrap that will be used as a spacer to help install the mouldings at an even distance.

Pro Tip

Before cutting or installing anything, lay out the mouldings on the floor to get a feel for the final look.
Man painting a moulding blue
6

Paint the Mouldings

  • 6.1 - Sand out any rough edges on the mouldings.
  • 6.2 - Using a foam roller, apply a light coat of paint onto the front and sides of the moulding.
  • 6.3 - Gently go back and forth with the roller to clean up excess beads of paint.
  • 6.4 - Allow the paint to dry completely, then apply a second coat.
Man applying adhesive onto a moulding
Man installing mouldings on a wall
7

Install the Mouldings

  • 7.1 - Start on the left side. Hold the moulding up to the wall and mark down where you will place it. For a symmetric design, install the mouldings from the middle and work outwards.
  • 7.2 - Apply the glue to the back of the moulding, then align it with the pencil line. Press the moulding firmly against the wall, then add masking tape to hold it in place while the glue dries.
  • 7.3 - Repeat with the other moulding pieces. Use the wood spacer to get a proper and even distance between each moulding.
  • 7.4 - Double-check each piece with the level before securing anything in place.

Pro Tip

Using No More Nails All-Purpose Adhesive to mount the mouldings on the wall eliminates the need for nails and paint touch-ups!
Man cutting an LED strip
Man installing an LED strip
8

Install the LED Lights

  • 8.1 - Measure the length of the shelf to determine how many LED strips are required. Add light strip extensions to make it longer, or cut it shorter. There are marks along the strip where it can be cut.
  • 8.2 - Remove the backing from the double-sided tape of the transformer and mount it onto the bottom side of the shelf.
  • 8.3 - Start removing the double-sided tape from the back of the light strip and place it firmly on the shelf, pressing hard so it sticks.
  • 8.4 - Plug in the light.
  • 8.5 - Download GE’s app and pair the lights with a smartphone to change their colour, adjust them to warm or cool settings, and activate them remotely.

Disclaimer

These DIY projects are provided for informational purposes only. The information contained in RONA’s DIYs is intended to provide general guidelines to simplify jobs around the house. Because tools, products, materials, techniques, building codes, and local regulations are continually changing, RONA inc. assumes no responsibility for the accuracy of the information contained herein and disclaims any liability for the omissions, errors, or outcome of any project. RONA inc. makes no representation on the feasibility of any project and the viewer bears all risks coming with the realization of the projects. It is the responsibility of the viewer to ensure compliance with all applicable laws, rules, codes, and regulations for a project. The viewer must always take proper safety precautions and exercise caution when taking on any project. If there is any doubt in regard to any element of a project, please consult a licensed professional. 

Suggested Products

SHOP PAINT ACCESSORIES