Share
Wooden modular outdoor kitchen

Published on March 9, 2023

Do it yourself

How to Build a DIY Modular Outdoor Kitchen

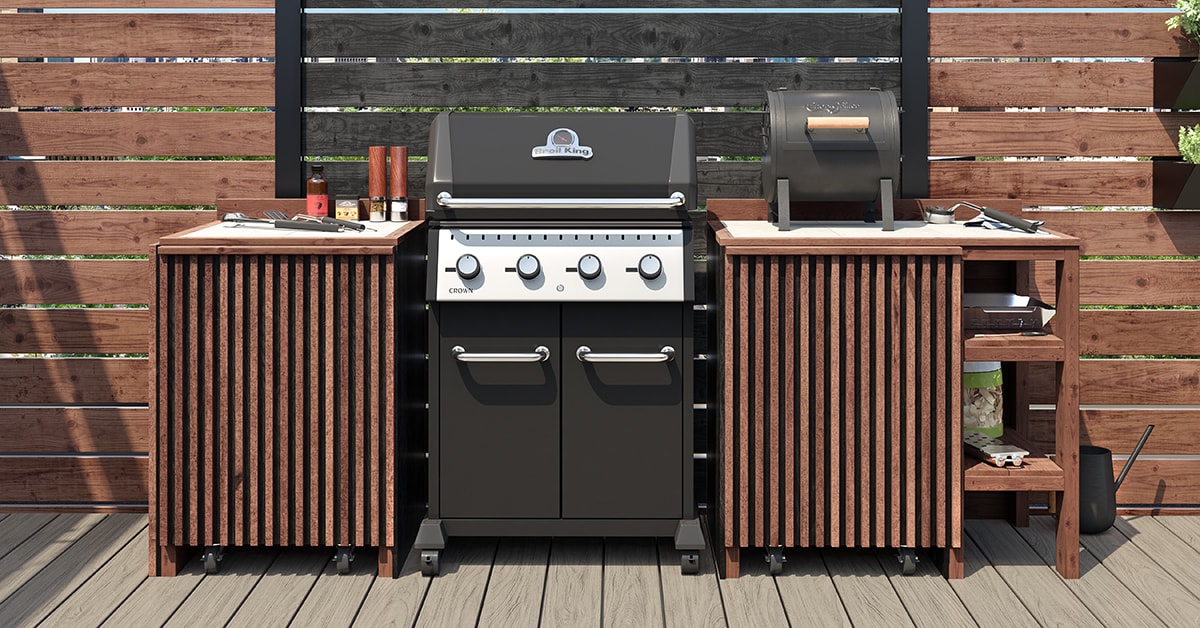
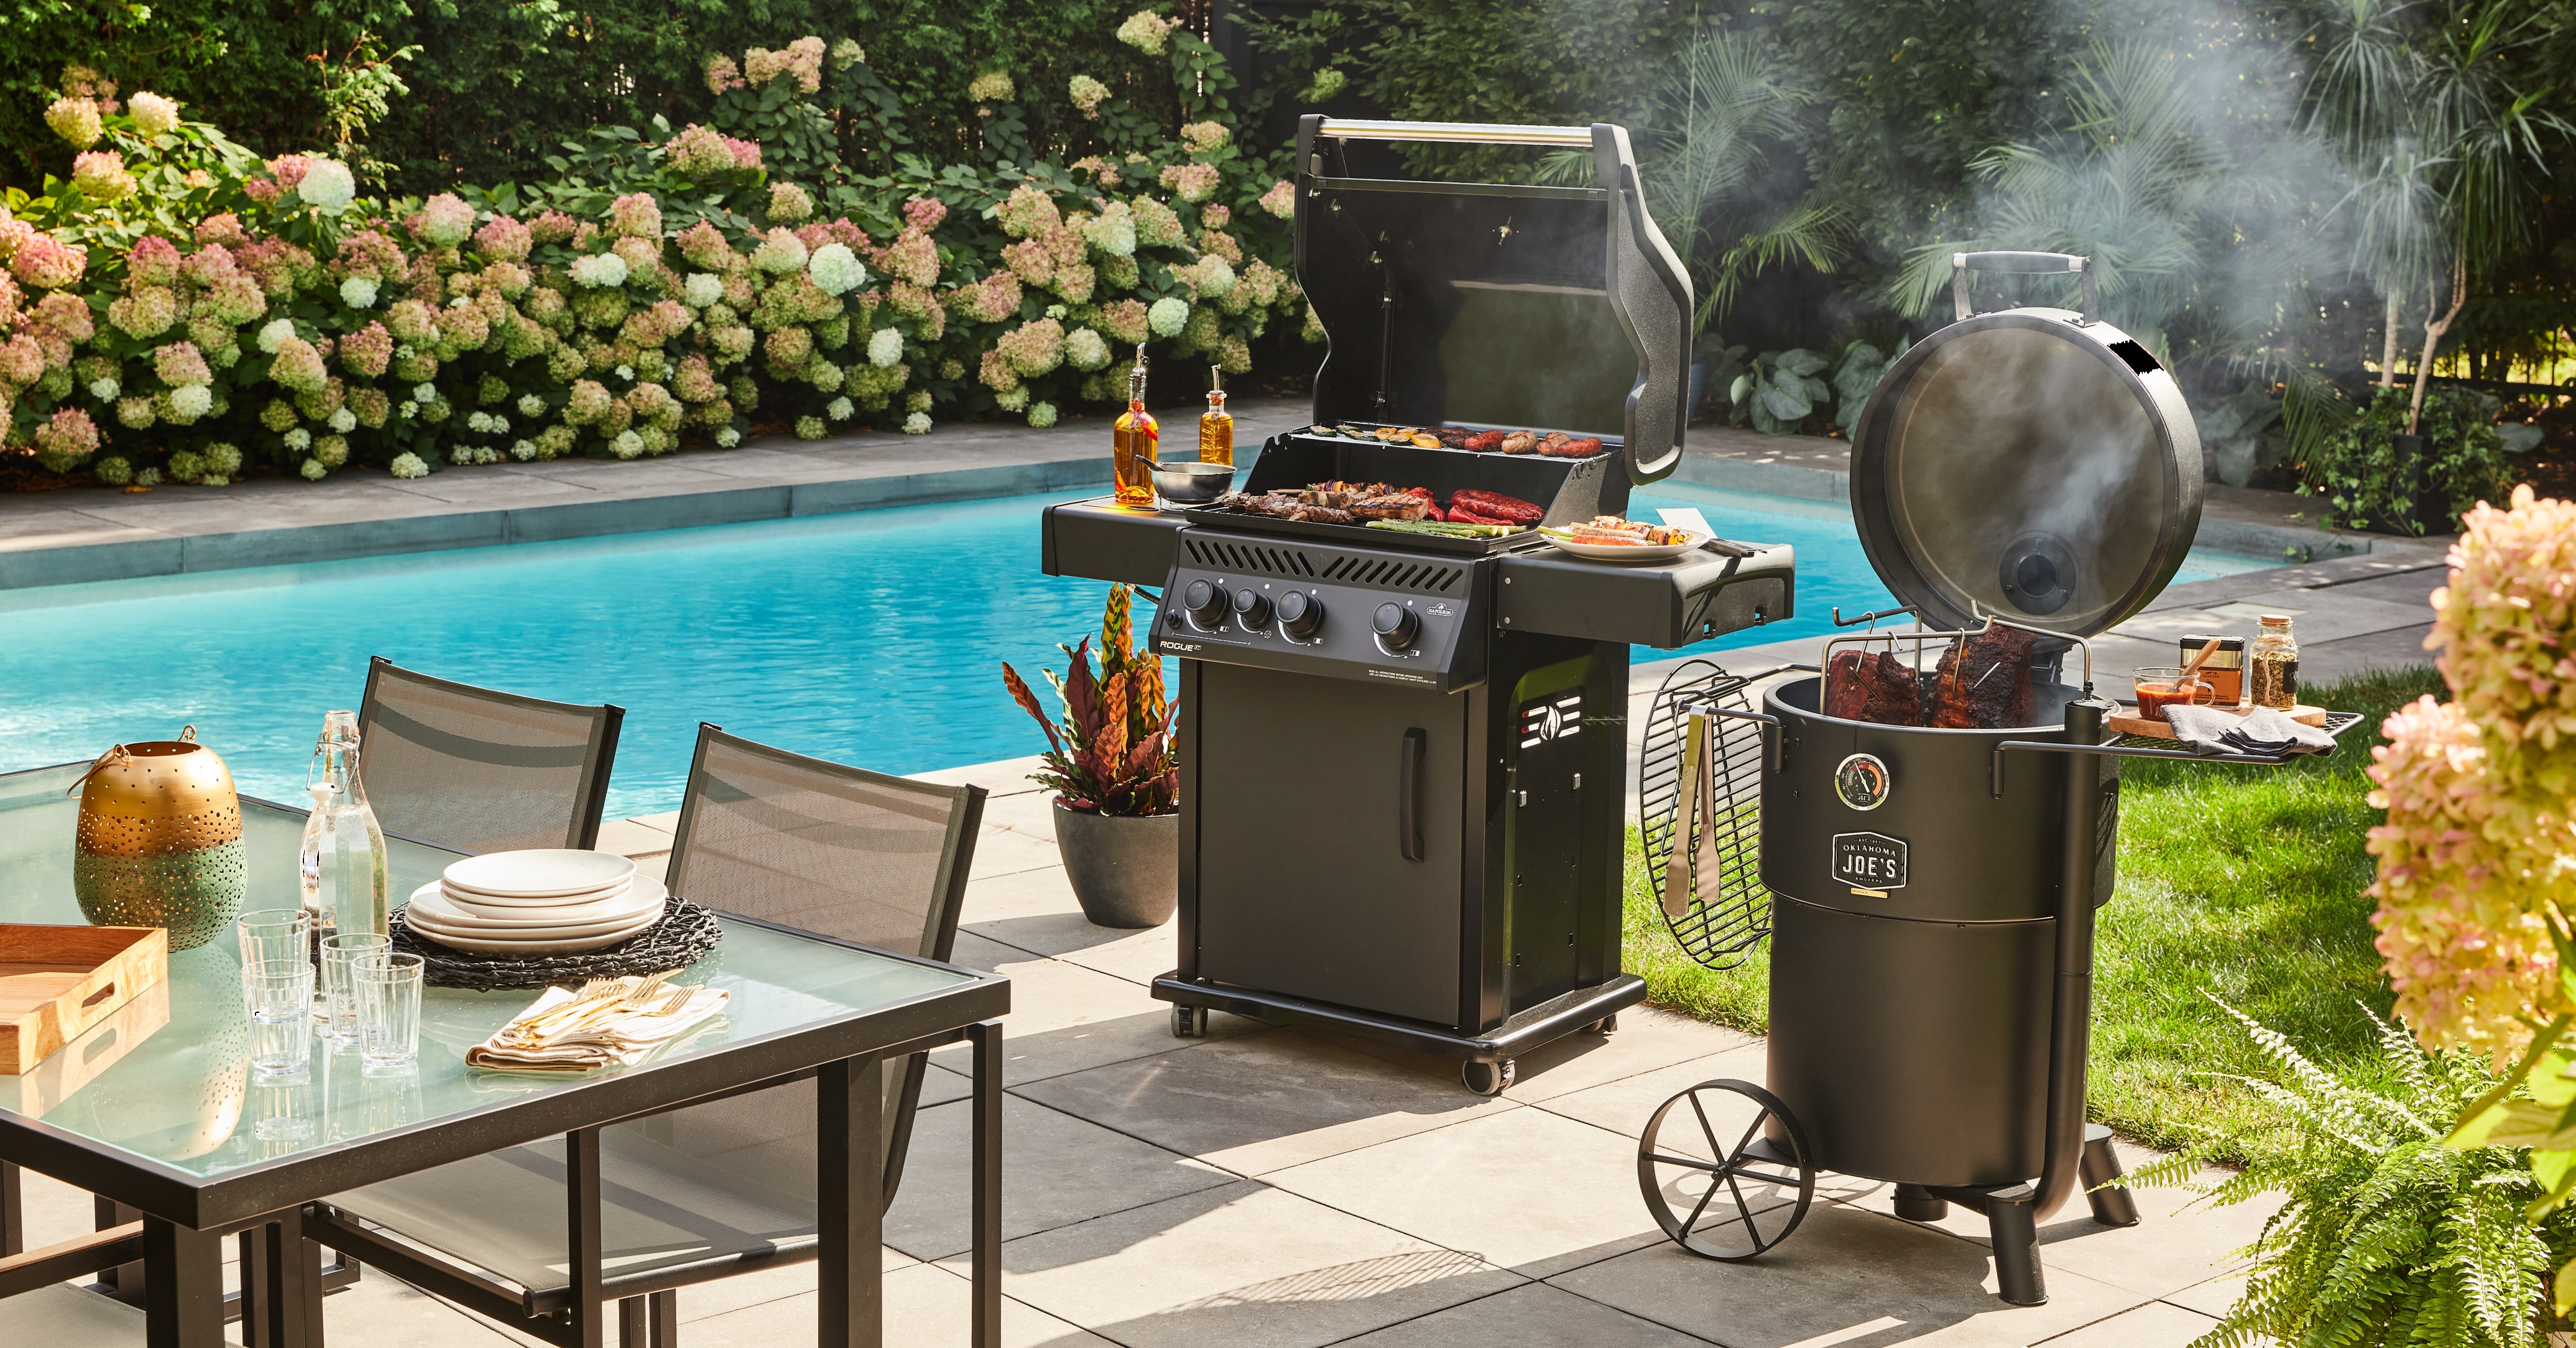
This modular backyard kitchen has 2 rolling cabinets with optional shelving and a ceramic tile countertop. It’s built to last and has a trendy modern look. Depending on your skill level, you should be all done by the end of the weekend. Strap on your tool belt and let’s go!

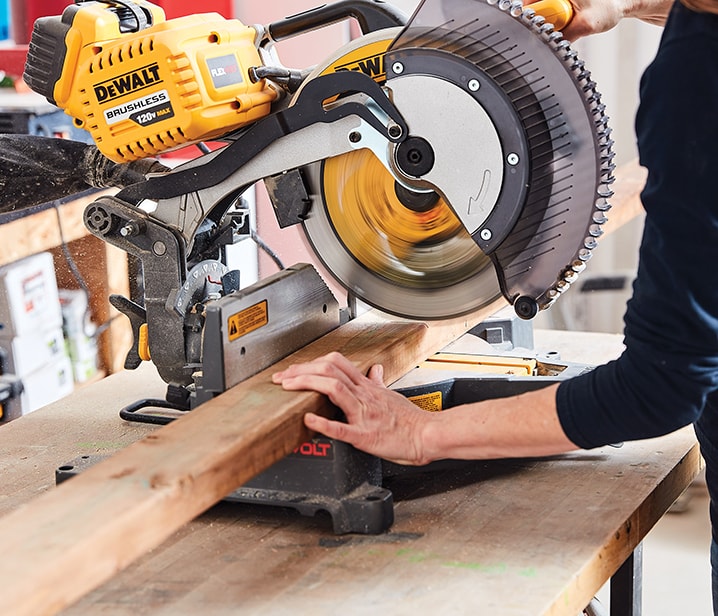
Woman using a mitre saw

1
Measure and Cut

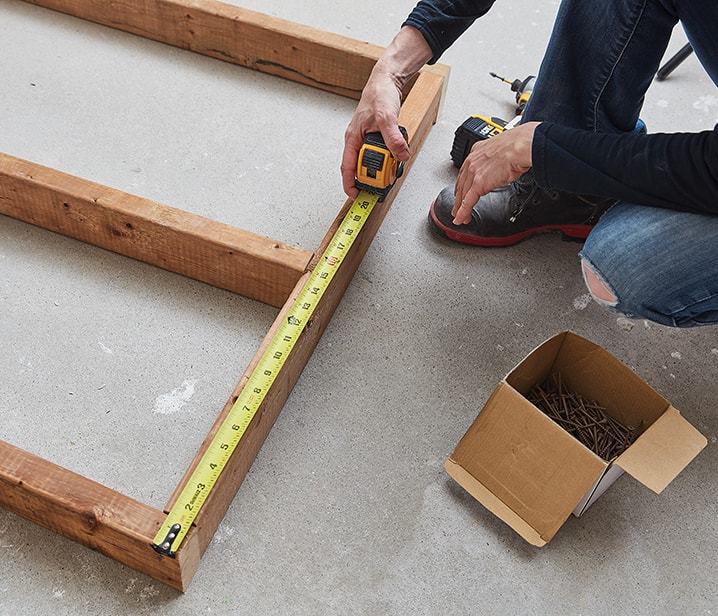
Measure out the pressure treated boards to frame up the cabinet with shelves and the simple cabinet.

Using a mitre saw, cut the following lengths from the 8’ 2x4s for the cabinet with shelves:
  • Six 34-½" lengths (A1 and B1) for studs for the A and B frames. The central studs separate the shelves from the rolling drawer.
  • Two 38-½" lengths (A1 and B1) for the tops of the A and B frames.
Cut the following lengths from the 8’ 2x4s for the simple cabinet:
  • Four 34-½" lengths (A1 and B1) for studs for the A and B frames.
  • Two 26" lengths (A1 and B1) for the tops of the A and B frames.
  • Four 18-½" A3 lengths to attach the A and B frames together.
Woman measuring a small wooden structure

2
Build the Cabinet Frames

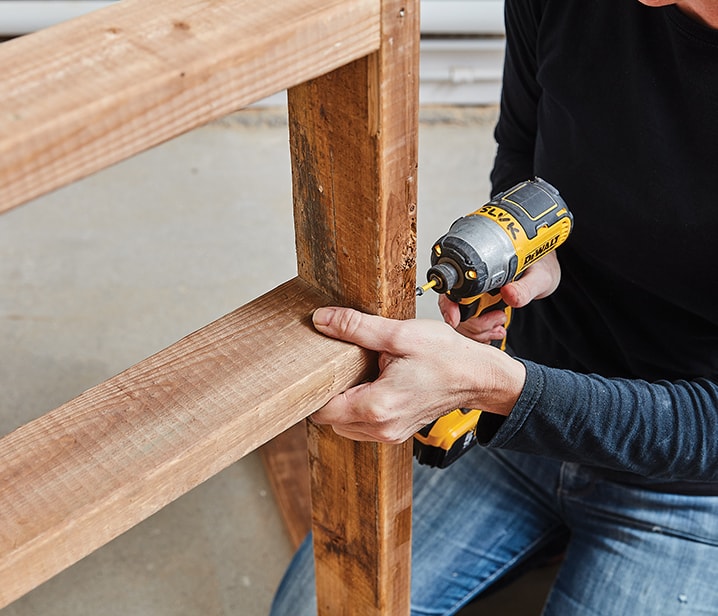
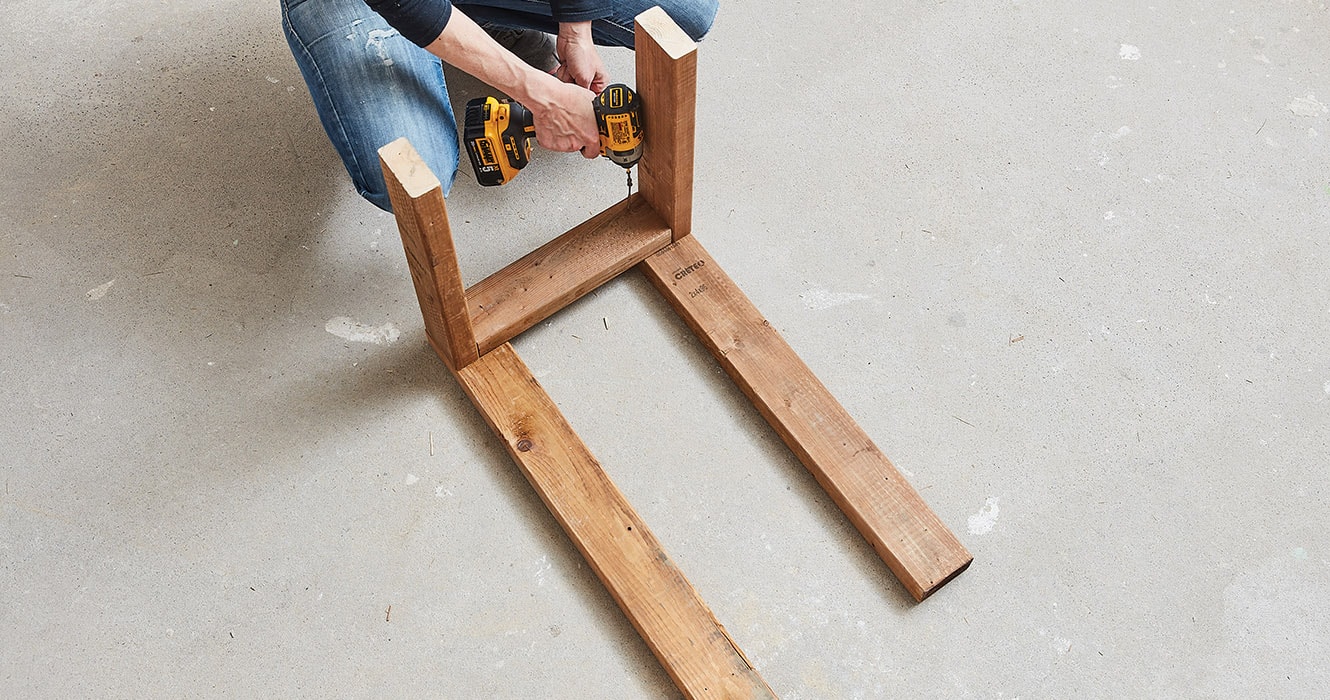
Assemble the A and B frames for each cabinet using 3" #8 treated-wood screws:

Cabinet with Shelves
Put the centre studs 14-¾" from the side that will have shelves.

Simple Cabinet
Screw the 18-½" pieces to the top and bottom of the A and B frames to attach them together.
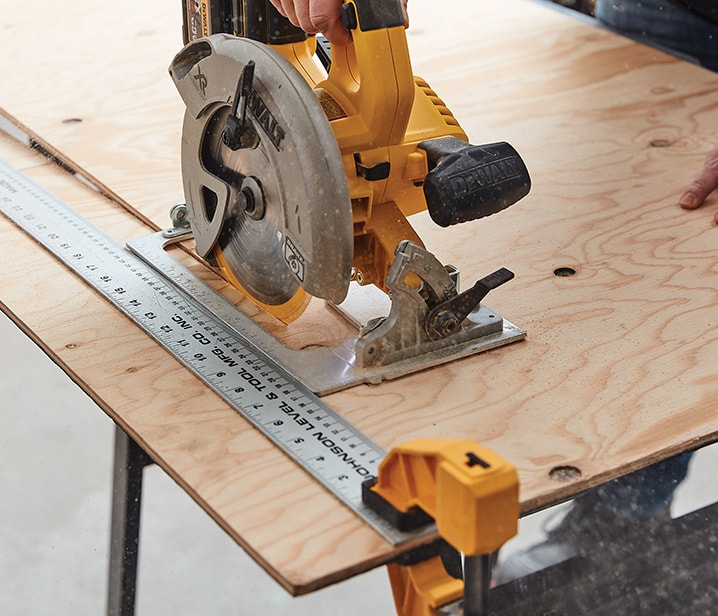
Woman cutting a plywood sheet

3
Cut the Side Panels

Cabinet with Shelves
Measure out and use a circular saw to cut a 25-½" x 36" panel C1 and a 25-½" x 34-½" panel C2 from a 4’ x 8’ sheet of 1/2" plywood. One is for the exterior sides of the cabinet without shelves C1 and the other will separate the shelf section on the rolling drawer C2.

Simple Cabinet
Measure and cut two 25-½" x 36" C panels out of 1/2" plywood for the exterior sides of the simple cabinet.
icon-bulb

Pro Tip

Use a straightedge (or square) and clamps to make sure your cuts are straight.

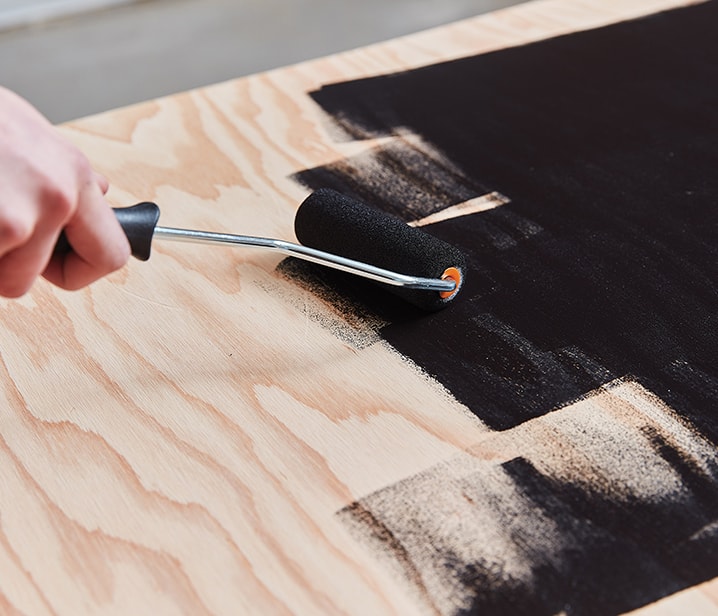
Woman painting a sheet of plywood black

4
Paint the Sides

Use a roller to apply exterior paint to the plywood panels you just cut. Make sure to fully cover the edges to protect them from water and the elements.

High-heat enamel paint must be used on all plywood near the BBQ. Normal exterior paint may be used on the opposing sides. We used SICO’s Grand Piano (6210-83) on the pieces further away from the BBQ to match the high-heat paint.
Woman assembling a small wooden structure

5
Assemble the Sides

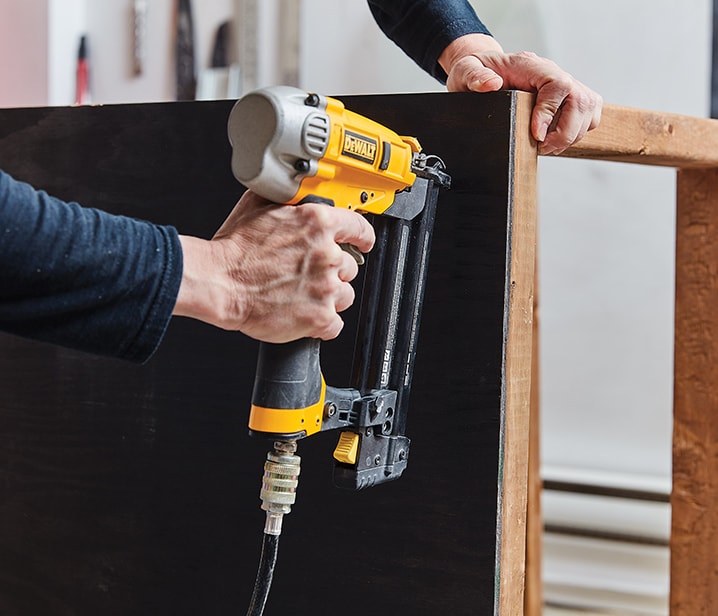
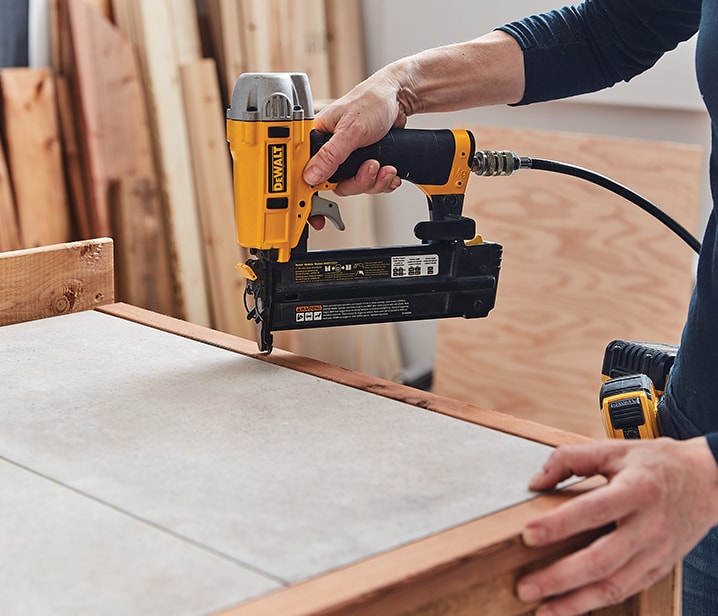
Use a nail gun and a compressor to attach the plywood panels (C1 and C2 and C) to their respective frames. It should give the cabinet additional strength and stability.

Cabinet with Shelves
  1. The piece with high-heat paint C1 must go on the exterior side of the cabinet without shelves. The BBQ will be located adjacent to this side.
  2. Attach other piece C2 to the centre studs inside the rolling drawer.
Simple Cabinet
  1. The panel with high-heat paint must go on the exterior side of the cabinet that will be adjacent to the BBQ.
  2. Attach the second piece to the other end of the cabinet.
Woman assembling an outdoor kitchen

6
Build the Cabinet Shelves

  • 6.1Measure out and cut five 25-½" H lengths from the 8’ pressure-treated 2x4s for the shelf tops.
  • 6.2Measure the boards, then use a circular saw to cut one of the 25-½" H lengths in half widthwise. You’ll be left with two 2-¾" wide boards.
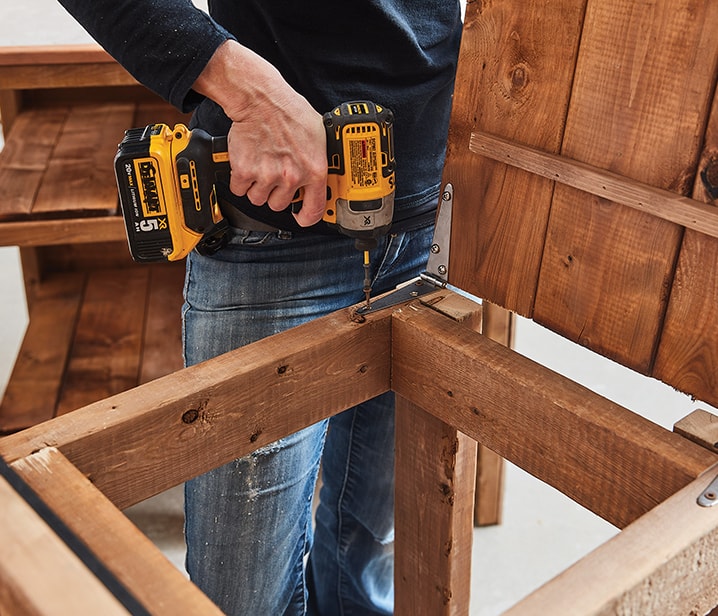
  • 6.3Screw the A3 and B3 pieces in place in the shelving sections in frames A and B using 3" #8 treated-wood screws. Avoid forcing the frame to keep it square.
  • 6.4Nail the 25 ½" H pieces to the brackets installed for this purpose.
icon-bulb

Pro Tip

Whether you need space for cooking utensils or spices, it’s a good idea to decide what you’re going to put on the shelves in advance. It will dictate the height where the brackets need to be nailed.

Wooden structure

7
Build the Cabinet Backing

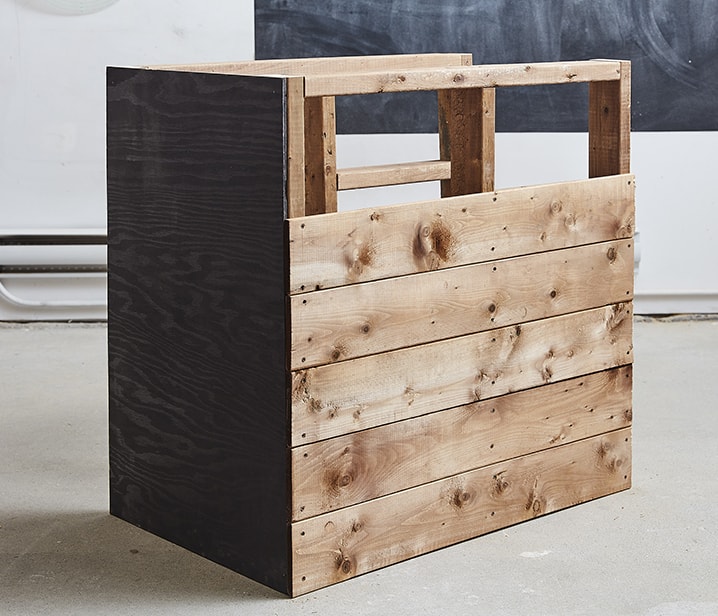
  • 7.1Measure out and cut eight 39" lengths G from the 1" x 6" x 10’ boards for the backing of the cabinet with shelves.
  • 7.2Measure out and cut eight 26" lengths G from the 1" x 6" x 10’ boards for the backing of the simple cabinet.
  • 7.3Starting from the bottom, screw the boards to the back of their respective cabinets using 3" #8 treated-wood screws. It’s a good idea to make sure each one is straight using a level.
icon-bulb

Pro Tip

It’s also a good idea to let the top board overhang about 3" above the top of the frame. It will act as a guard to prevent items on the countertop from falling! You may need to cut this piece widthwise to get the right height.

Woman using a nailer

8
Build the Cabinet Tops

  • 8.1Measure out and use a circular saw to cut a 24" x 24" panel E from a 4" x 8’ sheet of ½" plywood for the simple cabinet top.
  • 8.2Apply the same exterior paint you used for the sides. Remember to paint the edges.
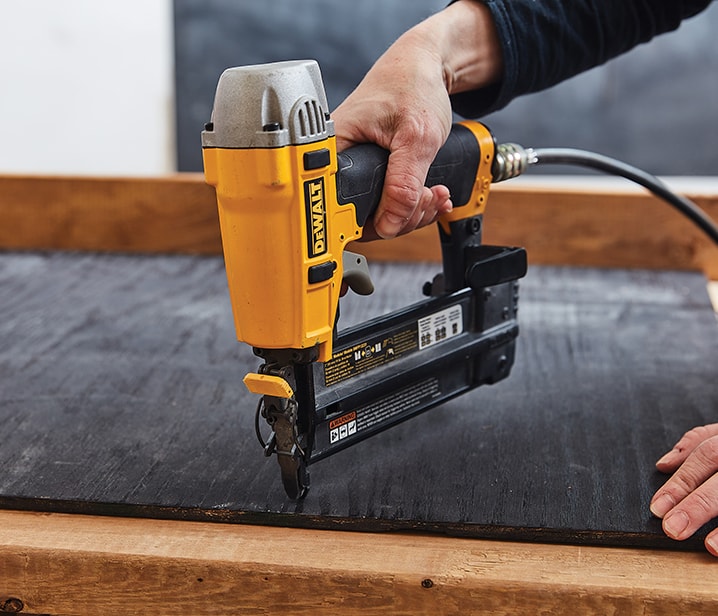
  • 8.3Nail the painted panels (E and E) to the tops of the cabinets. The pieces should be centred and flush with the back of the cabinet in order to leave space for the backsplash (F1a, F1b, and F2 as well as F1 and F2).
Woman adding tiles on top of a wooden structure

9
Make the Countertop

  • 9.1Install your chosen porcelain tiles on the cabinet tops D.
  • 9.2Measure out and cut two 24" lengths (F1a and F1b) and one 39" length F2 from the 8’ 1x2 treated-wood boards for the cabinet with shelves backsplash.
  • 9.3Measure out and cut two 24" F1 lengths and one 26" F2 length from the 8’ 1x2 treated-wood boards for the simple cabinet backsplash.
  • 9.4Nail pieces F1a, F1b, and F2 and F1 and F2 around the porcelain tiles on both cabinets to hold them in place.
icon-bulb

Pro Tip

The ceramic tiles you choose will have a big impact on your kitchen’s looks and durability.

It’s important to pick tiles that are at least 20 mm thick and can absorb a bit of water. That will ensure they are weather resistant and able to withstand freezing and thawing.

The size of the tiles dictates the dimensions of the cabinets. The tiles we used to create these plans were ¼" x 11-½" x 23-⅝", even though it said ¼" x 12" x 24" on the package. You should measure the tiles beforehand and make any necessary adjustments to the frame dimensions as a result.

Women assembling a wooden structure

10
Assemble the Drawers

Measure out and use a mitre saw to cut the treated wood to build the frames for the rolling cabinet drawers. The drawer for the cabinet with shelves has shelves, and the drawer for the simple cabinet does not.

Drawer for the Cabinet with Shelves
  • Measure out and cut four 29" lengths K1 from the 10’ 2x4s for studs for the drawer frame.
  • Measure and cut four 21" lengths K2 and four 14" lengths K3 from the 8’ 2x4s for crosspieces for the drawer frame.
  • Assemble the drawer frame on a flat surface. Start by attaching the 21" crosspieces K2 to the studs. Attach the entire frame together with the 14" crosspieces K3 to form a rectangular prism.
  • Measure out and cut four 21" lengths L1 and four 15-¾" lengths L2 from the 8’ 1x4s for the edges of the drawer shelves.
  • Measure out and cut two 17" lengths L3 from a 8’ 1x2 for the brackets for the middle shelf.
  • Measure out and cut three 21" M2 lengths from the 6’ 1x6s for the bottom of the middle shelf.
  • Measure out and cut three 24" M4 lengths from the 6’ 1x6s for the top shelf.
  • Attach the brackets L3 onto the frame with 1-½" #8 treated-wood screws. As with the cabinet shelf, it’s a good idea to decide what you’re going to put in the shelf and let that dictate its height.
  • Nail the bottom boards of the middle shelf M2 to the brackets L3.
  • Nail the shelf edges (L1 and L2) to the middle shelf M2.
  • Nail the top boards M4 to the top of the frame.
Simple Cabinet Drawer
  • Measure out and cut four 29" H lengths from the 10’ 2x4s for the drawer frame studs.
  • Measure out and cut four 21" lengths J and four 18" lengths K from 8’ 2x4s for the drawer frame crosspieces.
  • Assemble the drawer on a flat surface. Start by attaching the 21" crosspieces J to the studs. Attach the entire frame together with the 18" K crossbeams to create a rectangular prism.
Woman adding casters to a wooden structure

11
Make the Rolling Drawer Bottoms

  • 11.1Cut a 17" x 24" panel M1 and a 21" x 24" panel L from a 4’ x 8’ sheet of ½" plywood for the bottom of the rolling drawers.
  • 11.2Apply the same exterior paint you used on other plywood panels that won’t be exposed to heat. Remember to paint the edges.
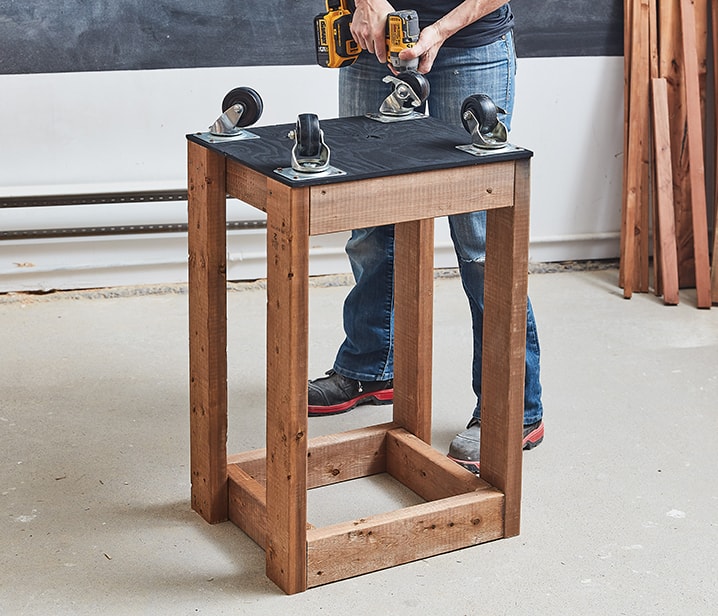
  • 11.3Turn the drawers upside down so the bottom of the frame is facing up. Install the painted panels on the bottom of each door frame.
  • 11.4Install the 3" casters on the 4 corners of the underside of the drawers, leaving a 1/2" gap between the edge of the plywood and the base of the wheel. Put the casters with brakes at the front and the ones without brakes at the back. The smaller sides (K3 and K) on the drawers indicate the front and back.
  • 11.5Secure both the plywood and the casters to the drawer frames using #8 stainless steel flat washers and 3" #8 treated-wood screws.
Woman applying wood glue to a wooden structure

12
Build the Rolling Drawer Front

  • 12.1Measure out and cut a 22-¾" x 32-½" M3 panel from a 4’ x 8’ sheet of ½" plywood for the cabinet with shelves drawer front and a 27" x 32 ½" N panel for the simple cabinet drawer front.
  • 12.2Apply the same exterior paint you used for the other plywood panels that won’t be exposed to heat. Don’t forget to paint the edges.
  • 12.3Set the drawers on the floor with the front facing up.
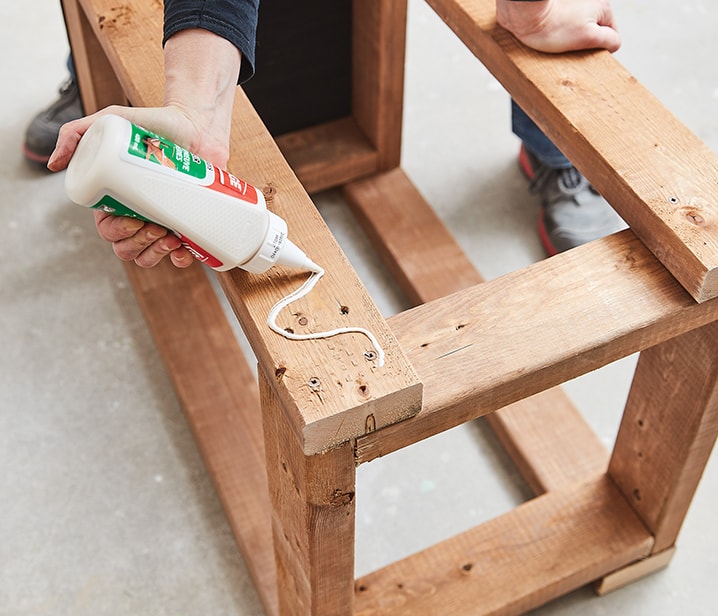
  • 12.4Apply exterior wood glue to the drawer fronts.
  • 12.5Install the painted plywood panels (M3 and N) on the glued surfaces of their respective drawers. The panels should be flush with the bottom of the drawer frame and centred across the width.
  • 12.6Attach panels (M3 and N) to the drawer frames with 1-½" #8 treated-wood screws.
Woman securing a u-shaped moulding using screws

13
Add Rolling Drawer Handles

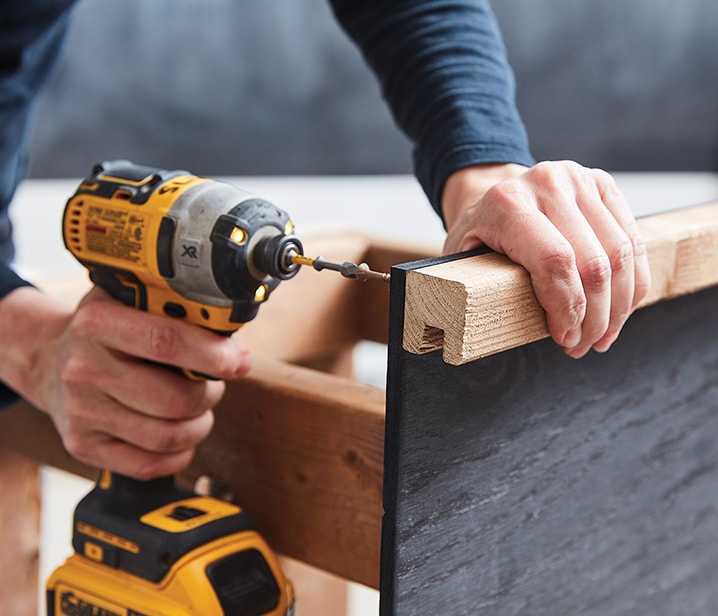
  • 13.1Measure out and cut a 22-¾" O length from a 2" x 2" x 8’ piece of treated-wood U-moulding for the drawer handle of the cabinet with shelves and a 27" O length for the simple cabinet drawer handle.
  • 13.2Set the drawers upright.
  • 13.3Attach handles (O and O) to the tops of the drawer fronts using 1-½" treated-wood screws. Make sure the handles are secure by screwing them in 3 or 4 different places.
Animated image of wood slats

14
Add the Finishing Touches

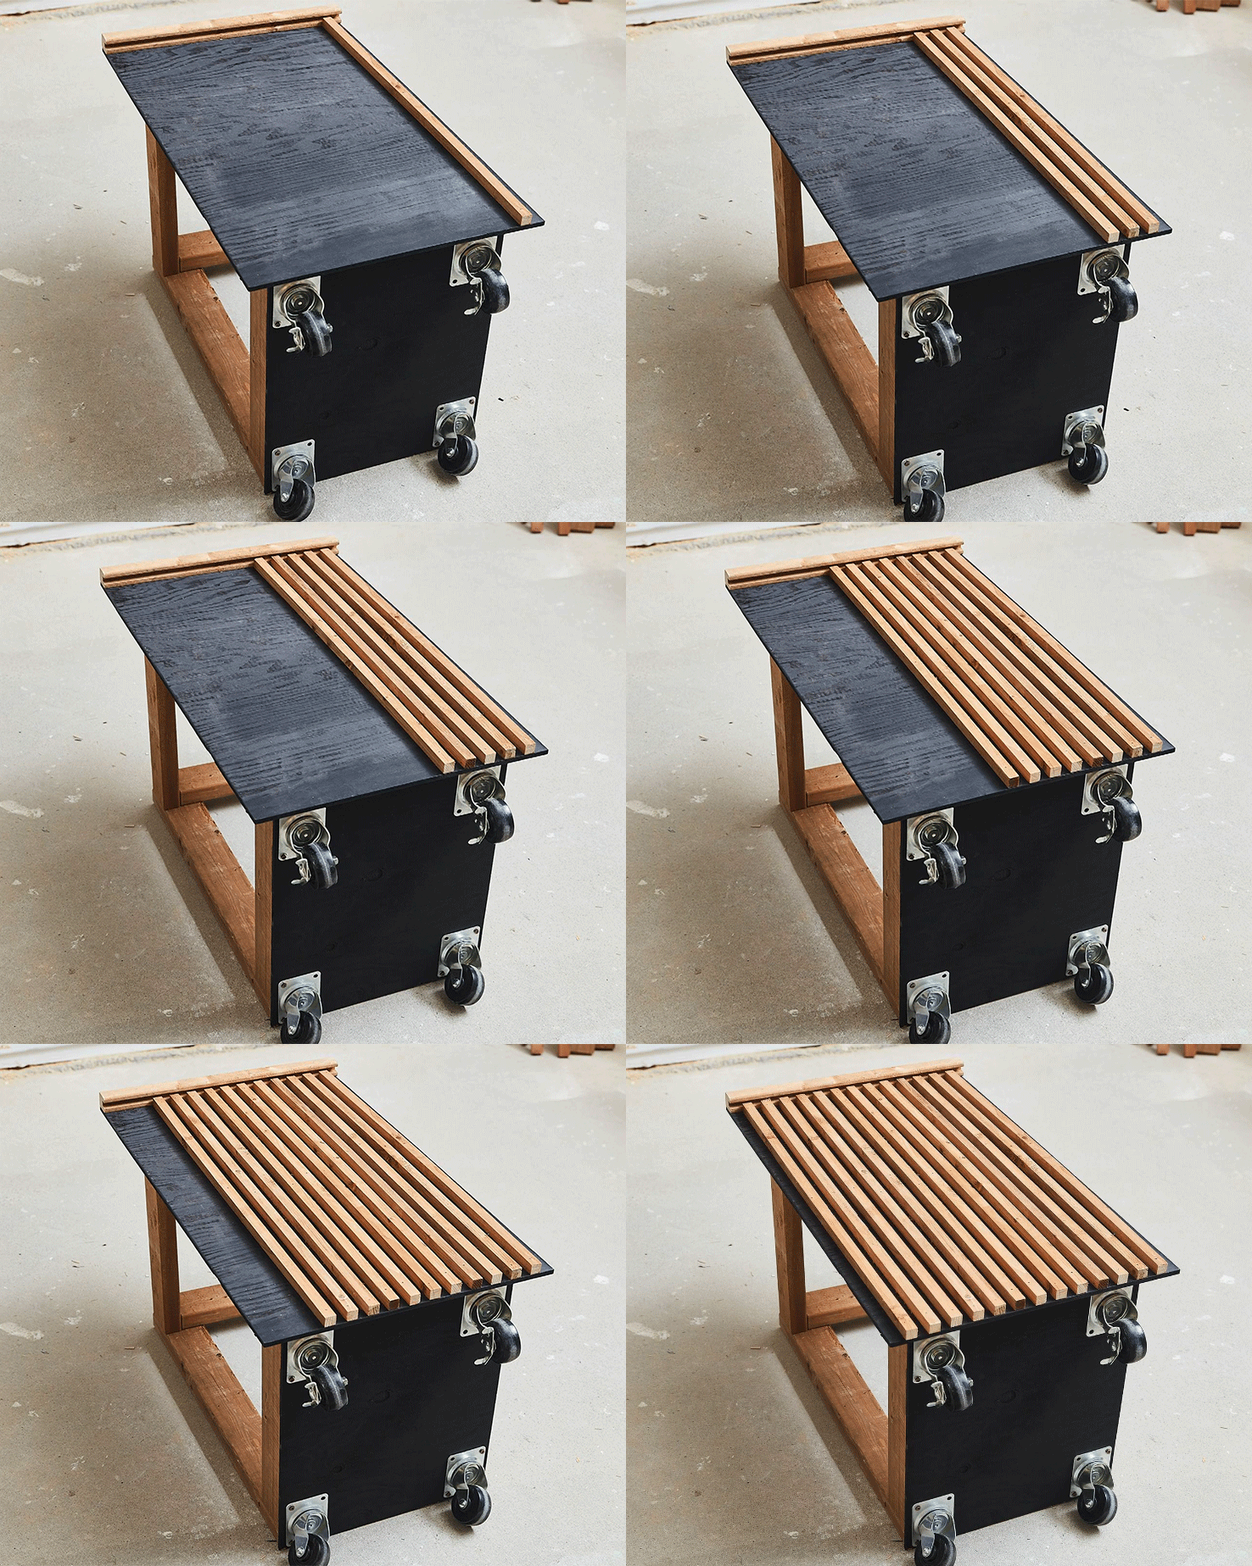
  • 14.1Measure out and cut approximately thirteen 31-¾" N lengths of the 1" x 1" x 8’ treated-wood nailing strips to finish the cabinet with shelves drawer. Cut approximately fifteen 31-¾" P lengths for the simple cabinet drawer and approximately seventeen 36" Q lengths for the end of the simple cabinet.
  • 14.2Nail the (N and P) slats to the front of their respective drawers, leaving a ½" gap in between. Use offcuts to maintain consistent spacing between the strips and avoid having to measure each time. Clamp the offcut guide and the slat and nail the slat immediately so it’s straight and looks great.
  • 14.3Nail the end pieces for the simple cabinet Q to the side of the frame that will not be next to the BBQ in the same manner.
icon-bulb

Pro Tip

Vertical wooden slats are an architectural feature that adds texture and character. Combined with the contrasting colours, they give the kitchen a modern style and a Nordic feel.

Woman building a wooden outdoor kitchenModular outdoor kitchen

15
Build the Drawer Cover

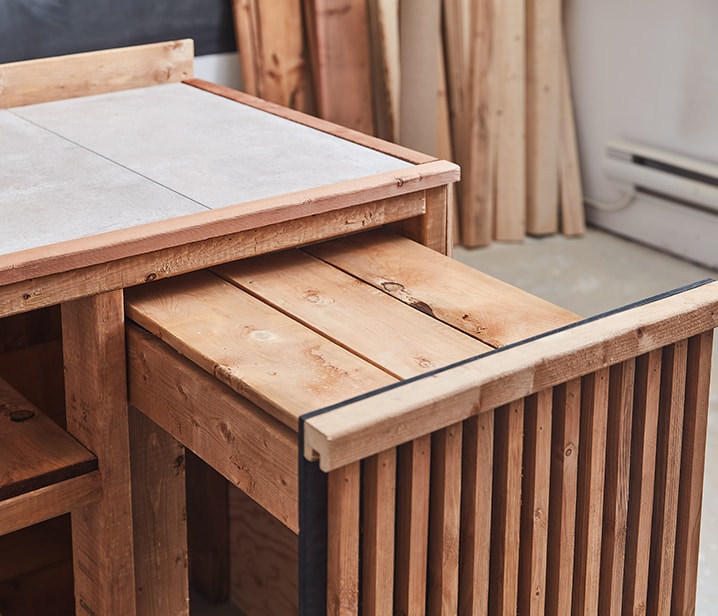
  • 15.1Measure out and cut one 21" M1 length from the 8’ 1x6 treated-wood boards for the base of the rolling drawer cover for the simple cabinet and four 18-¼" M2 lengths for the cover itself.
  • 15.2Measure out and cut two 21" lengths R from the 8’ 1x2 treated-wood boards to attach the cover boards together.
  • 15.3Attach the cover base M1 to the back side of the top of the drawer frame using 1-½" #8 treated-wood screws.
  • 15.4Lay the cover boards M2 flush with each other on a flat surface. Evenly space the joining pieces R on top of the cover boards at right angles.
  • 15.5Nail them down to attach all the boards together.
  • 15.6Once everything has been assembled, insert the rolling drawers into their respective cabinets and put the BBQ between the cabinets.
icon-bulb

Pro Tip

To protect your outdoor kitchen from the elements and make sure it stands the test of time, we strongly recommend applying an outdoor stain or sealant to the wooden frames. The kitchen in the main illustration for this article has semitransparent Walnut Brown (3576-407) stain from SICO. It protects the wood grain and creates contrast and depth when combined with the black plywood.

If you don’t want to put the kitchen against a fence or you’d like to hide the back of your BBQ, you can cut the 10’ 1x6s at the combined length of both cabinets and the BBQ. But don’t forget to paint all surfaces adjacent to the BBQ with high-heat paint.

Disclaimer

These DIY projects are provided for informational purposes only. The information contained in RONA’s DIYs is intended to provide general guidelines to simplify jobs around the house. Because tools, products, materials, techniques, building codes, and local regulations are continually changing, RONA inc. assumes no responsibility for the accuracy of the information contained herein and disclaims any liability for the omissions, errors, or outcome of any project. RONA inc. makes no representation on the feasibility of any project and the viewer bears all risks coming with the realization of the projects. It is the responsibility of the viewer to ensure compliance with all applicable laws, rules, codes, and regulations for a project. The viewer must always take proper safety precautions and exercise caution when taking on any project. If there is any doubt in regard to any element of a project, please consult a licensed professional.