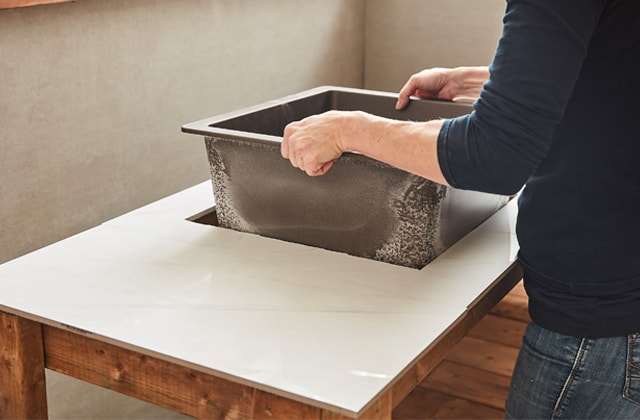
Build Your Outdoor Kitchen

Expanding your property has never been easier than with this durable, versatile, and functional outdoor kitchen. Its heavy duty and professional design will make cooking fun while you enjoy the summer heat with your guests. Here’s our step-by-step guide to creating a user-friendly and customizable space for all your needs.
MAIN STRUCTURE
BAR-COUNTER
KITCHEN COUNTERTOP
1

Measure and Cut

Using a mitre saw, measure and cut the pieces of pressure-treated wood to build the structure for the long wall and the short wall.

Cut the following units for the long wall from the 2" x 4" x 8' boards

  • Two 96" pieces for the wall beams
  • Four 45" pieces for the wall studs
  • Four 45-degree supports (random measurements)

Cut the following units for the short wall from the 2" x 4" x 8' boards:

  • Two 92" pieces for the wall beams
  • Four 45" pieces for the wall studs
  • Four 45-degree supports (random measurements)
2

Assemble the Structure

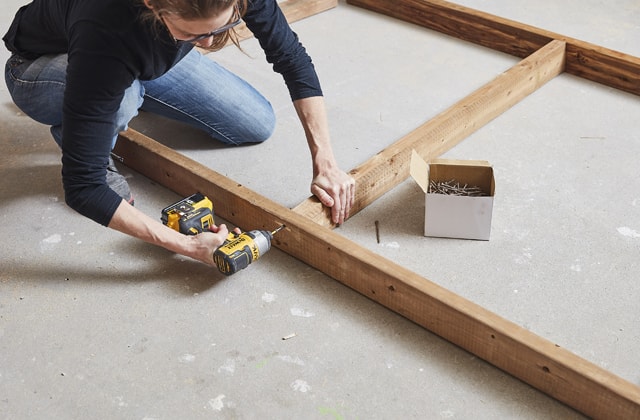
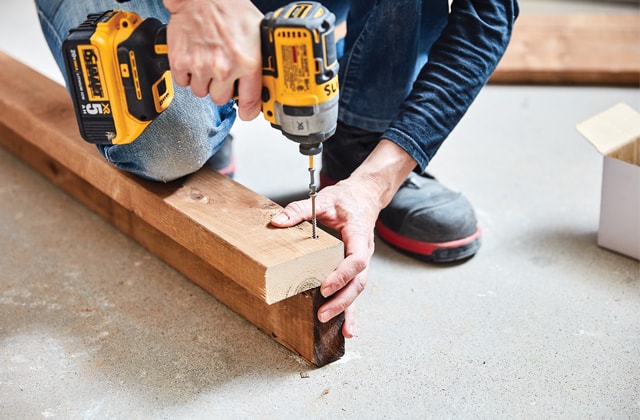
Assemble the pressure-treated wood structure for the long wall and the short wall with #8 x 3" treated wood screws on the floor or on a flat surface.
  • 2.1 - For each wall, attach two studs to the ends of the beams to build a frame.
  • 2.2 - Then, screw the two centre beams 30" apart from their respective sides.
  • 2.3 - Add the supports to each wall corner so the structure is strong and stable.

Pro Tip

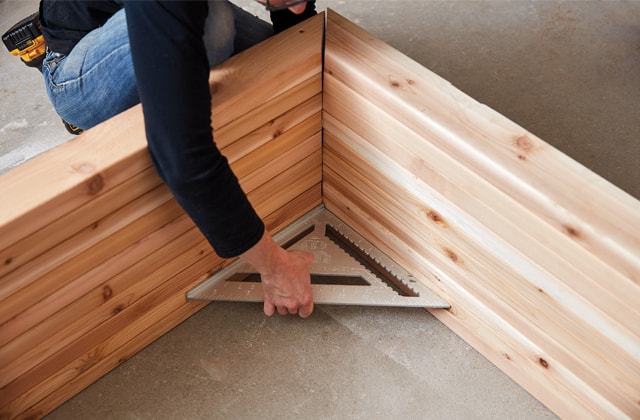
Measure the two diagonals (hypotenuse) inside each frame to make sure the structures are straight. Make the necessary adjustments if they are uneven.
3

Apply the Long Wall Fibre Cement

  • 3.1 - Apply PL Construction Adhesive all along one side of the long wall structure.
  • 3.2 - Place the ¼" x 4' x 8' fibre cement panel unto the structure.
4

Assemble the Long Wall

  • 4.1 - To attach the fibre cement panel to the structure, drill a hole in one of the corners using a hammer drill with a 3/16" masonry bit. It’s important that you screw in a #8 x 1 ½" stainless steel screw before continuing to drill the other holes so the panel doesn’t shift.
  • 4.2 - To attach the rest of the fibre cement panel, drill and add a screw every 10" on the beams and studs.
  • 4.3 - Once the sheet is solidly secured, turn the long wall over and perform the same assembly and fastening steps to cover the other side of the structure.
5

Assemble the Short Wall Exterior

  • 5.1 - To attach the short wall structure to the long wall structure, drill holes every 10" using a hammer drill. Assemble the two structures using #8 x 3" pressure-treated wood screws.
  • 5.2 - Apply PL Construction Adhesive to the entire exterior structure of the short wall.
  • 5.3 - Place the fibre cement panel vertically against the surface coated with the adhesive. Make sure that the end of the stud on the adjacent long wall is covered by the panel.
  • 5.4 - Secure it with clamps once everything is in place.
  • 5.5 - Then, secure the panel by drilling and screwing in the same way as you did with the long wall.
6

Assemble the Short Wall Interior

  • 6.1 - Using a grinder, remove 4" from the length of a ¼" x 4' x 8' fibre cement board. A guide could be handy in helping you make a straight cut.
  • 6.2 - Place the sheet on the short wall interior structure coated with the adhesive.
  • 6.3 - Clamp everything down when the sheet is in place.
  • 6.4 - Then, drill and add screws to secure the panel.
7

Finish the Top of the Main Structure

  • 7.1 - Use the 2" x 6" x 10' cedar boards, to measure and cut two 98 ½" pieces to build a finishing cap for the top of the main structure.
  • 7.2 - Once the pieces are cut, make a 45-degree cut at one end to make the assembly easier.
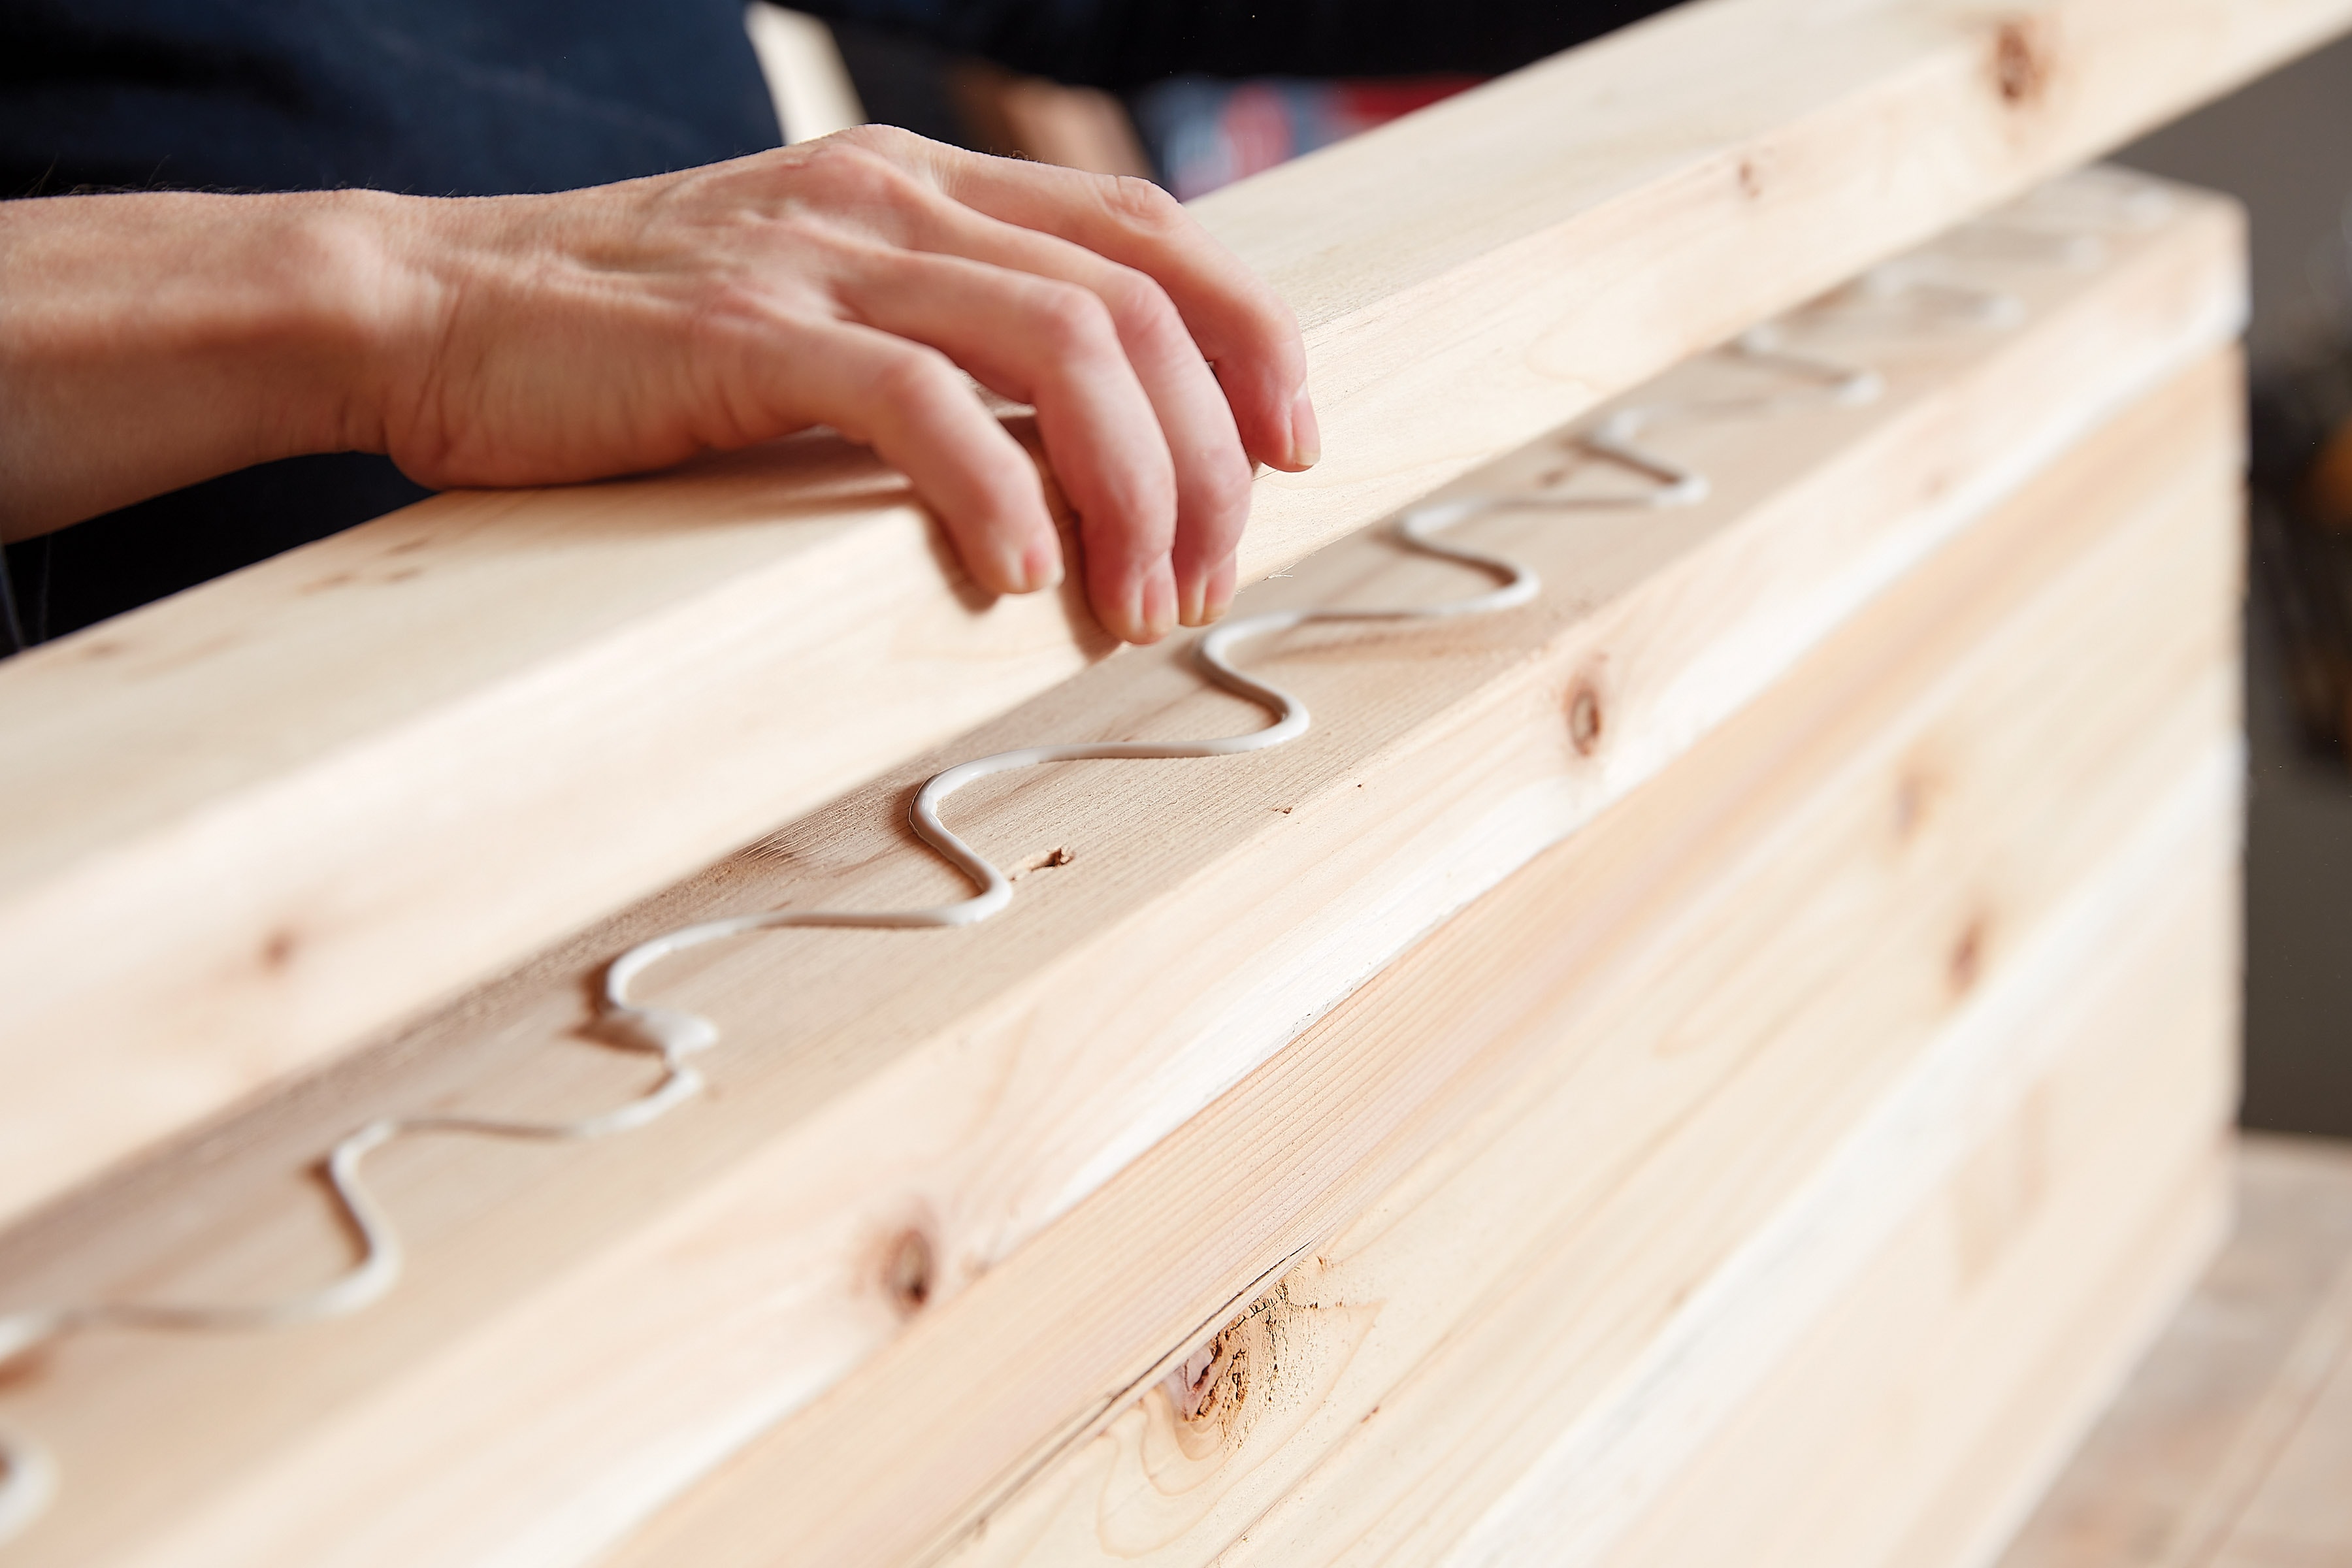
  • 7.3 - Apply the LePage Weatherproof Wood Glue to the top of the main structure.
  • 7.4 - Place the boards on the glue-coated surface and join ends cut at 45 degrees.
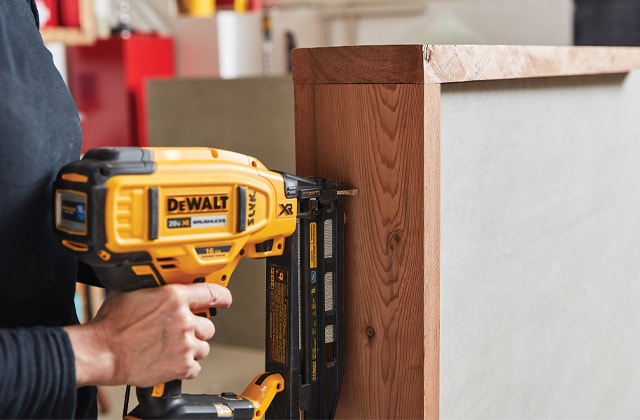
  • 7.5 - Secure the finish on the top of the structure using a nailer and brad nails on a strip.
8

Finish the Sides of the Main Structure

  • 8.1 - Cut two 48" pieces from the 2" x 6" x 8' cedar boards to finish the sides of the main structure.
  • 8.2 - Glue and nail like you did with the top of the structure.
9

Apply Sealant to the Fibre Cement

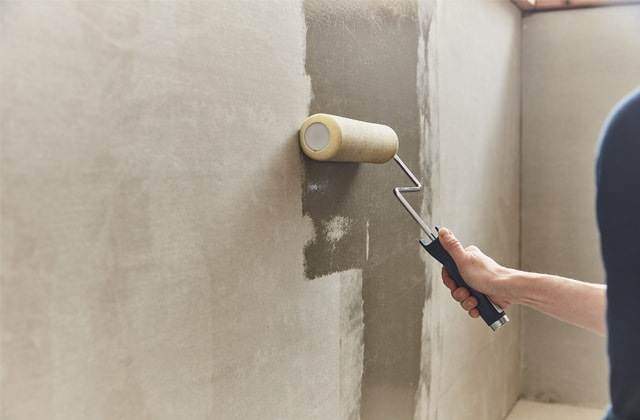
It’s recommended that you apply a water-repellant sealant for brick and concrete to protect the fibre cement surface from crumbling due to water and freezing.
10

Apply Waterproofing to the Wood

It’s important to apply an oil-based wood waterproofing protector to maintain the durability of the main structure's cedar. Not only does it preserve the wood’s natural colour, it also helps ward off damage caused by water, sun, and mould.

Outdoor stain and other similar products can also be used to protect the wood.
11

Kitchen Lighting

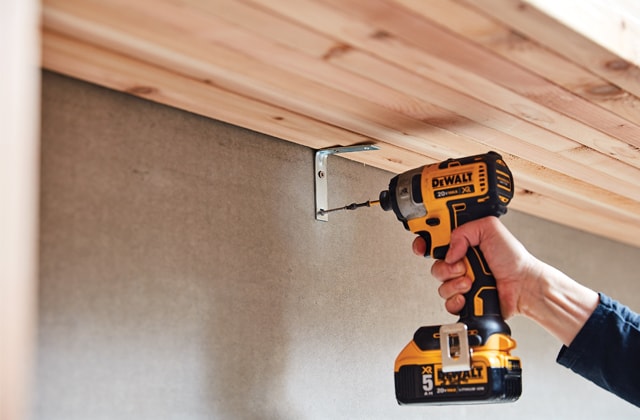
Once the location of cooking surfaces and structures is decided on the main structure, it might be nice to add light sources. We recommend using stainless steel screws to prevent oxidation. Concrete anchors could be used to install the lights in places where there are no crossbars.

Suggested products