Published on August 20, 2024
How to Install Peel and Stick Wallpaper
Learn how to install peel and stick wallpaper in a few easy steps to refresh any room on a budget. It’s perfect for walls and many DIY projects! The best part? It’s removable and reusable. Follow our step-by-step guide for a list of required materials and detailed instructions.
Designer Tip
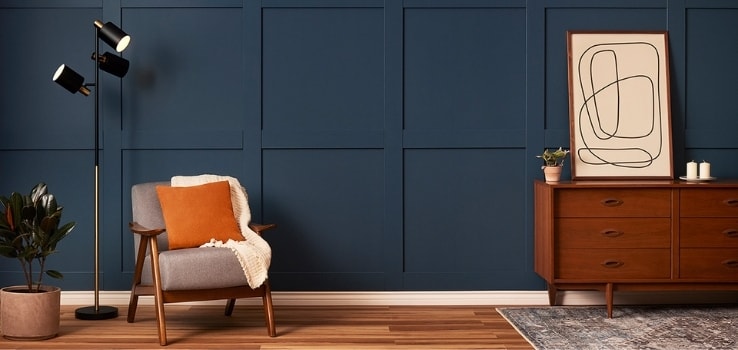
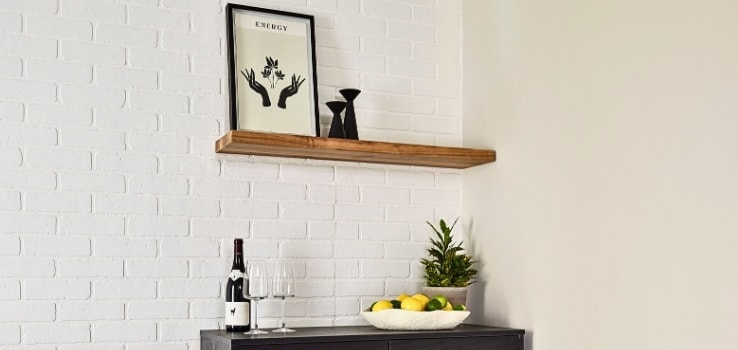
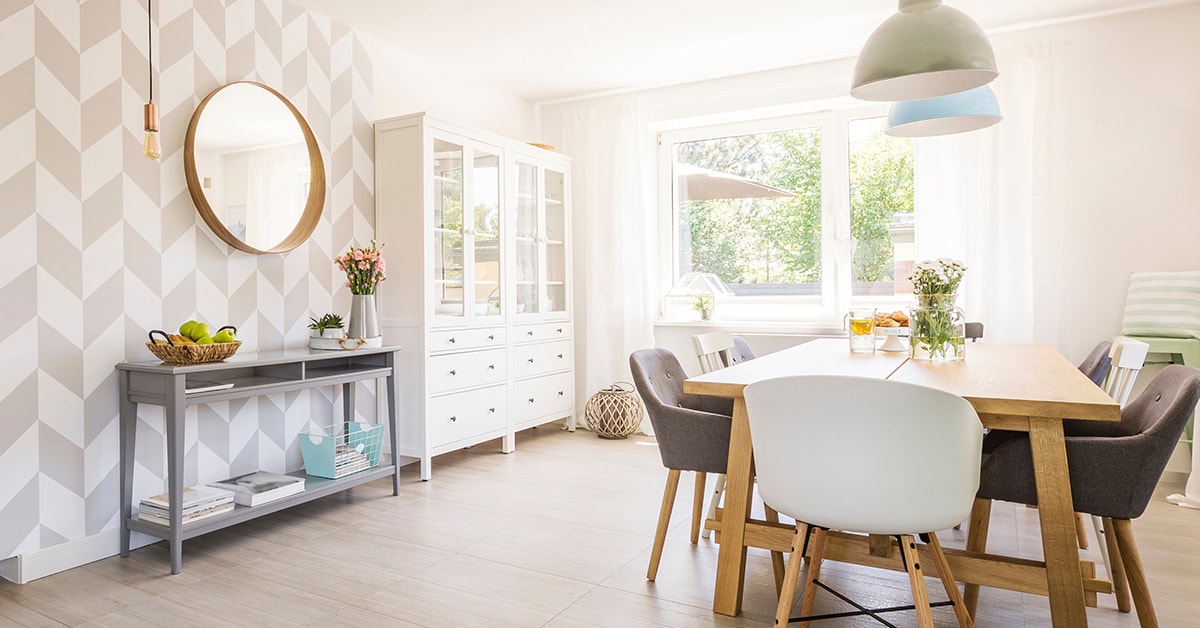
Foliage and floral wallpaper are currently very popular because of the Biophilia trend. Textured neutral wallpaper is also popular as it plays on the same theme but delivers more discreet visual interest.
1Calculate How Much Wallpaper You Need
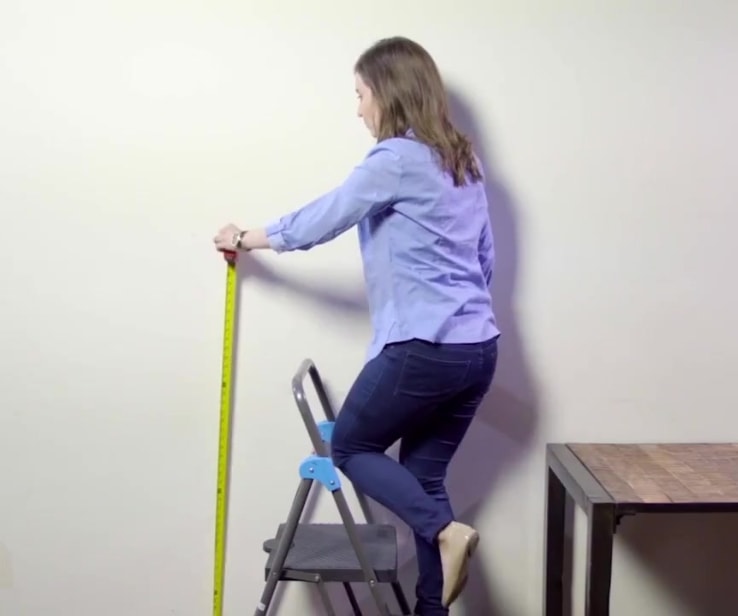
- 1.1Select the wall(s) you plan on decorating, then pick your wallpaper (making sure to note the coverage of one roll).
- 1.2Measure the height and width of the wall.
- 1.3Use this simple calculation: (Width x Height) ÷ Roll Coverage = Number of Rolls.
- 1.4Round that number up.
Pro Tip
Whether you are a wallpapering pro or novice, we recommend adding an extra roll to your estimate to make sure you have enough to cover any mistakes.
2Prep Your Wall
- 2.1Remove electrical outlets, wall fixtures, wall coverings, and past residue.
- 2.2Clean the wall using a sponge and a gentle all-purpose cleaner.
- 2.3Allow the wall to dry completely.
3Add the Reference Lines
- 3.1Beginning on the left side of the wall, measure out the width of the paper from the corner, then mark the wall lightly with a pencil.
- 3.2Put the level on this mark and draw a straight vertical line.
- 3.3Double-check that the line is level before you move on to the next step.
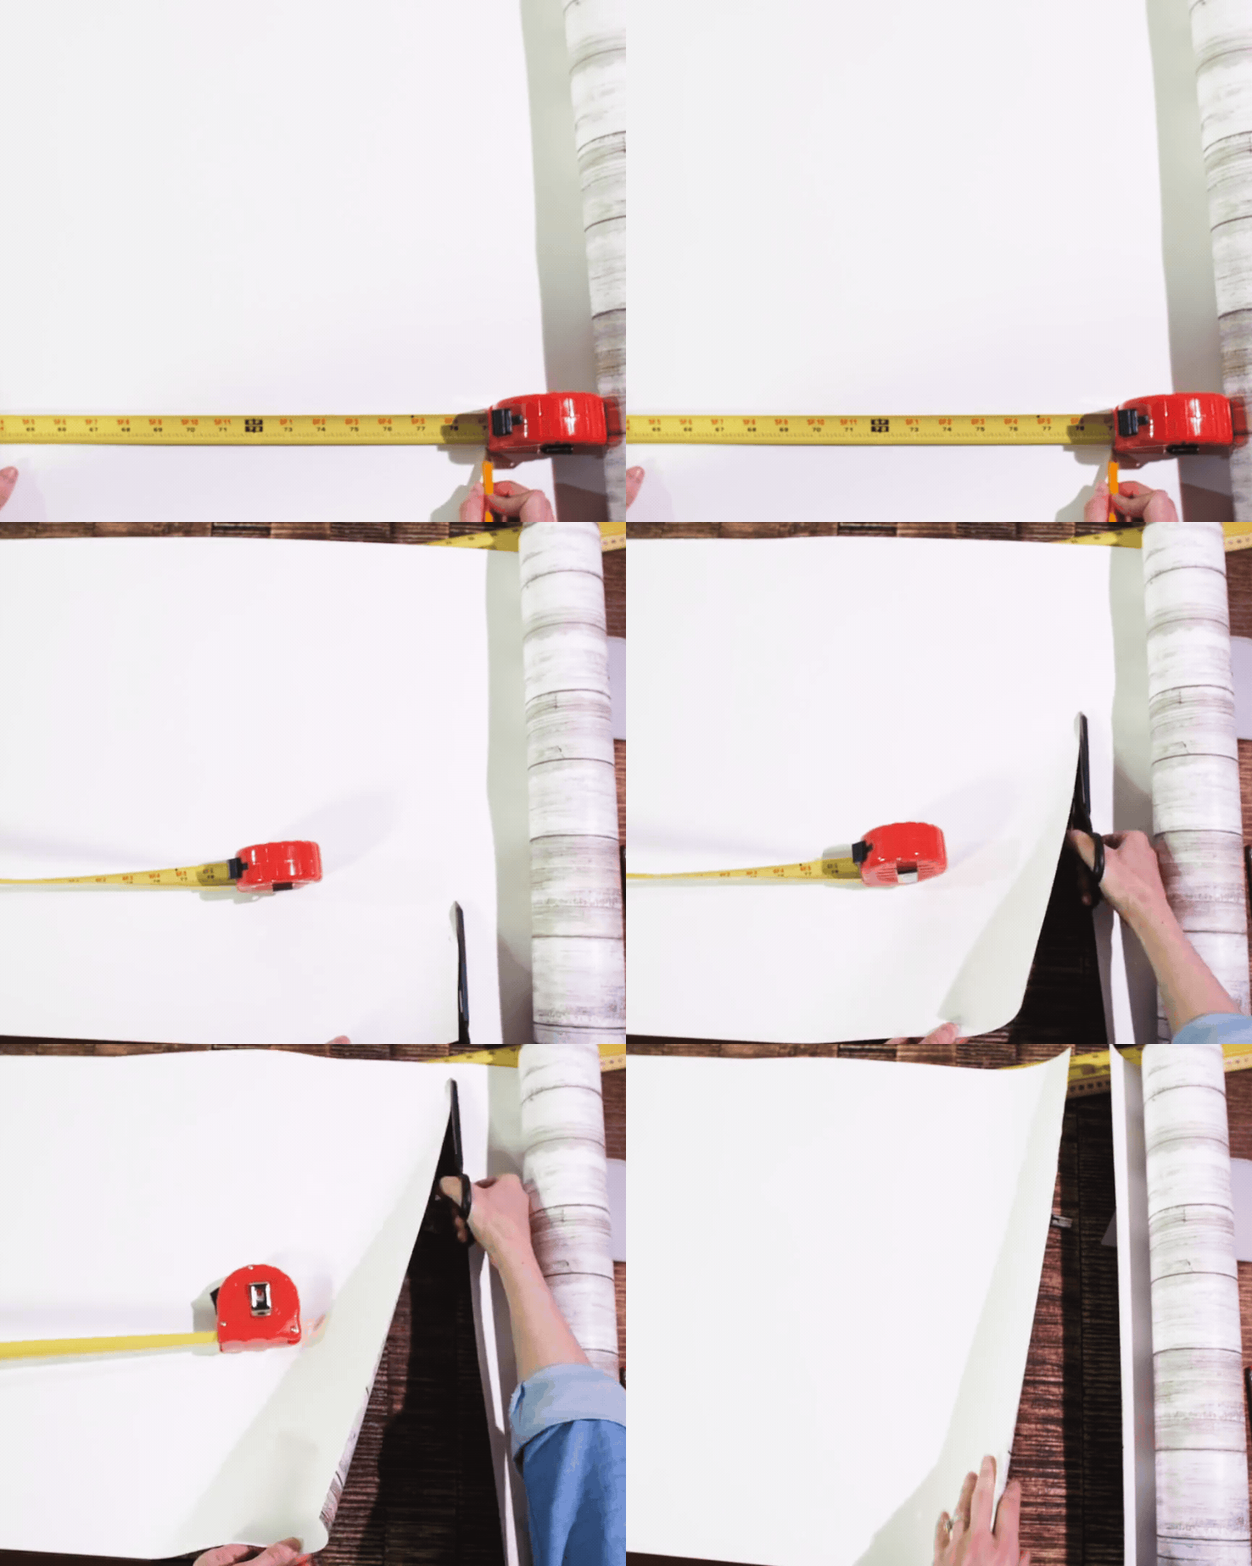
4Measure and Cut the Wallpaper
- 4.1Pre-cut strips to cover the height of the wall, making sure the pattern is aligned from strip to strip.
- 4.2Number the back of each strip to keep your design in the correct order, if necessary.
- 4.3Cut and trim the wallpaper with a utility knife.
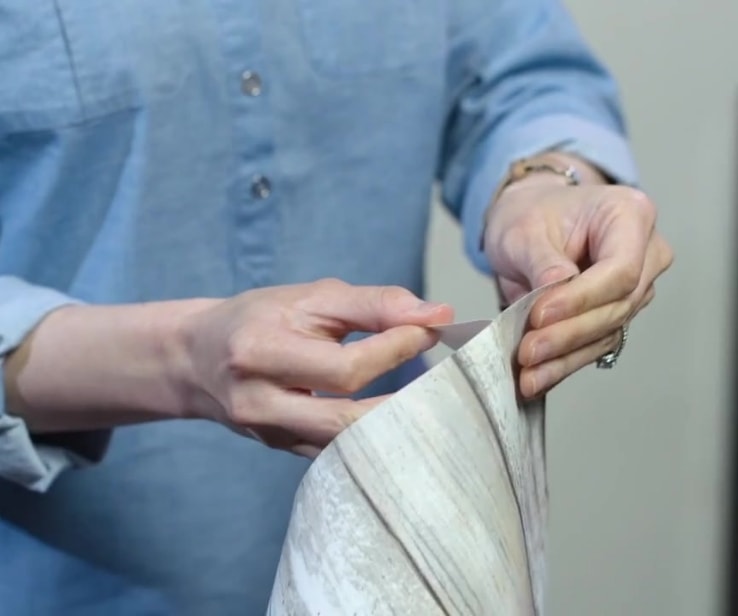
5Peel and Position
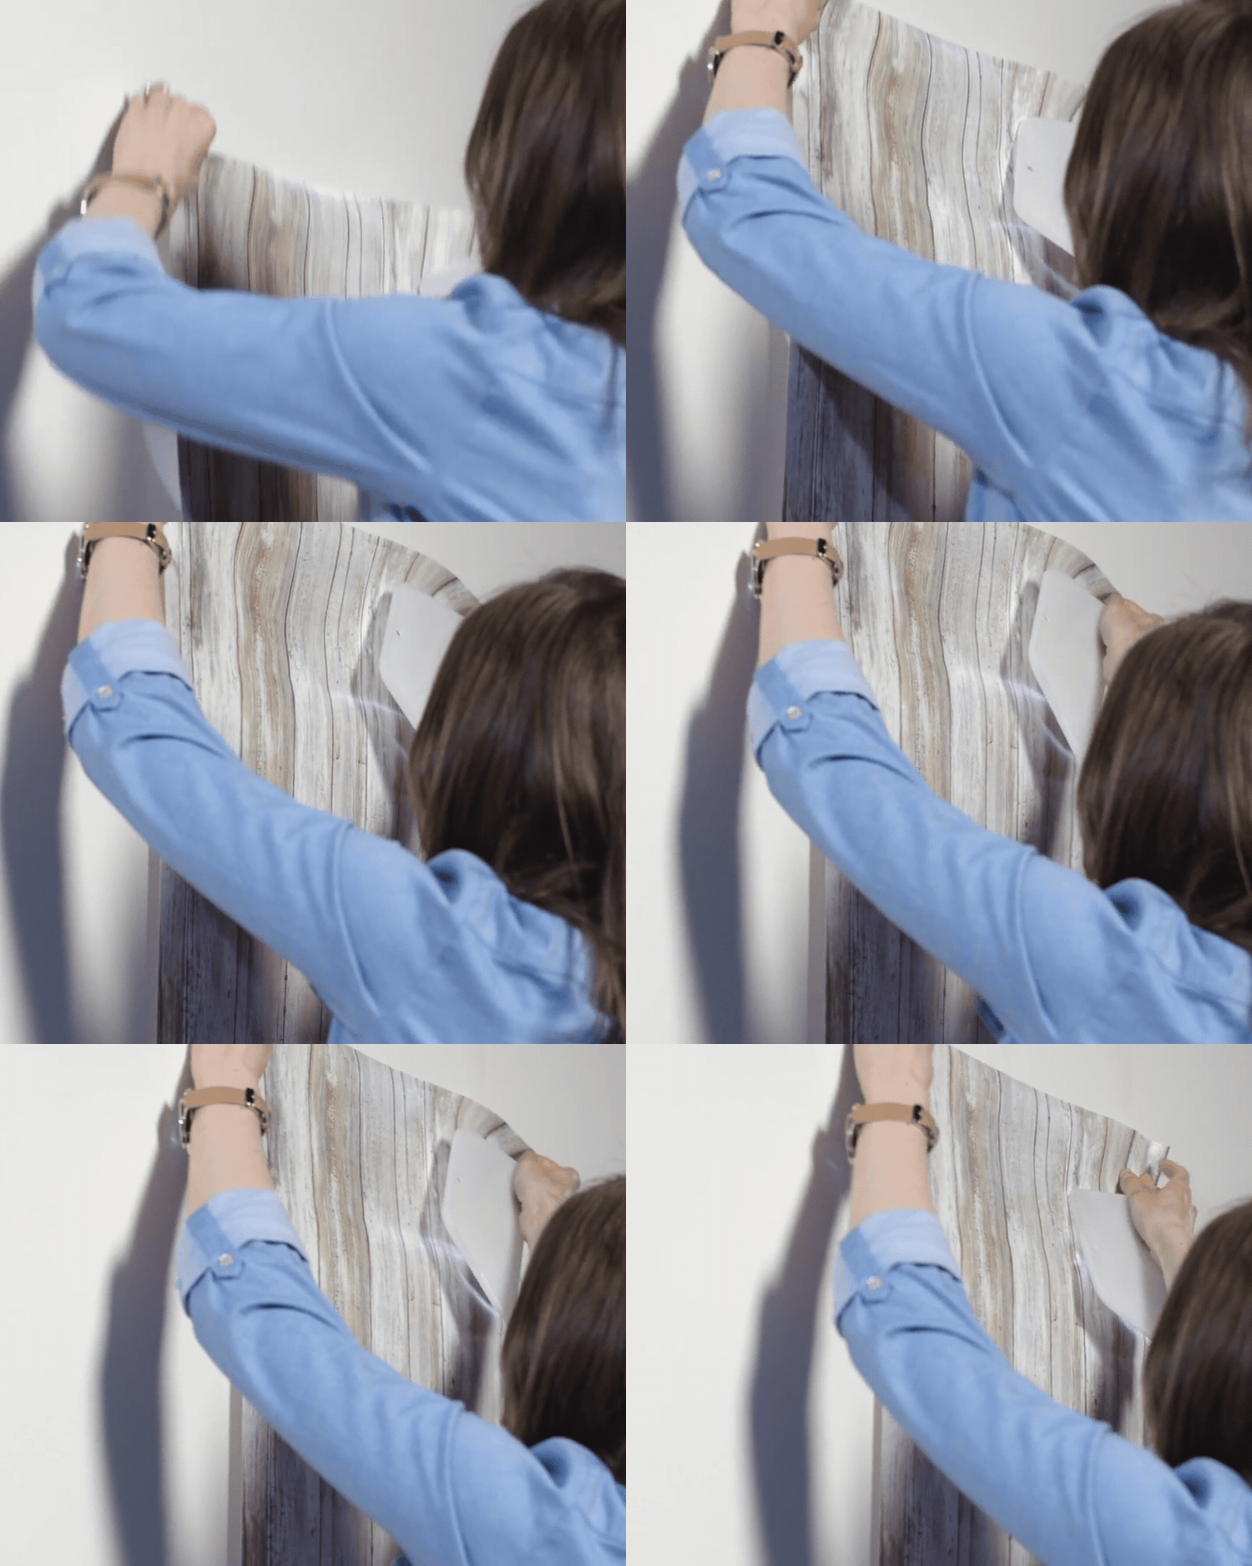
- 5.1Peel about 12” of the backing away from the paper.
- 5.2Apply the paper to the top of the wall, making sure to allow a bit of excess to overlap the ceiling (this will be trimmed off later).
- 5.3Align the right side of the strip to the reference line and lightly press the edge to the wall along the mark.
- 5.4If needed, peel off and reposition.
6Unroll the Paper on the Wall
Pro Tip
Make sure not to pull or stretch the material; this could cause the pattern to be unaligned. For best results, ask for help! While one person guides the paper at the top and along the seam, the other can hold the opposite edge away from the wall until the seams are lined up.
7Push Out Any Air Bubbles
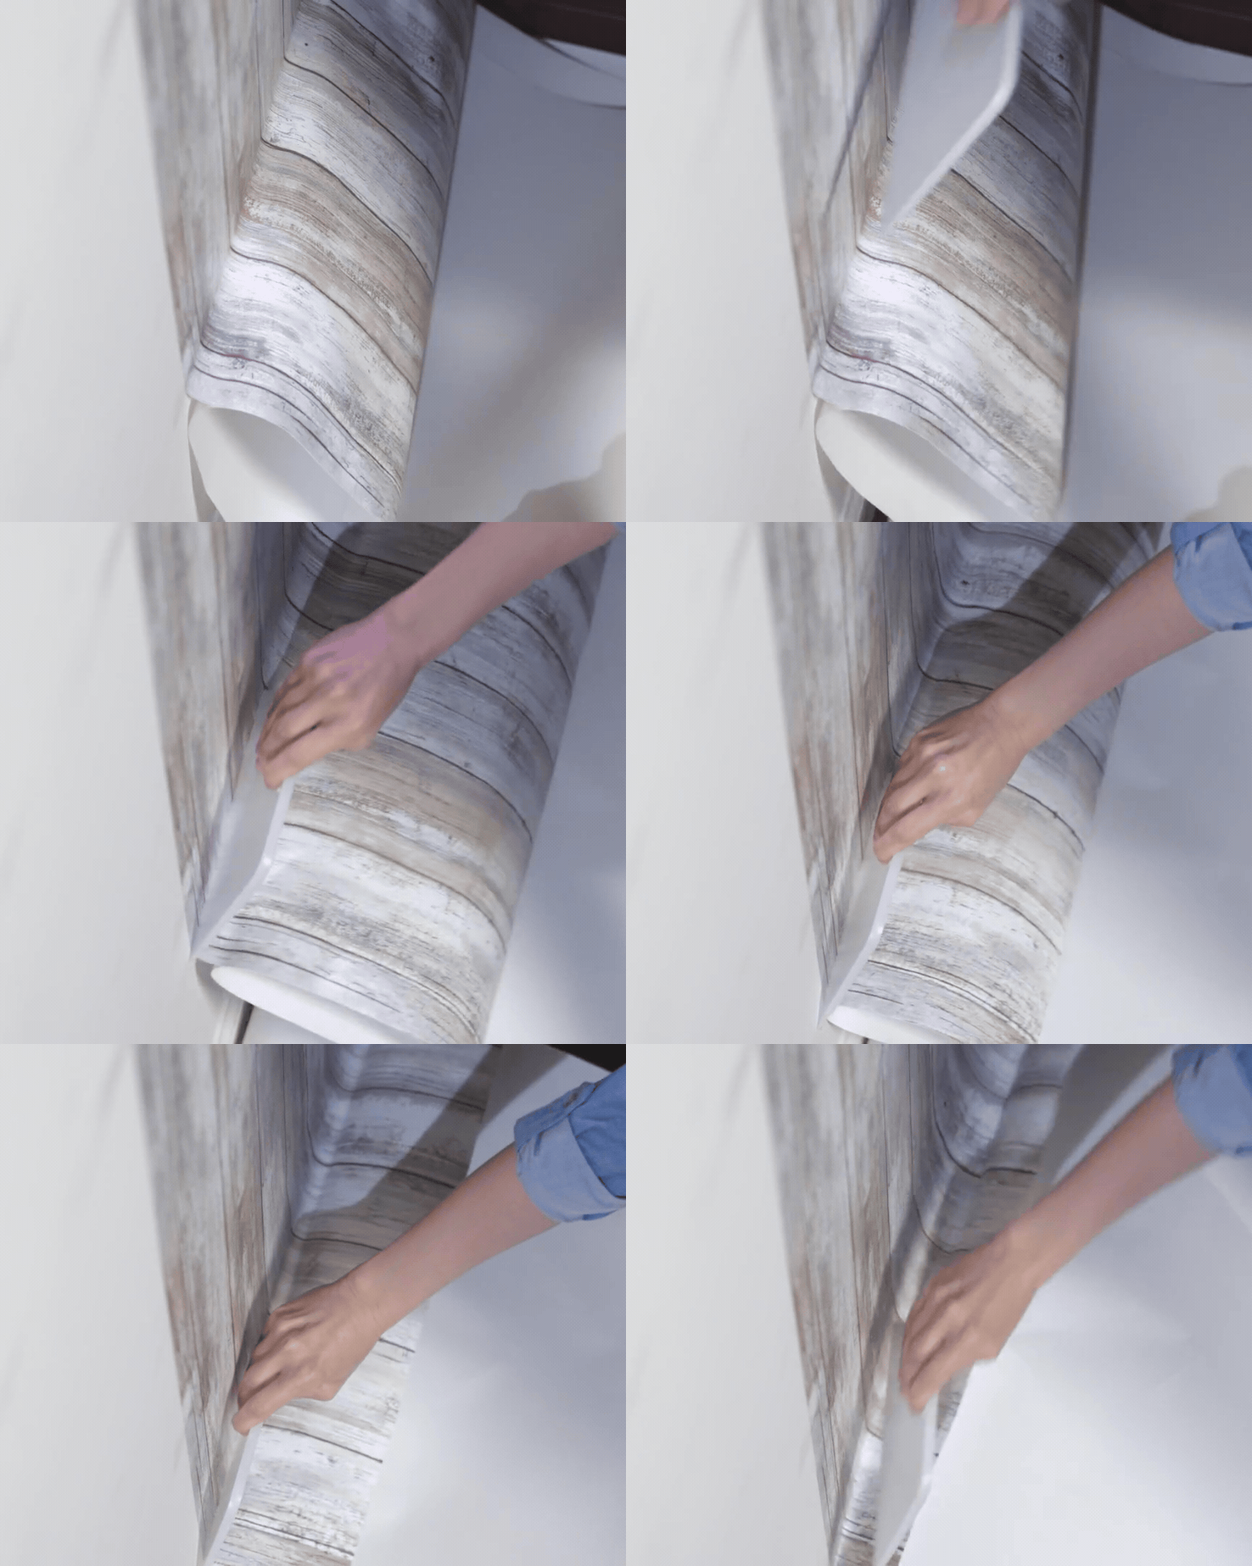
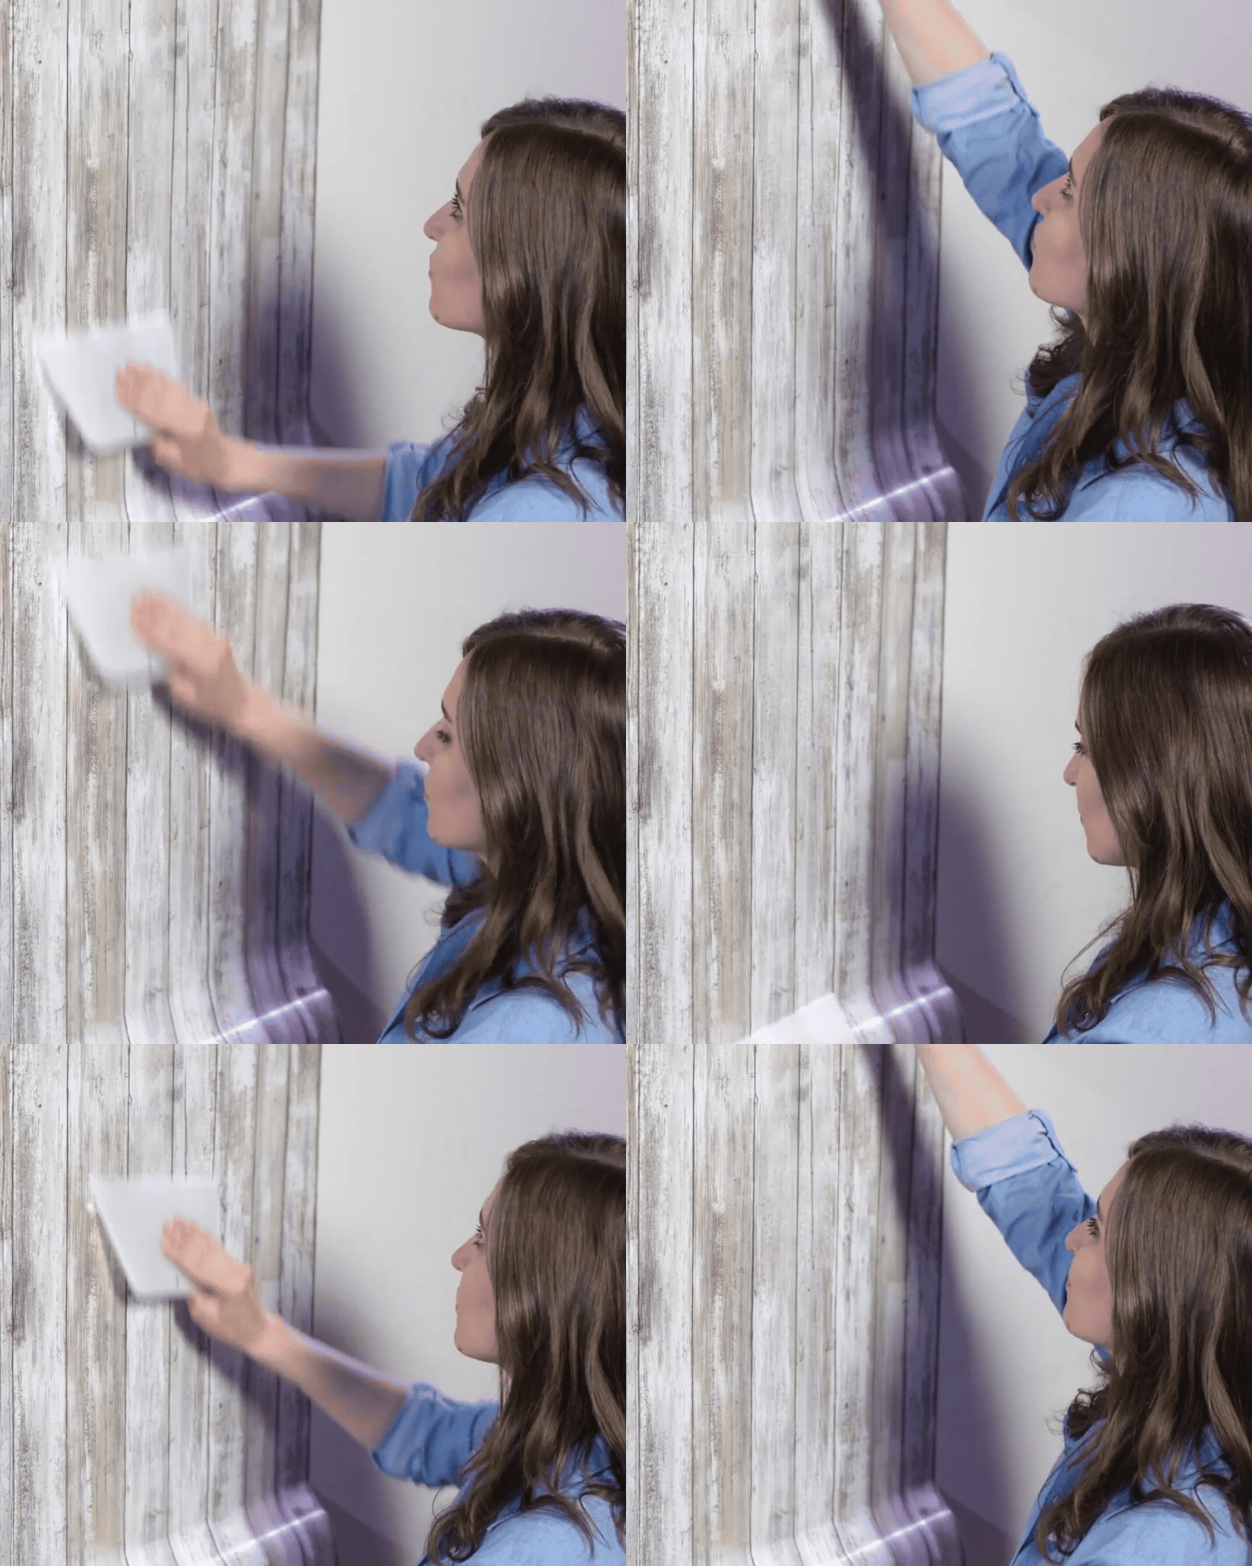
- 7.1Smooth the material onto the wall and push out any air bubbles by working your way down the strip in a back-and-forth motion with a plastic smoother.
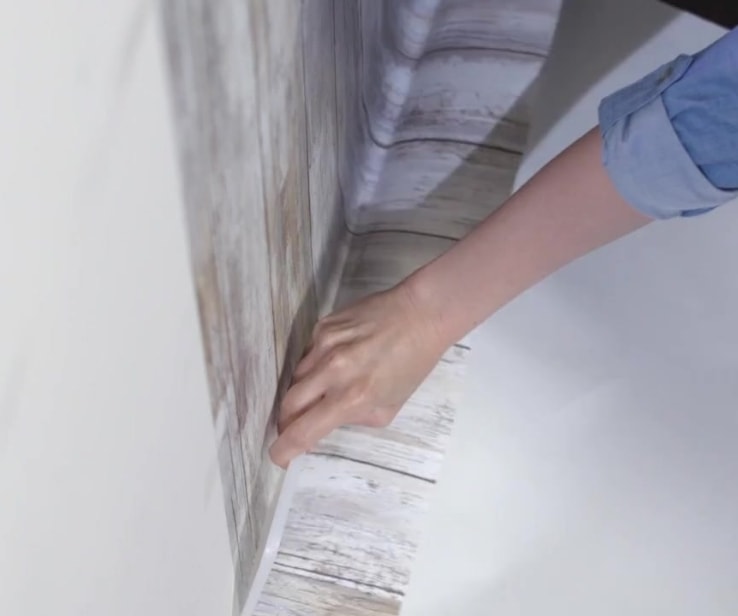
- 7.2Using a straight edge ruler and a utility knife, trim off excess material along the ceiling and baseboard.
Disclaimer
These DIY projects are provided for informational purposes only. The information contained in RONA’s DIYs is intended to provide general guidelines to simplify jobs around the house. Because tools, products, materials, techniques, building codes, and local regulations are continually changing, RONA inc. assumes no responsibility for the accuracy of the information contained herein and disclaims any liability for the omissions, errors, or outcome of any project. RONA inc. makes no representation on the feasibility of any project and the viewer bears all risks coming with the realization of the projects. It is the responsibility of the viewer to ensure compliance with all applicable laws, rules, codes, and regulations for a project. The viewer must always take proper safety precautions and exercise caution when taking on any project. If there is any doubt in regard to any element of a project, please consult a licensed professional.


