Share

Published on February 24, 2023

Pro Tips

How to Harvest and Save Seeds from the Garden

Harvesting and saving flower and vegetable seeds is a relaxing and rewarding activity that saves you money. This practice is also well aligned with the principles of permaculture and self-sufficiency. Discover how in just a few simple steps!

Please click on the closed captioning icon at the bottom of the video player to watch with English subtitles.

Portrait de la semencière Lyne Bellemare
Lyne Bellemare
terrepromise.ca
Lyne, an experienced artisanal seed producer, is passionate about permaculture and eco-friendly vegetable gardening. She is especially interested in the conservation of seeds from heirloom and rare varieties.

Why Collect Seeds from the Garden?

There are many advantages to harvesting and saving vegetable and flower seeds. In fact, it allows you to:

  • grow the vegetable and plant varieties you like, even when these seeds are not available on the market;
  • participate in the preservation of heirloom or rare varieties;
  • produce vegetables that will adapt to your garden and thus be more vigorous year after year;
  • have a large quantity of seeds to exchange or share with other gardening enthusiasts; and
  • learn more about the lifecycle of plants.

Plus, it’s a fun and relaxing activity!

The Golden Rules of Seed Harvesting

To harvest and store your seeds, there are a few basic rules to follow:

Seed Varieties – When collecting vegetable and other plant seeds, be sure to choose varieties that are open-pollinated or heirloom. Avoid hybrid varieties (packets marked F1 or H1), as their seeds will not produce plants identical to the original.

Garden Planning – Seed saving also begins with proper garden planning. If several varieties of the same vegetable are placed close to each other, the harvested seeds may hybridize and produce an uncertain result. An appropriate distance between them is generally about 3-5 m.

Store-Bought Vegetables – It is not recommended to collect seeds from store-bought vegetables. Many vegetables are harvested unripe (e.g., green peppers, cucumbers, beans), meaning the seeds are not fully formed. Also, it is often impossible to know which variety you have—and therefore whether it is a hybrid or not.

Plant Condition – To avoid contamination (diseases and pests), it is recommended to harvest seeds from healthy plants only.
icon-bulb

Pro Tip

Collecting seeds from biennial vegetables (such as carrots, turnips, and beets) requires more steps, as harvesting is done on the plant in the second year of cultivation. We recommend that beginners limit themselves to annual plants.

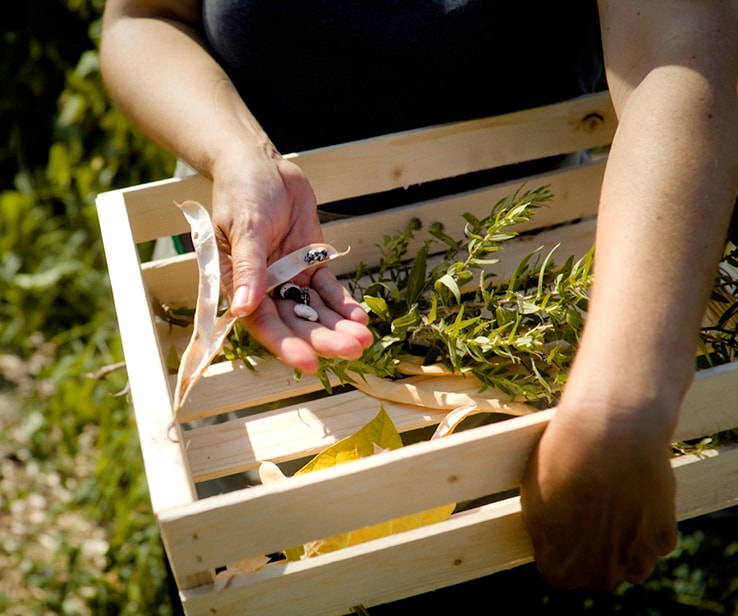
Woman handling bean seeds in the garden

Identify the Seeds

Before you begin, it’s important to know which part to harvest.

What to Harvest:
  • Dry capsule (plants that produce flowers that will turn into seeds): lettuce, carrots, coriander/cilantro, basil, etc.
  • Fleshy fruit (plants that produce seeds inside the vegetable): tomato, cucumber, squash, beans, etc.

The harvesting method will depend on how the plant bears its seeds. Below we will explain how to harvest seeds from garden 3 essentials: tomatoes, beans, and lettuce.

When to Harvest:
In all cases, it is important to wait until the seeds are mature and dry. Harvesting sometimes needs to be done over several days, since the seeds do not always mature at the same time. You will have to return to the garden and cut the stems that are brown and crackly. The harvest period starts in June and lasts until the fall. If the first frost is announced, harvest the seeds and let them dry out indoors.
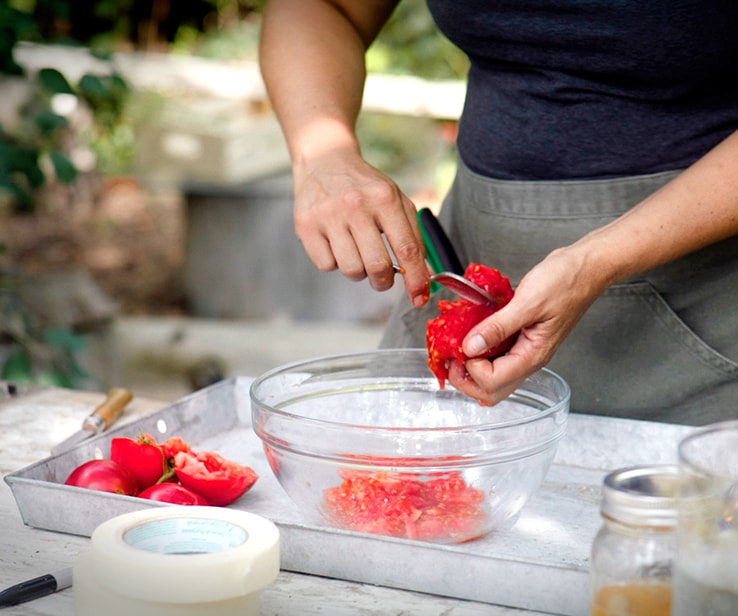
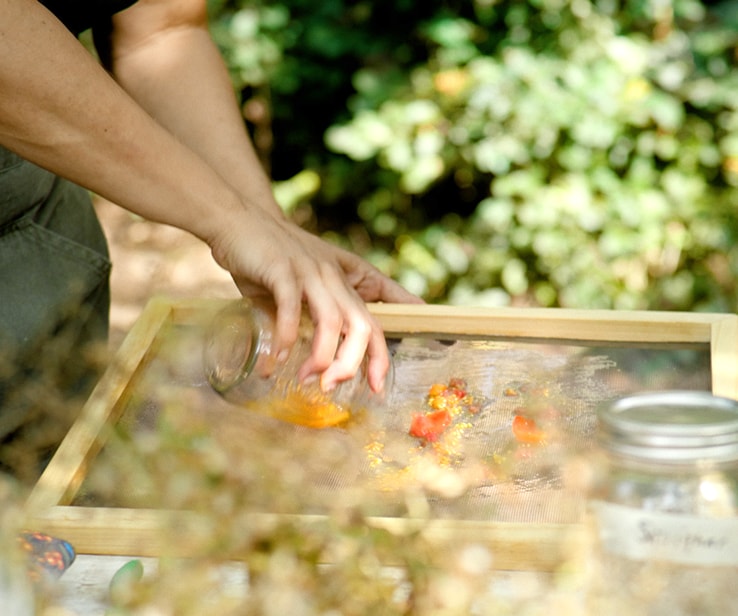
Woman removing tomato seeds with a spoonWoman pouring tomato seeds on a sieve

Harvesting Tomato Seeds

Tomato seeds are found inside the vegetable. To help with germination and avoid certain diseases, they must also be fermented. Here’s how:

  1. Pick a mature fruit.
  2. Cut the tomato in half and remove the seeds with a spoon.
  3. Remove the large pieces of pulp, then add a little water.
  4. Pour into a glass container, identify the jar and close it (loosely).
  5. Let stand at room temperature for 3 days. It is normal for a whitish film to form.
  6. Pour into a colander or on a sieve, then rinse well.
  7. Spread onto a cloth or a mesh screen and let dry in a well-ventilated area for 1-2 weeks.
  8. Store.
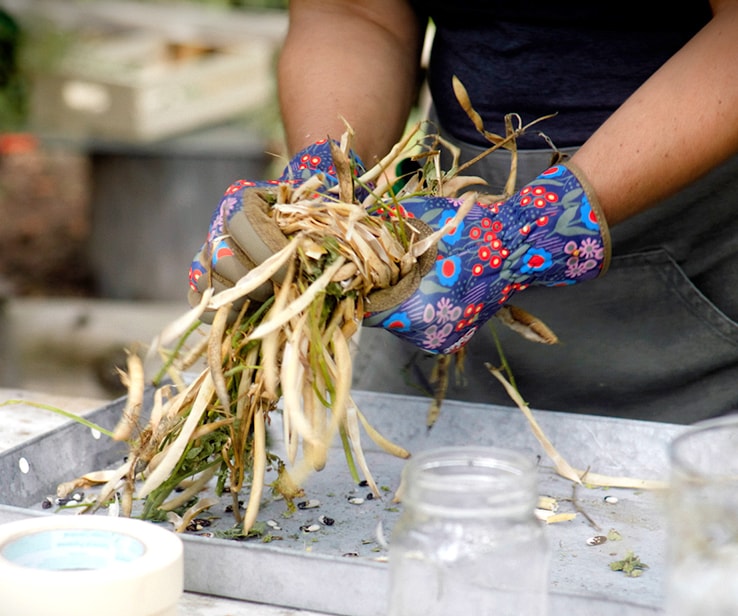
Woman brushing a dry bean stalk

Preserving Bean Seeds

For beans, simply let the pods form and dry out on the plant. You can pick them as the pods are ready (when they are brownish-beige in colour and their skin becomes brittle), or cut the whole plant when they are almost all dry.

  1. Remove beans from pods.
  2. Strain through a sieve.
  3. Store.
icon-bulb

Pro Tip

How do you know if a bean is dry? Bite into it. If teeth marks form, the bean is not completely dry.

Woman rubbing a dried lettuce stalk

Harvesting Tiny Lettuce Seeds

For lettuce, you will have to wait until September for the seeds to mature. Only when the flower stalks become brownish and dry are the seeds ready to be harvested.

  1. Carefully cut the stems with pruning shears, taking care not to shake the plant.
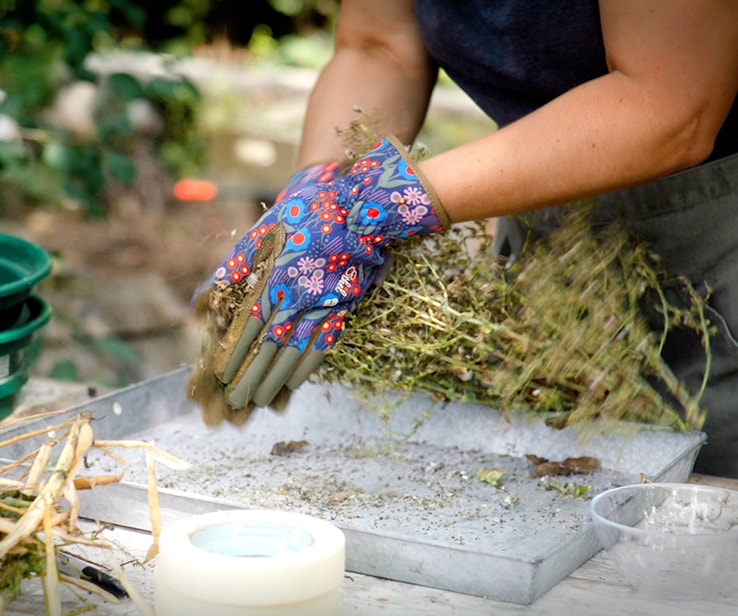
  2. Shake the stems vigorously over a tray so that the seeds come out of their shells and fall to the bottom.
  3. Let them dry for 2 weeks.
  4. Strain.
  5. Store.

Careful! When the seeds are fully ripe, a heavy rain or gust of wind could cause them to fall. So be sure to watch the weather and pick them at the right time.
icon-bulb

Pro Tip

Some garden plants can reseed themselves. This is the case for several flowers, but also for dill, lettuce, spinach, and arugula, to name a few. So, it isn’t necessary to harvest their seeds. You can simply leave the plants in the garden. The seeds will spend the winter under the snow before germinating in the spring. However, the wind could carry seeds elsewhere in the garden, which means the plants may not grow where you want them to!

Facilitate Inventory by Labelling

Since many of the seeds look the same, it’s easy to lose track of what’s what. Be sure to note the variety and year of harvest on your containers or seed packets. This will make your life easier when starting your garden⁠—and prevent any surprises!

Store Your Precious Seeds

It is recommended to store seeds in a cool, dry place, away from light and at room temperature (or in the refrigerator).

Glass containers are ideal, as they do not let moisture in.
Note that not all seeds have the same shelf life, as the germination rate decreases with time. For example:

  • Tomatoes: 5-10 years
  • Beans: 3-5 years
  • Lettuce: 2-5 years

Suggested Products

SHOP SMALL GARDENING TOOLS