Share

Published on February 24, 2023

Do it yourself

How to Build a Grow Tunnel for Your Garden

A grow tunnel (also called a forcing or poly tunnel) is a simple and inexpensive way to extend the gardening season by creating a greenhouse effect. Simply place a tunnel over a raised garden bed or directly on the ground. Discover how to make your own in just a few simple steps!

Please click on the closed captioning icon at the bottom of the video player to watch with English subtitles.

Portrait de Sophie Bourdon
Sophie Bourdon
sophiebourdon.com
Sophie is a content creator based in Sutton, in the Eastern Townships of Quebec. She is passionate about gardening and cultivates flowers, medicinal plants, and vegetables to create seasonal recipes.
Difficulty level: Easy
Duration: 2 hours
Before You Start
If you choose to install a grow tunnel directly on the ground, swap the steel straps and treated-wood screws for rebar in the right size and length, as well as rust spray paint. All you need to do is coat the bars with rust paint before driving them into the ground and sliding the ends of the arches into them.

Why Use a Grow Tunnel?

With only a few months of summer per year, the gardening season in Canada is short. As a result, some vegetables struggle to mature on time, especially in lower hardiness zones. Fortunately, cold climate gardening techniques can help extend the growing season. A grow tunnel is a simple and relatively inexpensive way to:

  • start the growing season 1 or 2 months earlier;
  • extend the growing season into the fall and even into winter;
  • sow directly under shelter; and
  • protect plants from the elements and harmful insects.

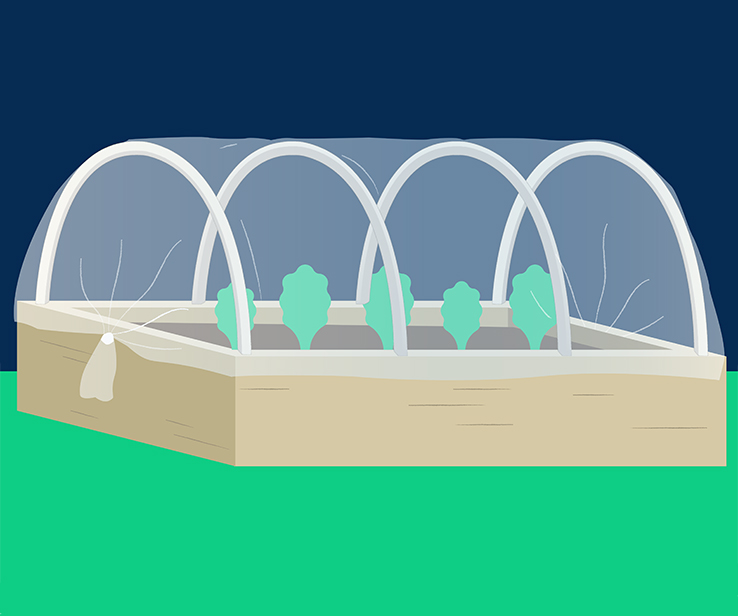
A grow tunnel, more affordable and easier to build than a greenhouse, creates a greenhouse effect on a raised bed or directly on the ground. Simply install the arches, slip sheeting over them to create a greenhouse effect, and you're done!
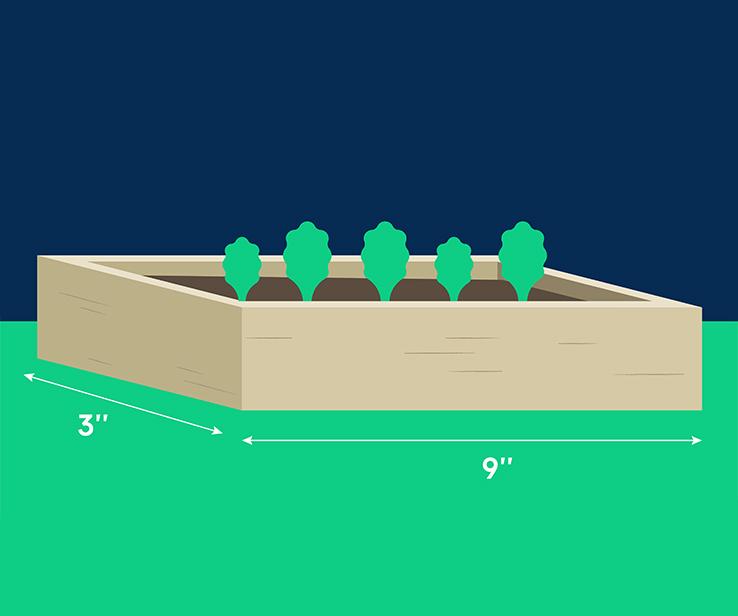
Drawing of a grow tunnel planDrawing of a grow tunnel

1
Plan Your Project

  • 1.1Choose a space with lots of sunlight, ideally near the house for easy access.
  • 1.2Make a plan before you get started. To ensure that the structure can support the weight of the sheeting and any snow accumulation, install an arch at each end of the garden bed, as well as an arch every 2’ to 4’.
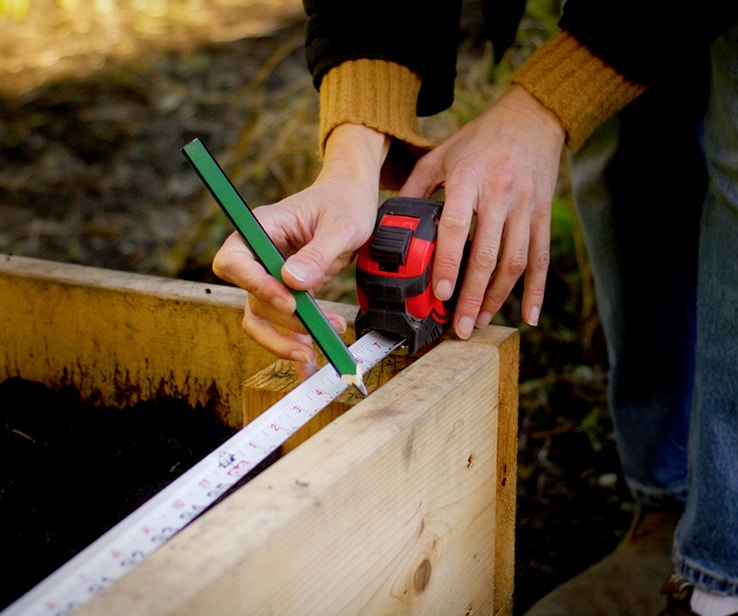
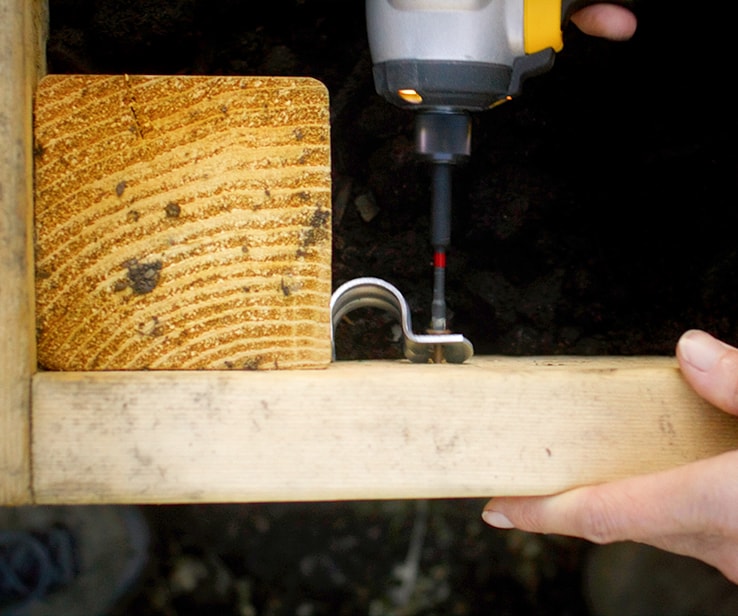
Woman measuring a wooden raised bedWoman securing metal straps onto a wooden plank

2
Secure Straps to the Garden Bed

  • 2.1Depending on the desired number of arches and their location, mark where the steel straps should be attached on each side of the garden bed, making sure they are aligned.
  • 2.2Secure the straps in place using treated-wood screws.
Woman cutting a pipeWoman creating an arch with a pipe

3
Make the Arches

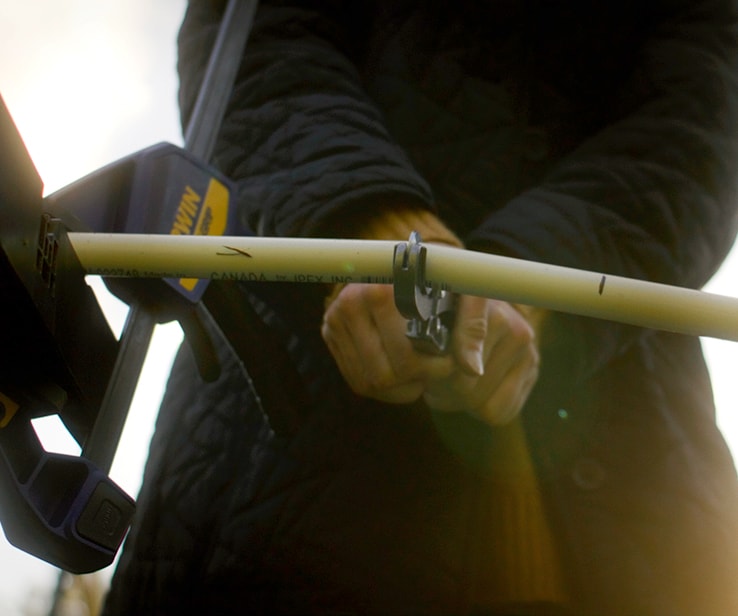
  • 3.1Insert a pipe on one side so that you can fold it towards the other side to determine how much you will need to cut to get an arch of the desired height. For vegetables that require more height space (such as kale, broccoli, and chard), a very pronounced arch will be required.
  • 3.2Mark the pipe with a permanent marker. Measure, then transfer the mark to the other pipes so they are all cut to the same length.
  • 3.3Place each pipe, one at a time, on a table or workbench and secure with a clamp.
  • 3.4Use a plastic tube cutter to cut along the mark.
  • 3.5Repeat for all other pipes.
  • 3.6Insert the pipes into the straps to form arches.
icon-bulb

Pro Tip

SCH40 PVC pipes are an affordable and practical option for this project. They are UV resistant and durable, and create a stable, sturdy tunnel that will withstand the wind and the weight of the snow for years to come.

Woman cutting a white plastic sheetWoman securing a plastic sheet with clamps

4
Cut and Install the Sheeting

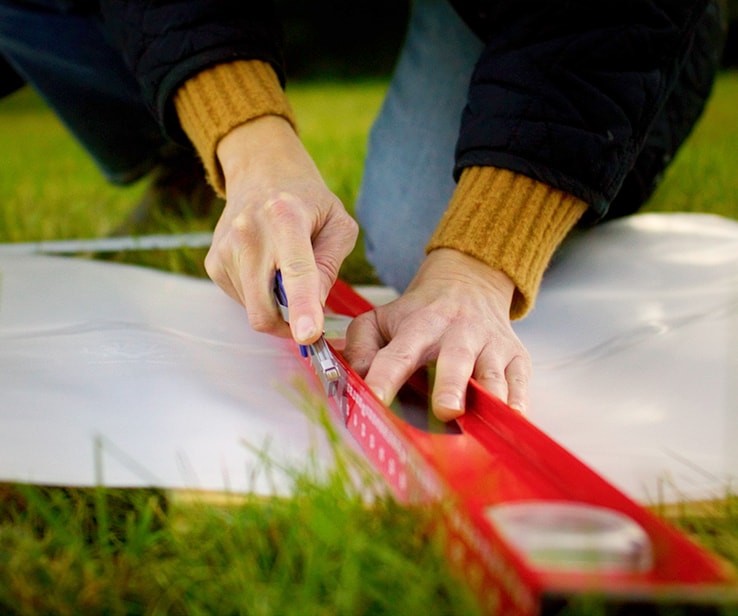
  • 4.1Cut the sheeting to the size you need with a utility knife.
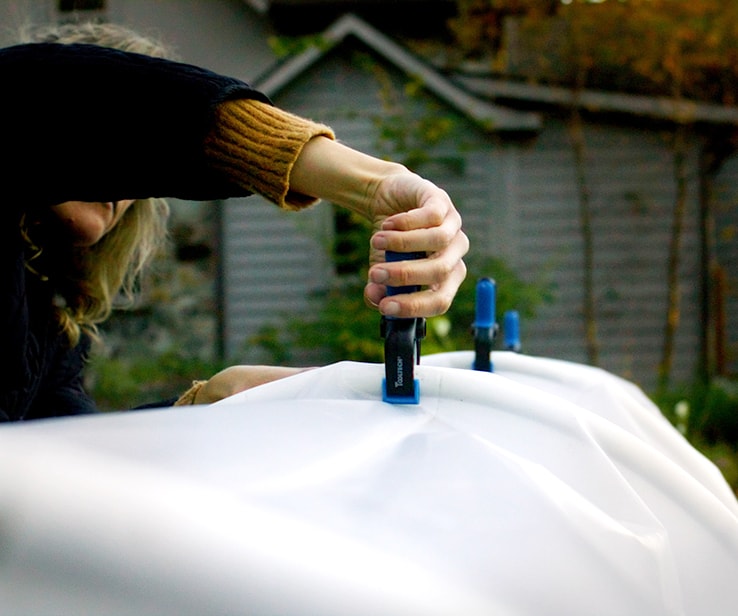
  • 4.2Attach the sheeting to the arches using jaw clamps.
icon-bulb

Pro Tip

A 6-mil-thick polyethylene vapour barrier is a great choice for this project. This transparent plastic is UV resistant and weather resistant. It also creates a beautiful greenhouse effect.

Woman closing a grow tunnel

5
Add the Finishing Touches

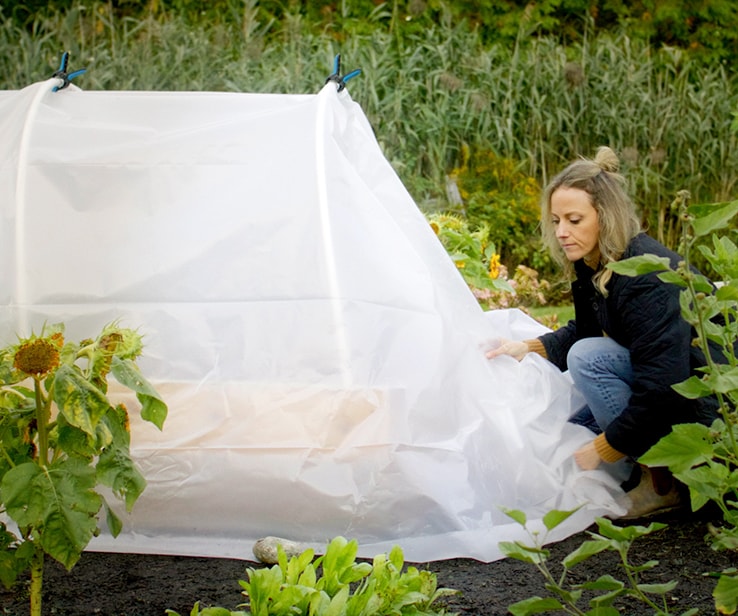
  • 5.1Twist the sheeting at both ends and attach it with a piece of rope.
  • 5.2If the tunnel is exposed to high winds, add a few rocks or pieces of wood to the edges to hold it in place. The rope can also be secured to the ground with stakes to make it even more solid.

Use and Maintain a Grow Tunnel

Crop Selection – It is important to choose crops that tolerate cold well, such as lettuces, spinach, root vegetables, green onions, and kale.

PlantingWe recommend building the tunnel in the spring. As soon as the soil can be worked, sowing can be done directly under the tunnel. Direct sowing is not recommended in the fall. Since plant growth slows down a lot with cold temperatures, the plants would not have time to grow before the arrival of winter.

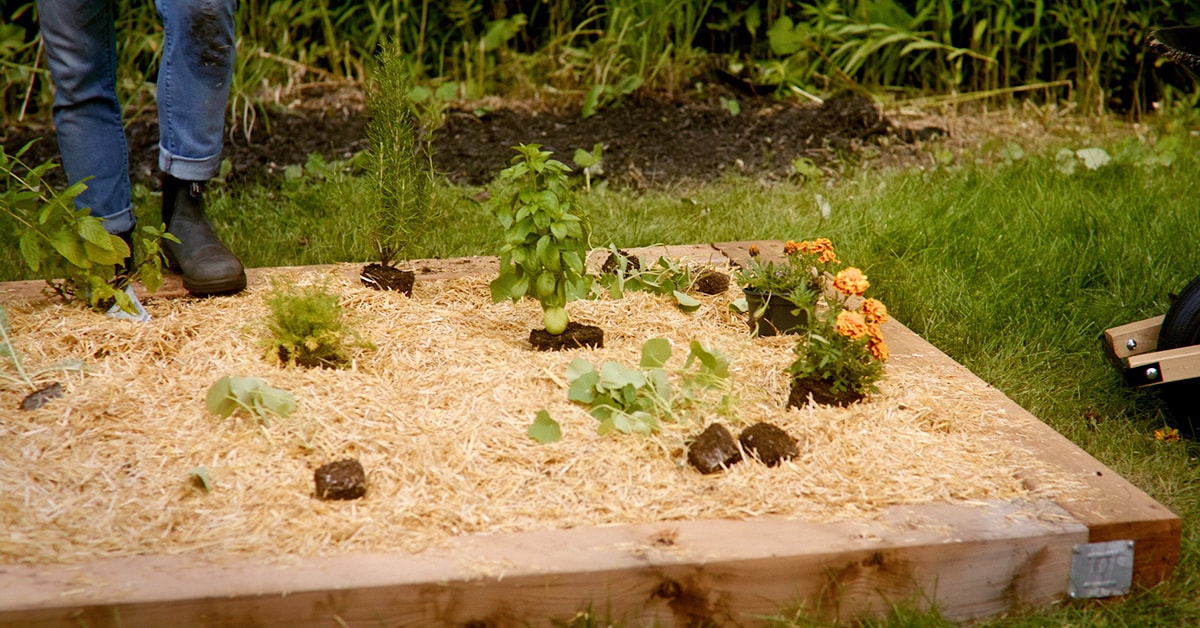
Mulching – We also recommend adding mulch around the plants to protect them from the cold and to keep in the moisture and heat.

WateringSince the fabric does not let as much rainwater through, be sure to water well.

TemperatureIn the summer, the temperature will rise drastically inside the tunnel, which could damage or destroy crops. We recommend removing the sheeting completely. However, the arches can be left in place and used to install insect netting, for example.

Ventilation – It is also crucial to ventilate the tunnel during the warmer days in the spring and fall. Simply raise the sides of the tunnel during the day, securing them with jaw clamps to ensure proper air circulation. Remember to close the tunnel for the night.

MaintenanceIn the winter, make sure to clear the tunnel quickly to prevent it from collapsing under the weight of the snow and to allow as much light as possible to pass through.

Disclaimer

These DIY projects are provided for informational purposes only. The information contained in RONA’s DIYs is intended to provide general guidelines to simplify jobs around the house. Because tools, products, materials, techniques, building codes, and local regulations are continually changing, RONA inc. assumes no responsibility for the accuracy of the information contained herein and disclaims any liability for the omissions, errors, or outcome of any project. RONA inc. makes no representation on the feasibility of any project and the viewer bears all risks coming with the realization of the projects. It is the responsibility of the viewer to ensure compliance with all applicable laws, rules, codes, and regulations for a project. The viewer must always take proper safety precautions and exercise caution when taking on any project. If there is any doubt in regard to any element of a project, please consult a licensed professional. 

Suggested Products

SHOP SMALL GARDENING TOOLS