Share
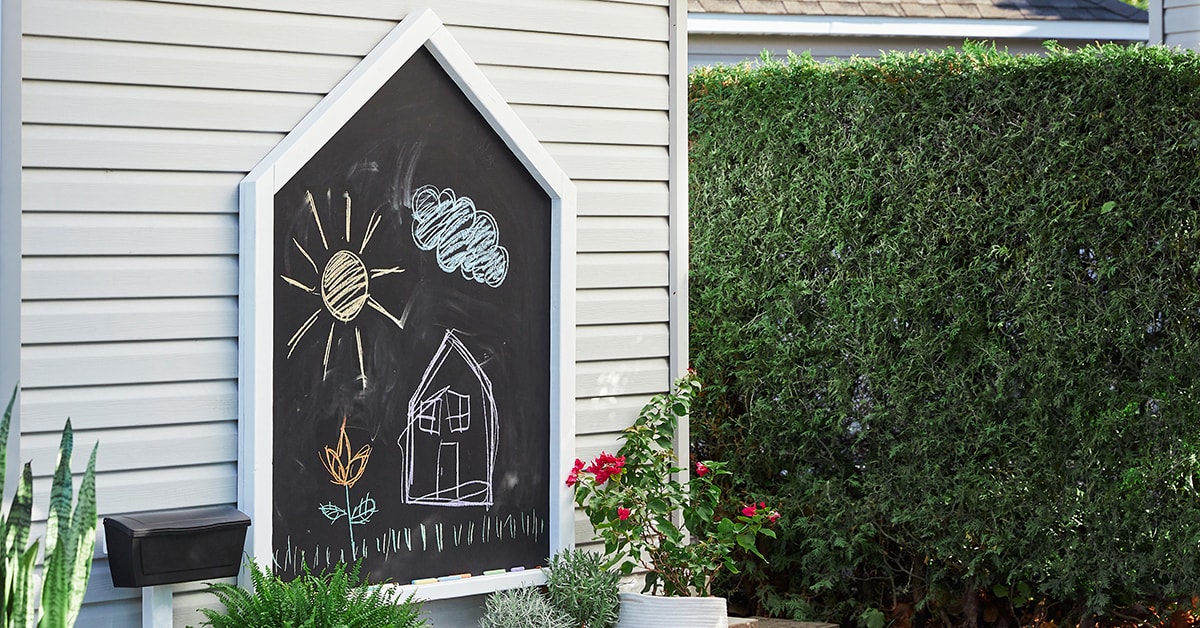
House-shaped chalkboard in a backyard
Do it yourself

How to Build an Outdoor Chalkboard

This outdoor chalkboard will bring joy to young and old this summer. Plus, it’s totally cute! Discover how to build one yourself in just a few hours.

Difficulty level: Easy
Duration: 3 hours
DOWNLOAD THE PLAN
Before You Start
Who said only kids could play with this cute DIY blackboard? You can use it to plan out your garden maintenance chores, list the vegetables that are ready to harvest, or even write a fun message for an outdoor party.

For this project, select a plywood sheet with a slick finish and no knots so the drawing surface is a smooth as possible. In our stores, there are often wood and plywood cuttings next to the cut shop—feel free to have a look!
1

Cut the Plywood Sheet

  • 1.1 - Secure your plywood sheet on your workbench using clamps, making sure the section you want to cut hangs over the edge.
  • 1.2 - Cut the plywood sheet into a 48” x 60” piece.

Pro Tip

If you’re not comfortable with the previous steps, head to the cut shop at your local RONA store.
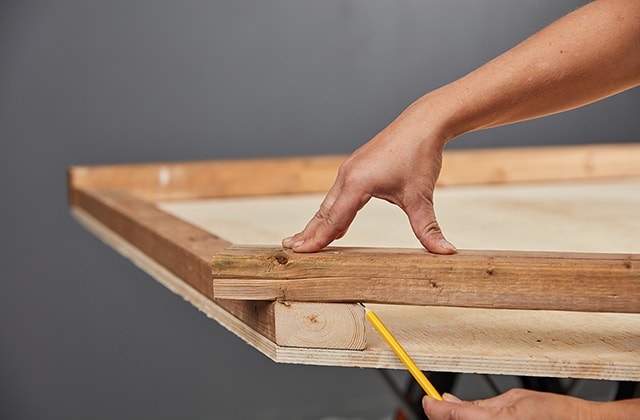
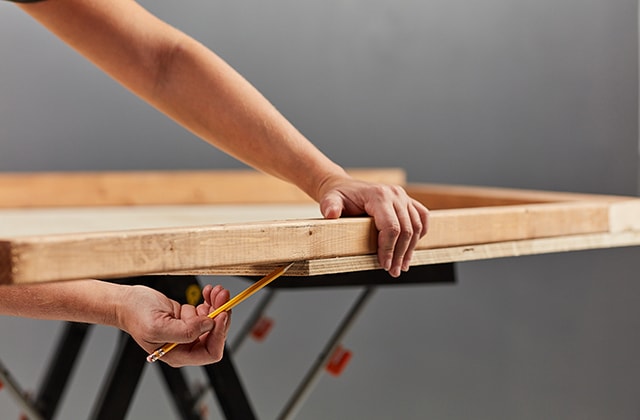
Person tracing a line on a plywood sheet
Person cutting a plywood sheet with a circular saw
2

Cut the House Shape

  • 2.1 - Draw a mark in the middle at the top of the sheet (48” side).
  • 2.2 - Draw a mark at 42” from the bottom of the board on each 60” side.
  • 2.3 - Trace lines connecting the middle mark and the marks on the side.
  • 2.4 - Using a circular saw, cut the plywood by following the lines to give it the shape of a house.
Person cutting a piece of wood using a mitre saw
3

Measure and Cut the Base

  • 3.1 - Cut a 2x3 A to a length of 48” using a mitre saw.
  • 3.2 - Place piece A in its intended location—the bottom of the house—but don’t screw it in place just yet.

Pro Tip

You can place piece A on its thinnest side against the plywood to leave more room for the chalk.
Person tracing an angle to cut on a piece of wood
Person using a mitre saw to cut wood at an angle
4

Measure and Cut the Sides

  • 4.1 - Place a 2x3 B on one of the sides of the house, then trace the angle to cut.
  • 4.2 - Cut piece B following the drawn angle.
  • 4.3 - Repeat the previous steps for the other side of the house.
  • 4.4 - Place both B pieces in their intended location—the sides of the house—but don’t screw them in place just yet.
Person placing a piece of wood over another piece to trace an angle
Person tracing an angle to cut on a piece of wood
Person tracing an angle to create the roof of a house shape
5

Measure and Cut the Roof

  • 5.1 - Place a first 2x3 piece C along one of the sides of the roof making sure it follows the edge of the roof up to the tip.
  • 5.2 - Next, place a second piece D on the roof’s other edge. This second piece must be placed on top of one of the B pieces and piece C.
  • 5.3 - Make sure that everything is aligned with the edges of the plywood, then trace the cut angles to reproduce (at both ends).
  • 5.4 - Reverse the wood pieces then trace the cut angle on the piece C next to the side of the house B. Don’t trace and cut the angle of the roof tip at this point.
  • 5.5 - Cut all the traced angles.
  • 5.6 - Finally, place piece C (with only one angle cut), then trace the cut angle to reproduce for the roof tip. Cut the traced angle.
Person sanding a plywood sheet using a sander
6

Sand Everything Down

  • 6.1 - Using an orbital sander with 120-grain sandpaper, sand down all cuts on the 2x3s, the plywood’s surface, and the edges. Then, use 220-grain sandpaper for the finish.
Person painting a plywood sheet black
7

Paint the Chalkboard and Its Frame

  • 7.1 - Remove the dust from sanding using a dry rag.
  • 7.2 - Apply 2 coats of chalkboard paint to the plywood and 2 coats of outdoor paint to the 2x3 pieces, making sure to wait for the required drying time between each coat.
Person assembling a wooden chalkboard
8

Assemble Your Project

  • 8.1 - Using 1 3/4” treated wood screws, secure the 2x3s from under the plywood.
  • 8.2 - Install the anchor hardware behind the blackboard based on where it will be mounted.

Disclaimer

These DIY projects are provided for informational purposes only. The information contained in RONA’s DIYs is intended to provide general guidelines to simplify jobs around the house. Because tools, products, materials, techniques, building codes, and local regulations are continually changing, RONA inc. assumes no responsibility for the accuracy of the information contained herein and disclaims any liability for the omissions, errors, or outcome of any project. RONA inc. makes no representation on the feasibility of any project and the viewer bears all risks coming with the realization of the projects. It is the responsibility of the viewer to ensure compliance with all applicable laws, rules, codes, and regulations for a project. The viewer must always take proper safety precautions and exercise caution when taking on any project. If there is any doubt in regard to any element of a project, please consult a licensed professional.

Suggested products

SHOP OUTDOOR TOYS AND GAMES