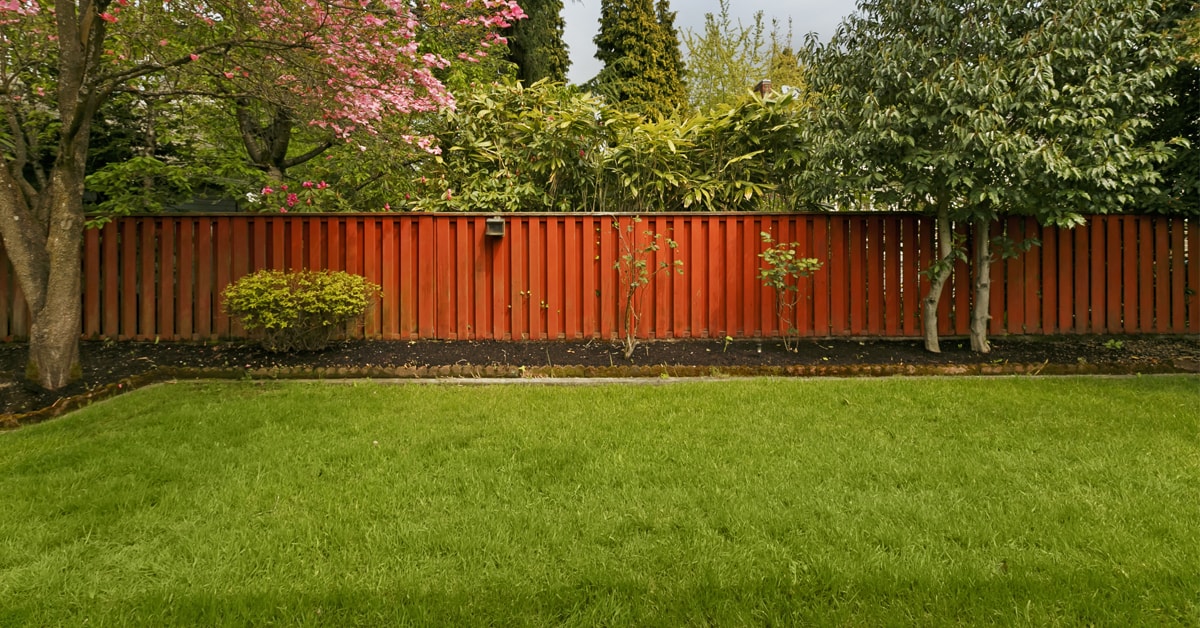
Install pre-assembled fence panels

Fence in your property with prefab panels
Are you craving some more privacy in your backyard? The solution is simple: install a fence! We offer a wide selection of prefab wood fence panels, ideal for creating your own backyard retreat. One weekend, some basic tools, and a few friends to help out is all this project requires.
Difficulty level: Intermediate
Duration: 2 days
Codes and Regulations
Every municipality has its own codes and zoning regulations. Contact your local building department to find out if you need a building permit.

Consult Fencing: Planning and Installation. This guide explains what you need to know about soil conditions, obstacles such as trees and fences, and the importance of respecting property lines, easements and encroachments.

Determine the location of the fence and install the foundation

Read The right foundation for your fence: choose and install. It will explain how to mark the location of the fence posts and how to choose the foundation that suits the type of soil in your backyard. For more information, our guide to property fencing planning and installation is very useful.

1

Calculate and prepare materials

  • 1.1 - Calculate the total length of the fence.
  • 1.2 - For fence panels 96" wide, plan for one section and one post per 100" of the yard to be fenced in, plus one additional post to complete the fence.
  • 1.3 - Prepare your materials for each section:
    • 1 post, 4" x 4" x 10ꞌ
    • 1 pre-assembled fence panel
    • 2 joist hangers for the bottom of the panels
    • 4 corner braces for the top of the panels
2

Install the hangers and braces

  • 2.1 - Mark the location of the lower hangers on the posts, approximately 4" from the ground if the ground is completely level.
  • 2.2 - Ensure the location markers are level and the same height.
  • 2.3 - Mark the location of the upper corner braces 60" above the marks made for the lower hangers.
  • 2.4 - Screw the hangers to the bottom of each post and on all sides.
3

Secure the panels

  • 3.1 - Insert the panel into the hangers, which must be centered between two posts and screw in.
  • 3.2 - Screw the braces into the top of the posts on one side.
  • 3.3 - Ensure the panel is level and plumb.
  • 3.4 - Screw the braces into the panels on the other side.
  • 3.5 - Repeat these steps for each section.
  • 3.6 - Ensure that each panel is the same height as the preceding panel.
4

Trim the posts

  • 4.1 - Mark the desired height on all four sides of the posts. 4" above the panels is ideal.
  • 4.2 - Use a circular saw to make the cuts. Since the blade size will likely be too short to cut all the way through the post, you’ll have to make at least two cuts.
  • 4.3 - Nail on the fence post caps.

Suggested products