Updated on July 11, 2024
How to Build an Easy Wood Pergola
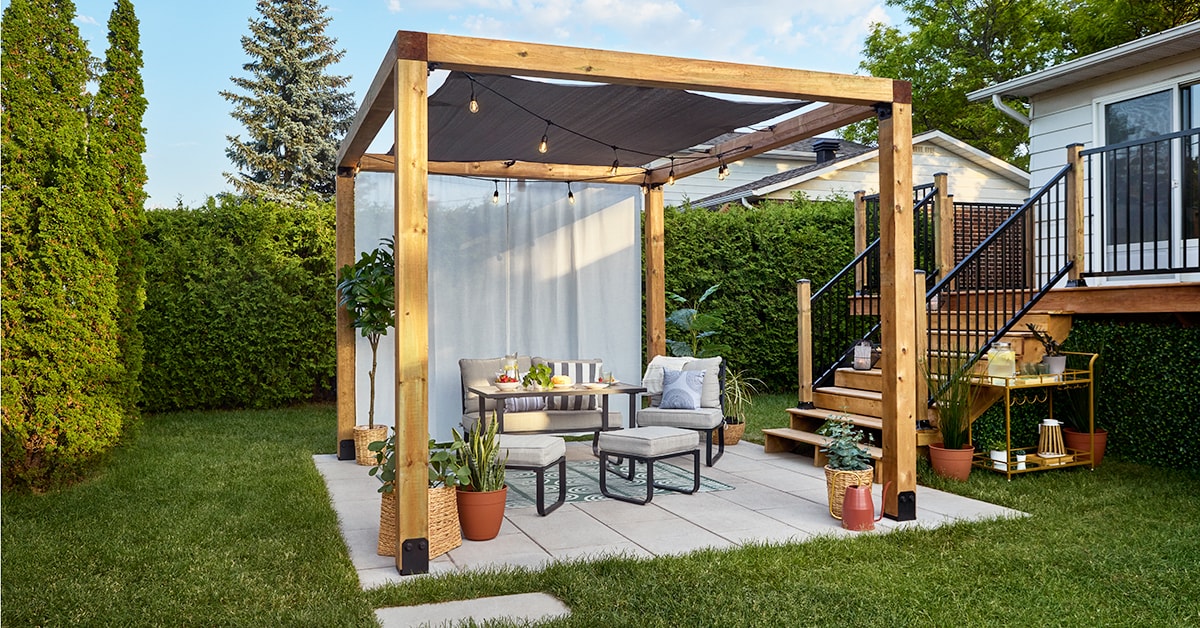
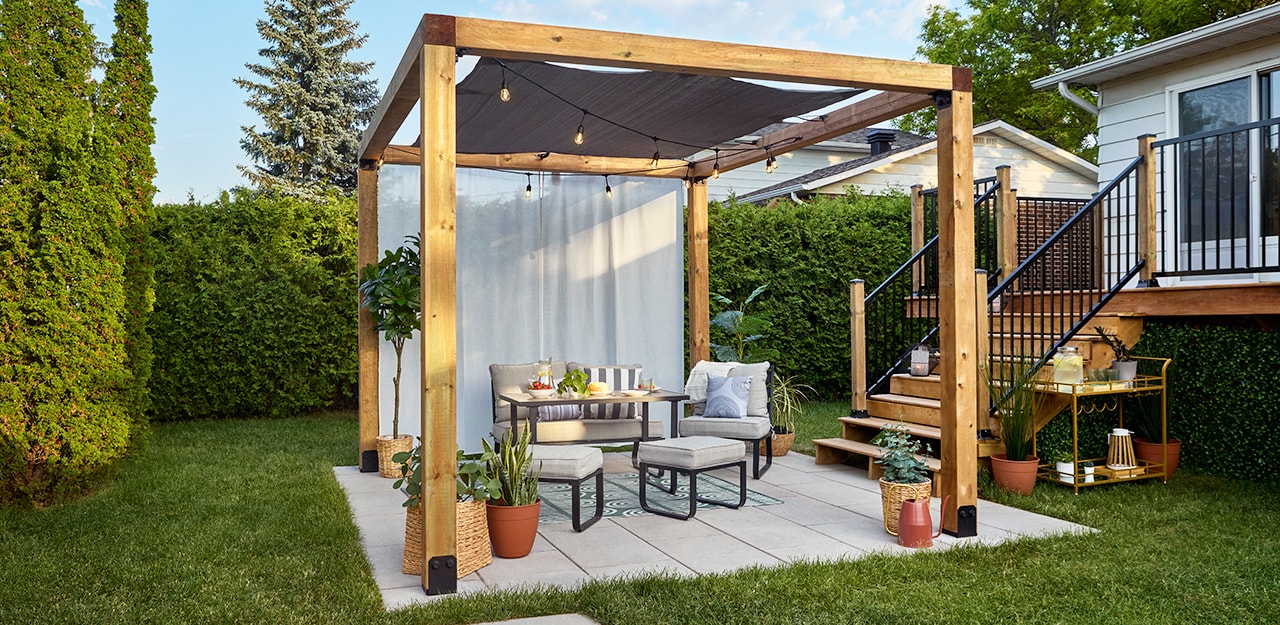
Building a wooden pergola is a simple and affordable way to spruce up any outdoor living space. Plus, it’s easier than you think! Read on for our step-by-step guide and list of materials and tools needed to build a pergola similar to the one seen on the reality TV series Le grand chantier RONA.
Use a Pergola Hardware Kit
1Install the Bases
- 1.1Determine the location of the bases using a tape measure then mark the holes with a pencil.
- 1.2Check measurements and make sure everything is square before proceeding.
- 1.3
Make sure to choose the right procedure to ensure that the bases are securely fixed in place:
- Wood or composite: Use nuts and bolts or lag screws.
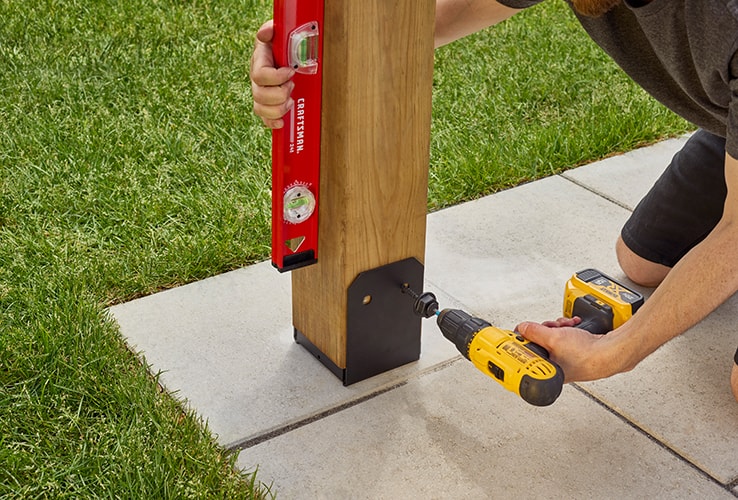
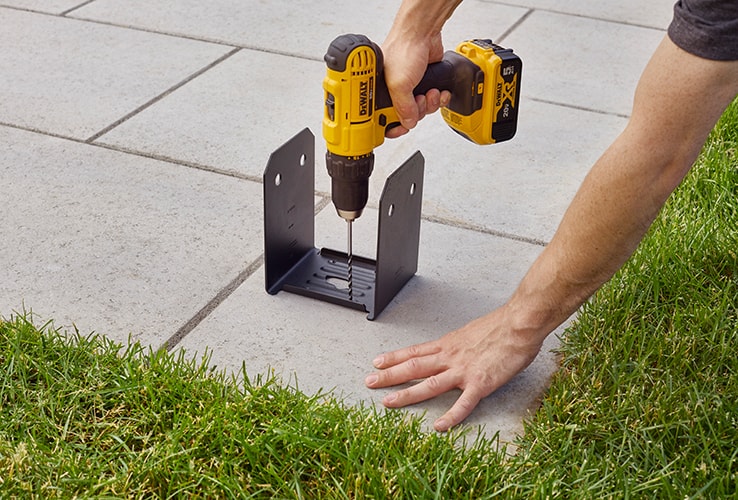
- Patio stones or concrete platform: Pre-drill holes using a concrete drill bit, then secure the post bases in place using concrete screws. Make sure to drill the holes at least 4” from the edge of the patio stones to avoid cracking them.
- Grass: Drive stakes into the ground.
2Add the Uprights
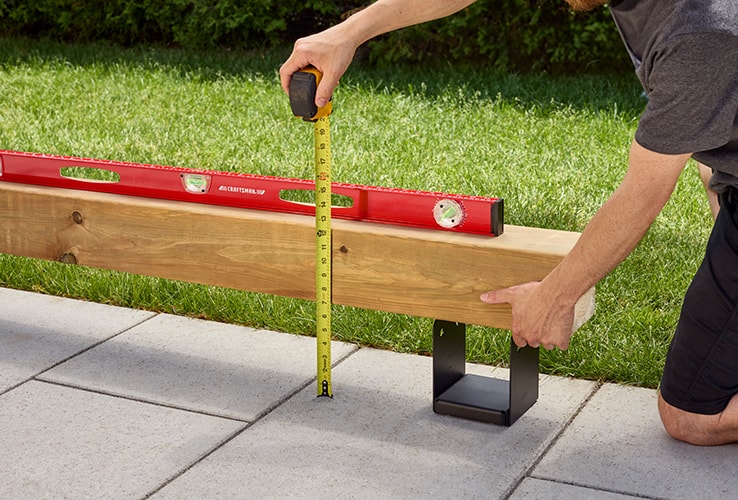
- 2.1Check for level differences between the bases using a 4x4 and a 4’ level. If the bases are not the same height, measure the difference and cut the highest 8’ 4x4 as needed with a mitre saw or circular saw.
- 2.2Secure an 8’ 4x4 into each base.
- 2.3Use a level to make sure that each beam is straight before securing it in place.
Pro Tip
It may be practical to install temporary angled legs on the various uprights to keep them level. Note, however, that this will leave screw holes in the uprights.
3Assemble and Install the Roof
- 3.1Measure the distance between the outside of the two uprights on the longest sides and transfer this measurement to the 12' 4x4s.
- 3.2Cut the 12' 4x4s to size.
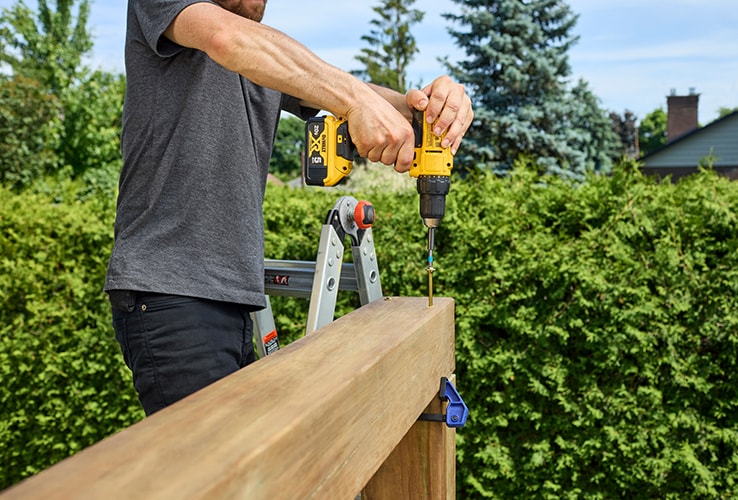
- 3.3Pre-drill then install the cut 4x4s by securing them using treated wood screws (from the top).
- 3.4Measure the distance between the inside of the two uprights on the remaining sides, then transfer this measurement to the 8' 4x4s and cut to size.
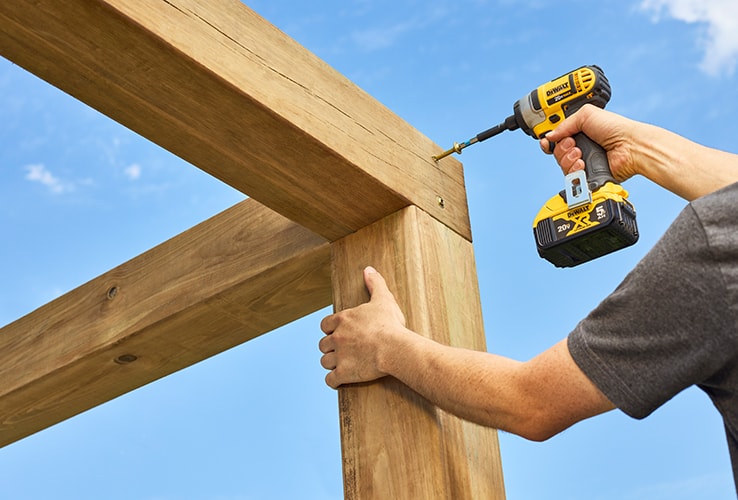
- 3.5Pre-drill then install the two cut 8’ 4x4s by securing them using treated wood screws (from the side).
Pro Tip
To prevent the screws from colliding and avoid the need to drill to new holes, the top screws should be placed at the widest possible angle, and the side screws should be placed more centrally, one on top of the other.
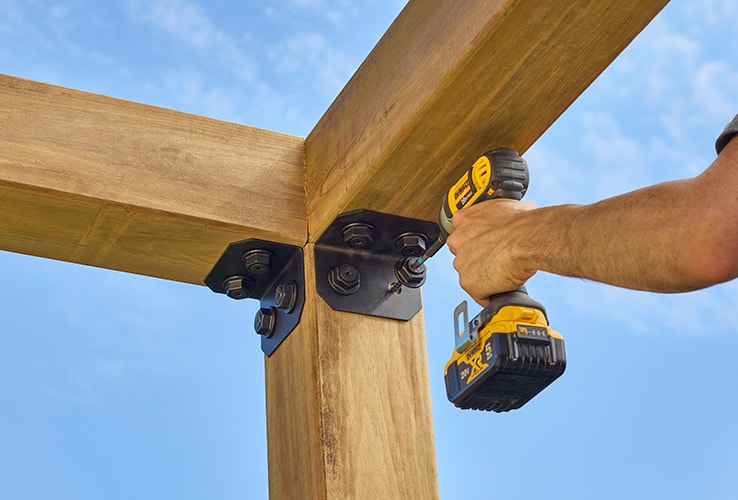
4Add the Corner Brackets
Customize the Pergola
Disclaimer
These DIY projects are provided for informational purposes only. The information contained in RONA’s DIYs is intended to provide general guidelines to simplify jobs around the house. Because tools, products, materials, techniques, building codes, and local regulations are continually changing, RONA inc. assumes no responsibility for the accuracy of the information contained herein and disclaims any liability for the omissions, errors, or outcome of any project. RONA inc. makes no representation on the feasibility of any project and the viewer bears all risks coming with the realization of the projects. It is the responsibility of the viewer to ensure compliance with all applicable laws, rules, codes, and regulations for a project. The viewer must always take proper safety precautions and exercise caution when taking on any project. If there is any doubt in regard to any element of a project, please consult a licensed professional.


