Share
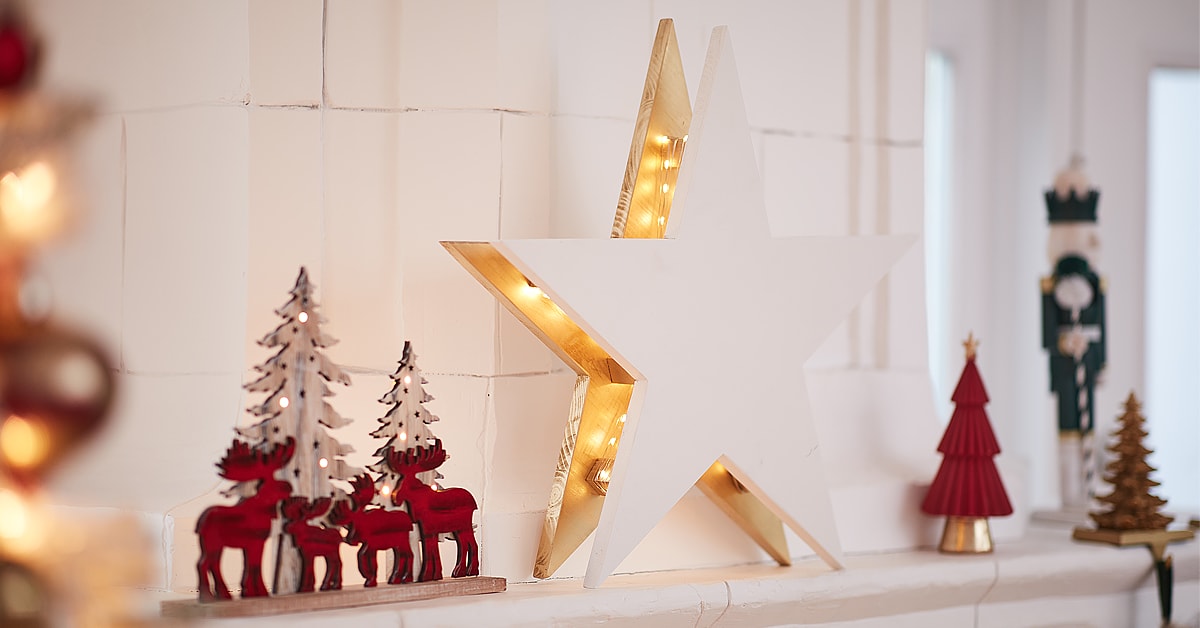
Wooden double star with lights on a shelf
Do it yourself

How to Make a Double Christmas Star with Lights

Create a warm and celestial atmosphere for the Holidays with this elegant wood star. Its stacked design with integrated lights is the perfect match for every type of Christmas decor.

Person cutting a sheet of paper
Animated image of a person tracing a star on a wooden board
1

Trace the Stars onto the Board

  • 1.1 - Trace the shape to cut out onto the board, then extend the lines using a pencil to create the star’s points.
  • 1.2 - Repeat to create a second star.
Person cutting wood with a jigsaw
Person using a power sander
2

Cut and Sand the Star Shapes

  • 2.1 - Using a circular saw, cut each of the star’s points by following the lines, without getting too close to the corners.
  • 2.2 - Finish the cutting using a jigsaw.
  • 2.3 - Repeat the previous steps for the second star.
  • 2.4 - Sand the two stars using a power sander and sandpaper. You can also sand them by hand.
Person cutting a wooden stick
Person marking a piece of wood with a pencil
Person using a power nailer
3

Cut and Secure the Spacers

  • 3.1 - Cut the wooden stick into ten 2” long segments.
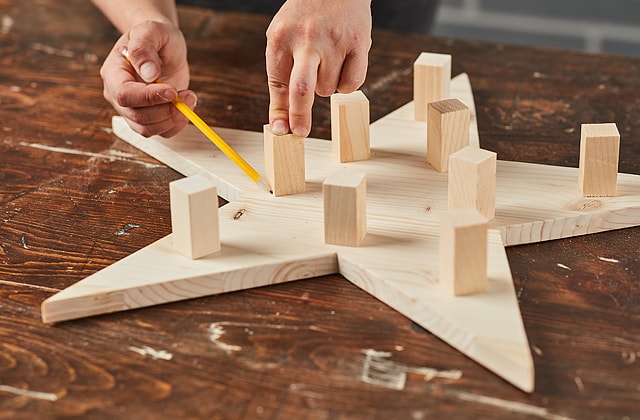
  • 3.2 - Determine and mark the spacer locations as benchmarks for securing them.
  • 3.3 - Secure each spacer to the star using two finish nails.

Pro Tip

If needed, use wood glue to hold the spacers in place before nailing them.
Person putting masking tape on a wooden star
Person spray painting wood gold
Person rolling string lights around a wooden star
4

Paint the Star’s Interior

  • 4.1 - Tape the sides of both stars using masking tape.
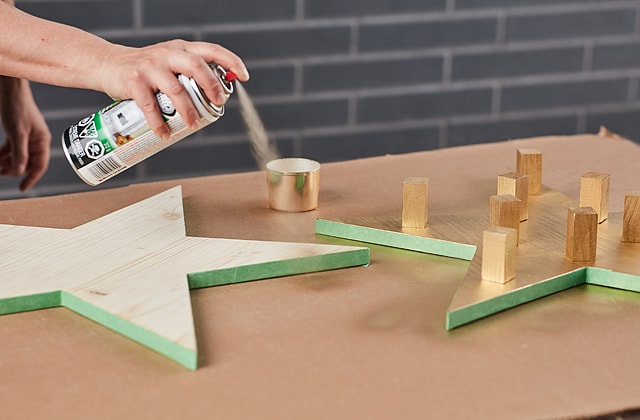
  • 4.2 - Paint the insides of the stars as well as the spacers using gold spray paint.
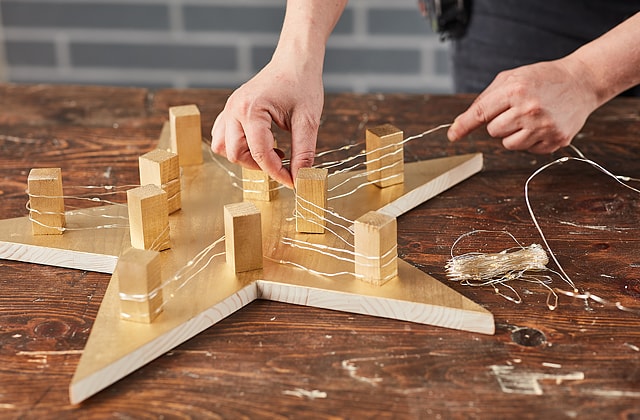
  • 4.3 - Once the paint has dried, wrap string lights around the spacers, maintaining a slight tension on the wire.
Person assembling a wooden star
Person applying wood filler with a putty knife
5

Assemble Your Project

  • 5.1 - Add the front star and secure it in place using finish nails.
  • 5.2 - Fill the holes using the putty knife and wood filler, then sand them down.
Person applying white paint with a roller
6

Add the Finishing Touches

  • 6.1 - Using white paint, carefully paint the surface of the front star, as well as the sides of both stars.
  • 6.2 - The star can be hung on a wall using screw eyes. Alternatively, place it on a table or fireplace mantel.

Suggested products