Share
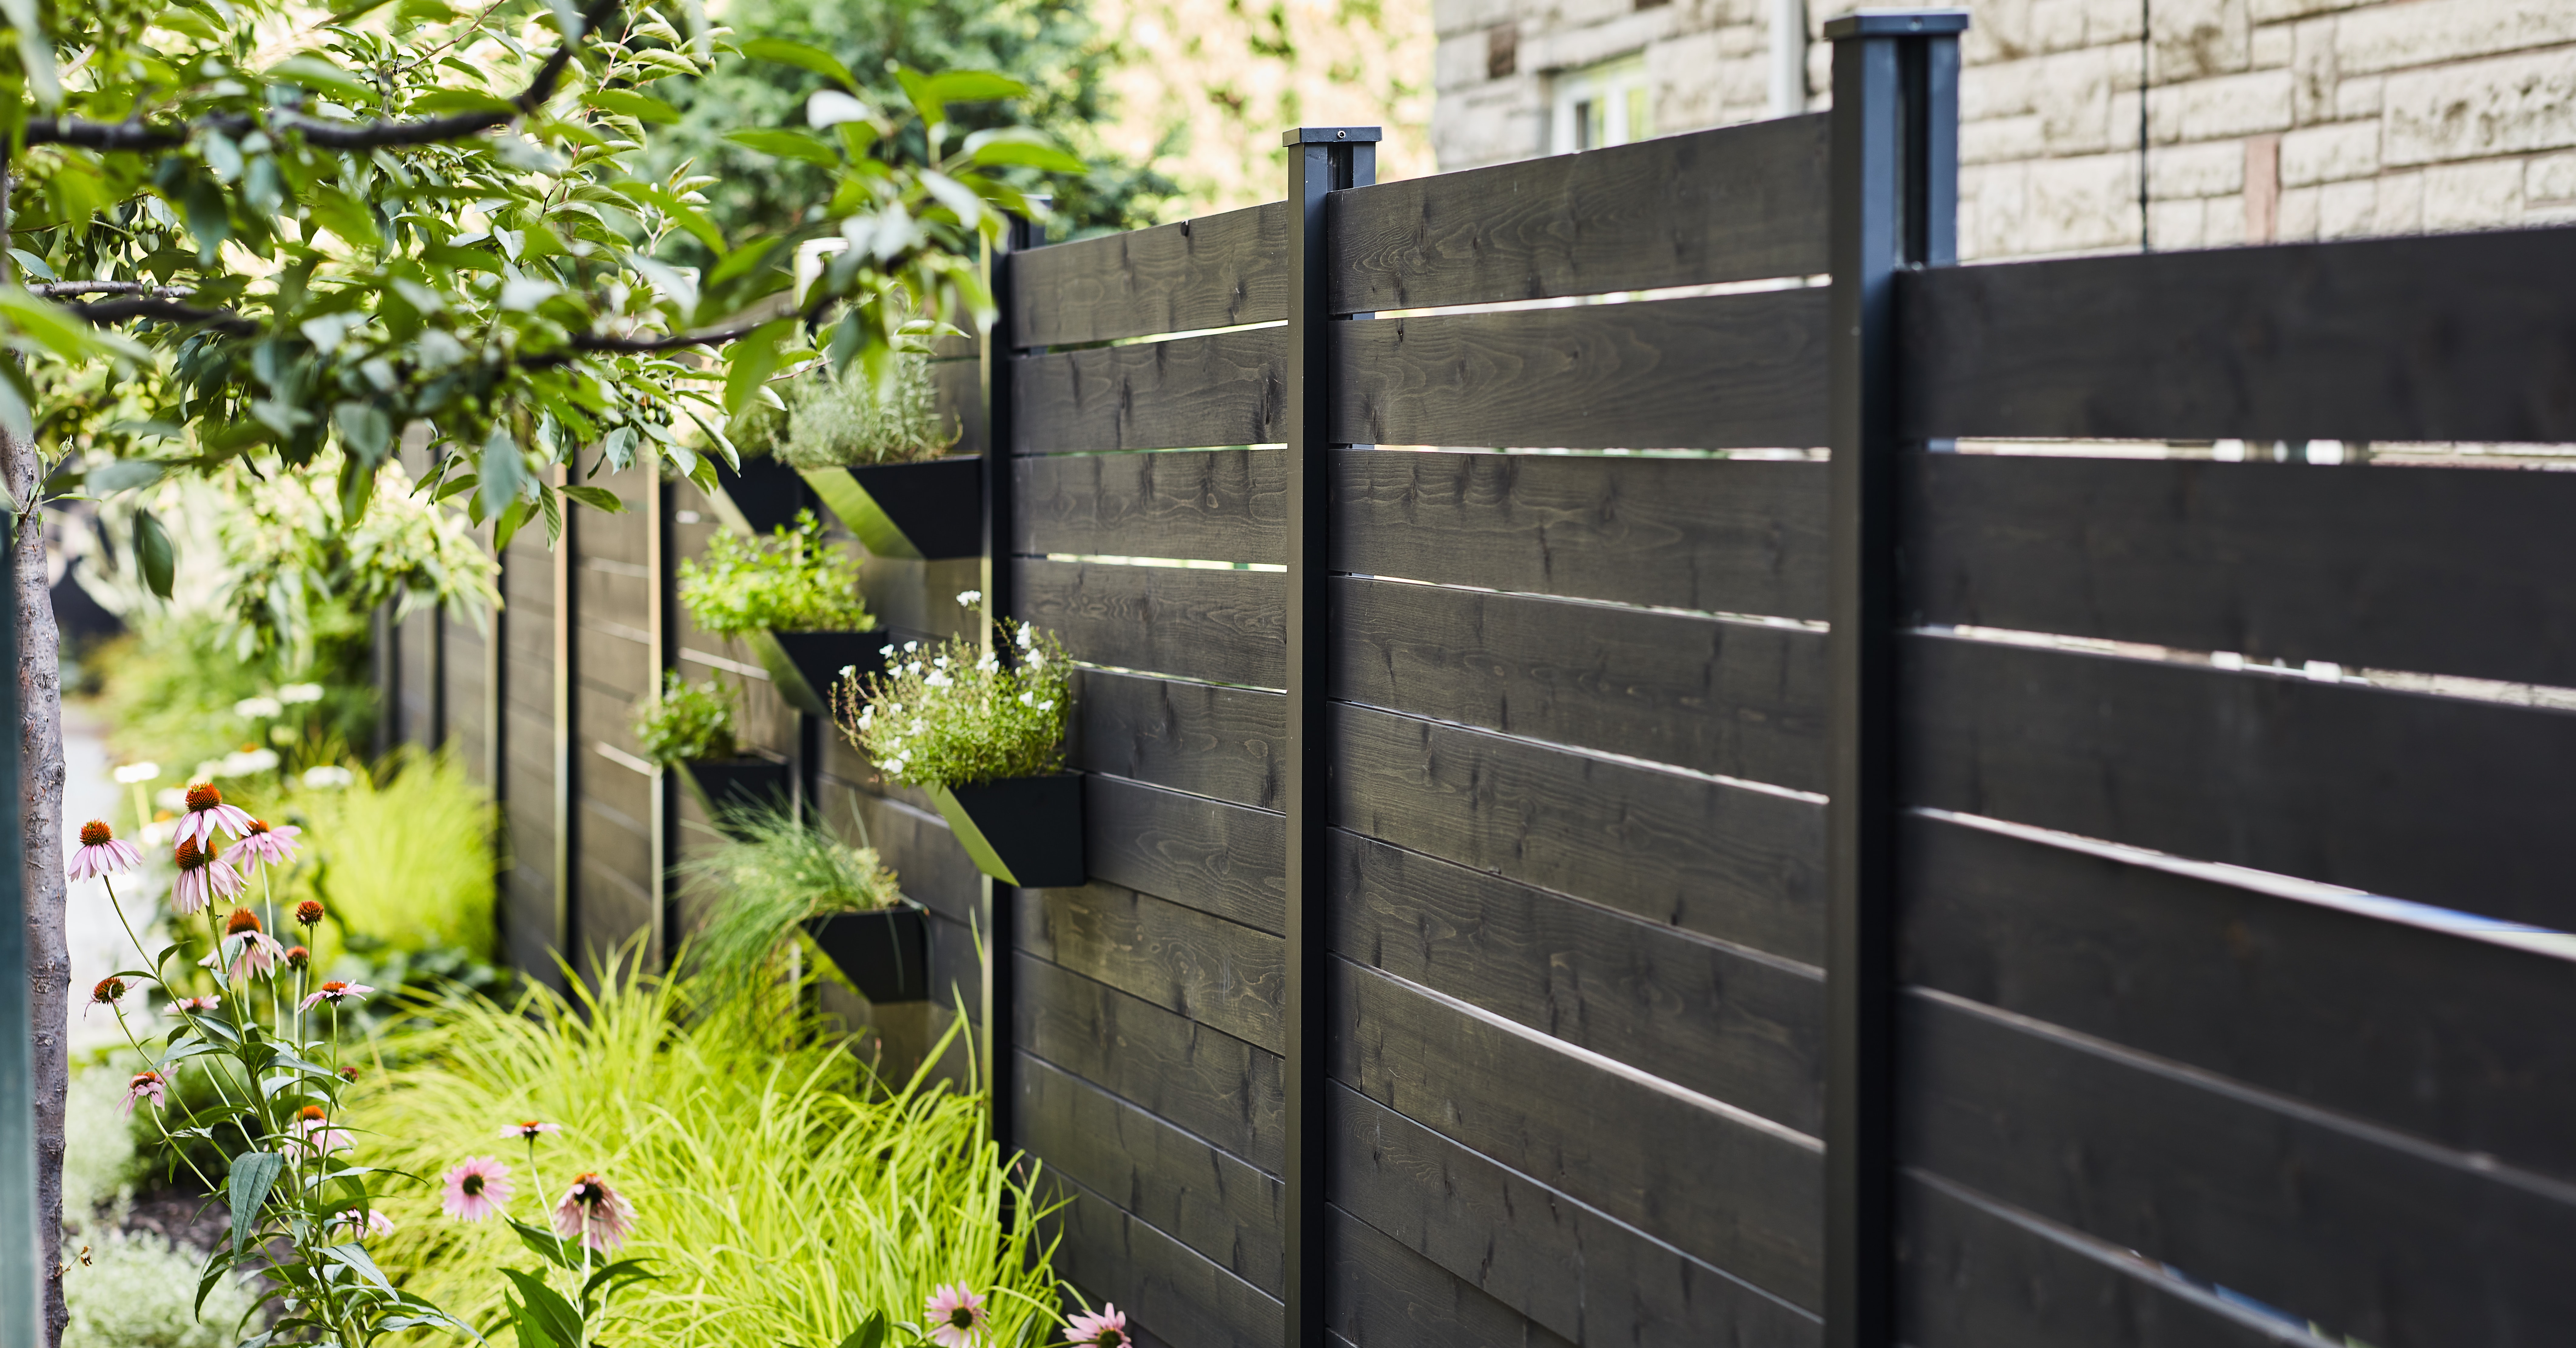
Modern black garden fence with planters
Do it yourself

How to Choose and Install a Foundation for Your Fence

When you install a garden fence around the backyard, you enhance both your privacy and safety. This guide outlines the steps for installing the five most common types of foundation and specifies the ideal soil and ground conditions for each one.

Difficulty level: Intermediate
Duration: 1 weekend
Codes and Regulations
Municipalities have regulations and bylaws that govern the installation of fences and hedges, so make sure you are aware of any regulations that might apply.

Before you undertake a fencing project, locate the precise boundary of your property, lay out an installation plan, then measure the total length.
Backyard with rope and markers
Measure and identify the location of the fence around your property

Identify the Location of the Fence

  • Use stakes to identify the corners of the proposed fence.
  • Run a string between the stakes to mark the layout.
  • Ensure that the corners are square and that the diagonal lengths are identical.
  • Verify that the proposed fence will be entirely within your property lines.
  • Mark the locations for the 4" x 4" posts. On-centre spacing (centre of post to centre of post) may be 4', 6' or 8' depending on the size of the fence panels. Rest the posts on the string, all on the same side.
  • Ensure that the spacing at the corners is never less than 2'. Reposition the posts if necessary.
  • Locate gates and entrances.
  • Double-check that there are no cables, pipes or electric wires under the proposed fence.

Pro Tip

The shorter the distance between posts, the more solid your fence structure will be.
Foundation for fence posts set directly in the ground
1

Posts and Concrete Directly in the Ground

PROS
  • Installation is quick and easy
  • Solid results on even terrain

CONS
  • Ground must be compact and well drained to succeed

  • 1.1 - Dig post holes 10" to 12" in diameter and 3' 6" to 4' deep.
  • 1.2 - Pour a 6" layer of 0-¾ crushed stone into the bottom of each hole and compact.
  • 1.3 - Apply wood preservative to the section of the posts that will be below-ground.
  • 1.4 - Insert a post and align with the string.
  • 1.5 - Ensure the post is plumb, all four sides.
  • 1.6 - Use wood supports to stabilize.
  • 1.7 - Use concrete or stone dust to consolidate.
  • 1.8 - Check again that the post is level. Add wood supports if necessary.
  • 1.9 - Fill the post cavity with concrete up to ground level.
  • 1.10 - Mound the concrete around the fence post so that water will drain away.
  • 1.11 - Repeat for the remaining fence posts. Always verify the distance between posts and that each post is level
  • 1.12 - Wait 24 hours before installing fence panels
  • 1.13 - Apply a silicone seal to the base of each post to prevent water from penetrating.

Pro Tip

To prevent wood rot, maintain approximately 5" between the ground and the base of the fence posts.
Foundation for fence posts inserted into form tubes
Foundation for fence posts inserted into form tubes (sonotubes)
2

Posts in Form Tubes (Sonotubes)

PROS
  • Most solid and secure method
  • Ideal for sloping ground and areas exposed to windy conditions
  • Suitable for both wood and metal posts

CONS
  • The most time-intensive method

  • 2.1 - Dig post holes 10" to 12" in diameter and 3' 6" to 4' deep.
  • 2.2 - Pour a 6" layer of 0-¾ crushed stone into the bottom of each hole and compact.
  • 2.3 - Insert the form tube (sonotube).
  • 2.4 - Use wood supports to secure the tube in position.
  • 2.5 - Apply wood preservative to the section of the post that will be below-ground.
  • 2.6 - Centre the post in the tube and use wood supports to stabilize.
  • 2.7 - Ensure the post is level, all four sides.
  • 2.8 - Fill the form tube with concrete up to ground level.
  • 2.9 - Form a mound on the concrete surface so that water will drain away from the post.
  • 2.10 - Fill the hole around the tube with stone dust to 1" above ground level.
  • 2.11 - Lightly water the surface in order to compact the stone dust.
  • 2.12 - Repeat for the remaining posts. Always verify the distance between posts and that each post is level
  • 2.13 - Wait 24 hours before installing the fence panels.
  • 2.14 - Apply a silicone seal to the base of each post.
Foundation for post base hangers set in form tubes
Foundation for post base hangers set in form tubes (sonotubes)
3

Posts in Post Base Hangers

PROS
  • Very solid, stable method
  • Minimizes wood rot
  • Accommodates sloping ground

CONS
  • Installation takes more time
  • More expensive due to the cost of the post base hangers

  • 3.1 - Dig post holes 10" to 12" in diameter and 3' 6" to 4' deep.
  • 3.2 - Pour a 6" layer of 0-¾ crushed stone into the bottom of each hole and compact.
  • 3.3 - Insert the form tube (sonotube).
  • 3.4 - Use wood supports to secure the tube in position.
  • 3.5 - Fill the form tube with concrete up to ground level.
  • 3.6 - Set the post base hanger on the surface and check that it's level.
  • 3.7 - Form a mound on the concrete surface so that water will drain away from the post.
  • 3.8 - Fill the cavity around the tube with stone dust to 1" above ground level.
  • 3.9 - Lightly water the surface to compact the stone dust.
  • 3.10 - Repeat for the remaining posts. Always verify the distance before continuing with the next post foundation.
  • 3.11 - Wait 24 hours before installing fence panels.
Foundation for fence posts in metal ground spikes and screw in piles
4

Posts in Metal Spikes

PROS
  • Straightforward method
  • Digging is not required
  • Suited to flat ground in urban areas

CONS
  • Not recommended for clay or compact soils
  • Not recommended for areas exposed to windy conditions
  • Posts may shift due to frost heave

  • 4.1 - Position and sink the tip of a spike around the fence perimeter.
  • 4.2 - Place a piece of wood of a similar size to the fence post in the spike socket, then use a sledgehammer to drive the spike into position, until the base is level with the ground.
  • 4.3 - Ensure the spike is vertically level as it is inserted and aligned with the fence line.
  • 4.4 - Compact the soil around the base
  • 4.5 - Set the post in the spike.
  • 4.6 - Repeat for the remaining posts. Always verify the distance before driving in the next spike.
5

Posts in Screw-In Piles

PROS
  • Installed below the frost line
  • Straightforward installation with the right equipment
  • Resistant to corrosion
  • Suited to all soil conditions except extremely rocky ground

CONS
  • Installation is usually carried out by professionals since specialized equipment is required

  • 5.1 - Use a hydraulic pile driver to screw the piles into the ground.
  • 5.2 - Ensure that installation is vertically square and aligned with the fence line.
  • 5.3 - Realign the screw-in pile if it twists out of line.
  • 5.4 - Compact the soil around the base.
  • 5.5 - Set the post in the pile.
  • 5.6 - Repeat for the remaining posts. Always verify the distance between post installations before proceeding to the next one.

Suggested products