Share

Do it yourself

Installing or replacing a bathroom faucet

There’s no need to call a plumber to change a bathroom faucet. Even a novice do-it-yourselfer should be able to get the job done in an hour or two.

Before you start

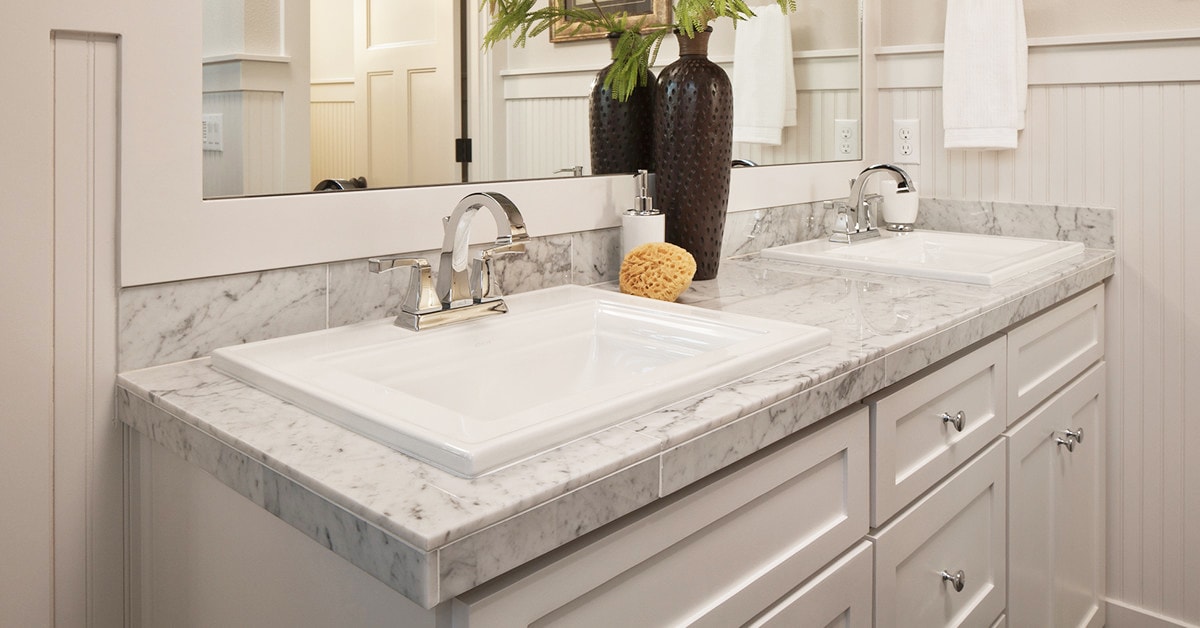
When choosing a new faucet, make sure it’s compatible with your wash basin, by verifying the number of mounting holes.

Turn off the water supply using the valves under the bathroom vanity. If you don’t have shutoff valves, shut off the water main. It is recommended to install shutoff valves on your plumbing so you can turn off the water directly from underneath the sink.

Wear safety glasses when working under a sink.

Drain the pipes and collect the water by opening the p-trap under the sink.
1

Prepare for installation

  • 1.1 - Remove the old faucet and scrape sealant around the mounting holes with a putty knife.
  • 1.2 - Clean and dry the surface.
  • 1.3 - Replace the mechanical plug if needed.
  • While you’re working under the sink, use the opportunity to replace old rigid supply tubes with durable flexible stainless steel braided ones.

Pro Tip

If you’re also replacing the wash basin, it’ll be much simpler to install the faucet first.

To learn how to install a bathroom sink, view our Install a sink and faucet on the bathroom vanity article.

2

Install the faucet

  • 2.1 - If your faucet has a base, run a ¼ in bead of bathroom and kitchen sealant silicone under the base.
  • 2.2 - Insert the faucet tailpieces (metal rods) in the holes, and press down firmly so the sealant adheres well to the base and creates a watertight seal.
  • 2.3 - Make sure that the base of the faucet is parallel to the back of the sink. If your faucet is single-handled, mounting holes may be visible. If it’s the case, conceal them with hole covers.
3

Install locknuts and nuts

  • 3.1 - Under the sink, install the locknuts and nuts to the faucet tailpieces.
  • 3.2 - Apply Teflon tape to the threaded ends of the tailpieces to ensure connections are watertight.
  • 3.3 - Remove excess sealant around the base of the faucet.
4

Connect the tubes

  • 4.1 - Connect the tubes to faucet tailpieces, then connect the other end of the tubes to the shutoffs.
5

Install the mechanical plug

  • 5.1 - Install the mechanical plug and make sure it’s in the “open” position.

Pro Tip

The steps for installing a kitchen faucet are essentially the same.
6

Test the installation

  • 6.1 - Remove the filter cartridge from the spout.
  • 6.2 - Verify the watertightness of all connections, and tighten if necessary.
  • 6.3 - Let the hot and cold water run for one or two minutes to flush the water lines and remove debris.
  • 6.4 - Finish by replacing the filter cartridge.