Pro Tips for perfect mouldings

Most mouldings can be installed by the average-skilled DIYer with a little research and a lot of precision. Here are a few tips to consider before starting your project.
1

Measuring

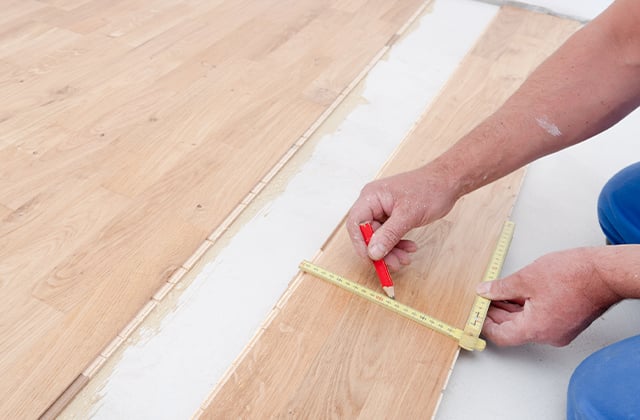
  • To determine the amount of moulding you need, measure each straight section of the wall and add together. Include an additional 10% to account for cutting waste. If there are obstructions that prevent you from installing mouldings—such as a fireplace—don’t forget to subtract them from the total length.
  • Remember when measuring for baseboards and crown mouldings that the outside corners must extend past the actual wall to account for mitred edges.
  • In most newer homes, studs are placed 16" on centre. Once you’ve located the first stud, you might be able to find the others simply by measuring from the first stud.  

Need a hand to calculate the quantities?

Our moulding calculator will help you determine how many mouldings to purchase.
Moulding calculator
2

Calculating proportions

  • Typically, baseboards should be 1/8" thinner than the casing to create a crisp reveal.
  • Chair rails are installed on the wall at a height of between 30" to 36" above the floor, either as a single decorative border or placed with a parallel railing to add an accenting border. Picture rails are usually installed 10" to 16" below the ceiling, depending on the height of the ceiling
3

Opt for long mouldings

  • For aesthetic reasons, opt for long mouldings. For example, in the case of a 14' wall, use a 16' moulding rather than two 8' mouldings. You will reduce the number of joints and enhance the final look.
4

Prepare the walls and floors

  • Walls should be painted and wallpaper glued before you install mouldings. Paint or stain mouldings in advance so that you will only have to touch them up after (and cover the nail heads you’ve concealed with wood filler). By painting or staining before installation, you eliminate the need for masking.
  • Lay flooring before installing baseboard to avoid unsightly voids and an uneven look.
5

Let the mouldings acclimate

  • When working with wood moulding, it is a good idea to acclimate it by bringing it inside a week before installation to allow it to adapt to your environment.
6

Cut your mouldings with ease

  • Mouldings can be 16’ long, so it is important to set up supports at the height of the mitre saw to hold the mouldings in place. These could be sawhorses built up to height or adjustable supports with rollers.
  • Set up the mitre saw in a well-ventilated area outside the room to avoid dust.
  • Use a good-quality finishing blade with a minimum of 40 teeth, though 80 teeth is preferable since the more teeth a blade has, the cleaner the cut.
7

Nailing your mouldings

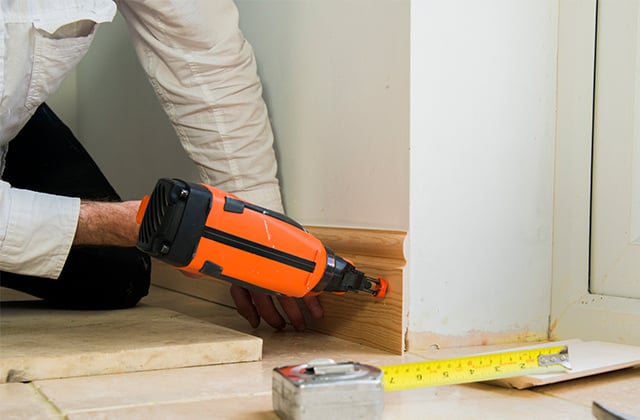
  • Mouldings can be fastened with finishing nails or a power nailer. Never use 2" nails as you might hit a wire; 1½" nails are perfect for the job.
  • For a cleaner, more professional job, use a brad power nailer. Pre-drill your nail holes so that mouldings do not split. Use a drill bit of a smaller diameter than the nails.
8

For perfect installation

  • It is usually best to start installing along inside corners, working your way towards outside ones.
  • On a long wall, shorter pieces can maintain the look of continuity by mitering the joints rather than having them butt together.

Suggested products

See all the mouldings