Updated on March 29, 2023
How to Keep Your Appliances Clean and Maintained
Your appliances are the workhorses of your home, so it’s important to take care of them. Here are some helpful tips to keep them clean, maintained, and operating efficiently for many years to come.
When to Clean What
- Dishwasher: every month
- Oven/range: every 3 months
- Refrigerator: every 3 months
- Microwave oven: every week
- Garbage disposal: every month
- Washer: every month (or approximately every 30-40 wash cycles)
- Dryer: every 6 months for the exhaust vent; after every cycle for the lint filter
- Humidifier: every week
How to Clean the Dishwasher
To clean your dishwasher:
- Start by removing any food residue from the dishwasher interior, including the tub and racks, as well as in any crevices and cracks. Use a soft brush to clean the utensil basket and a soft, damp cloth or sponge to wipe the door interior and seals.
- Dishwasher cleaners come in many formulations, including lime and calcium removers, grease and food stain removers, and disinfecting formulas. To use them, all you usually have to do is add the product to your dishwasher and set it on a wash cycle.
- Your manufacturer may recommend using baking soda and vinegar as an alternative to commercial cleaners. Just add 8-10 oz of white vinegar to a dishwasher-safe bowl and run a cycle with no heat drying. Then, sprinkle one cup of baking soda into the tub and set it on a hot rinse cycle.
- If you don’t rinse your dishes before loading them, then you may need to clean the dishwasher filter once a week or month. If you do give them a pre-cleaning, then even once a year may be enough. Removable filters can be cleaned with a soft brush, dish soap, and running water.
- Inspect the spray arms. If the holes are clogged, use a toothpick or a plastic brush to clean them.
- Wipe the dishwasher exterior using a soft, damp cloth and mild soap or a cleaner recommended in the manual. You may find it helpful to lock the controls. If you have a stainless-steel dishwasher, make sure you wipe with the grain.
Note: If cleaning with vinegar, check your owner’s manual for specific instructions on how much to use—too much may cause dishwasher damage.
Pro Tip
After running a cycle, keep the dishwasher door slightly open to allow the interior to dry.
How to Clean the Oven or Range
Pro Tip
Cleaning your oven regularly will help prevent smoke from deposits and heavy spills.
Manual-Clean Ovens
- Only clean the oven once it has fully cooled.
- For light spills in the oven, some water and dish soap are all you need. With periodic cleanings, you’ll also have to perform fewer deep cleans.
- For some models, the manufacturer will recommend a gently abrasive cleaner and a non-scratch sponge for the oven interior. For the door, they’ll recommend a mixture of water and white vinegar or a mild detergent and a soft cloth. After you rinse, use a soft cloth for drying
- Another option that manufacturers may recommend is using a paste of water and baking soda to clean the oven cavity. Allow the paste to sit for 20 minutes, then spray with white vinegar and wipe it off with a soft cloth. For tough spills, try a plastic scraper. Spray and wipe the oven down one final time until all of the paste is removed.
- Clean the glass oven door using the same paste and the same procedure, just be careful not to get any liquid into the vents and seals.
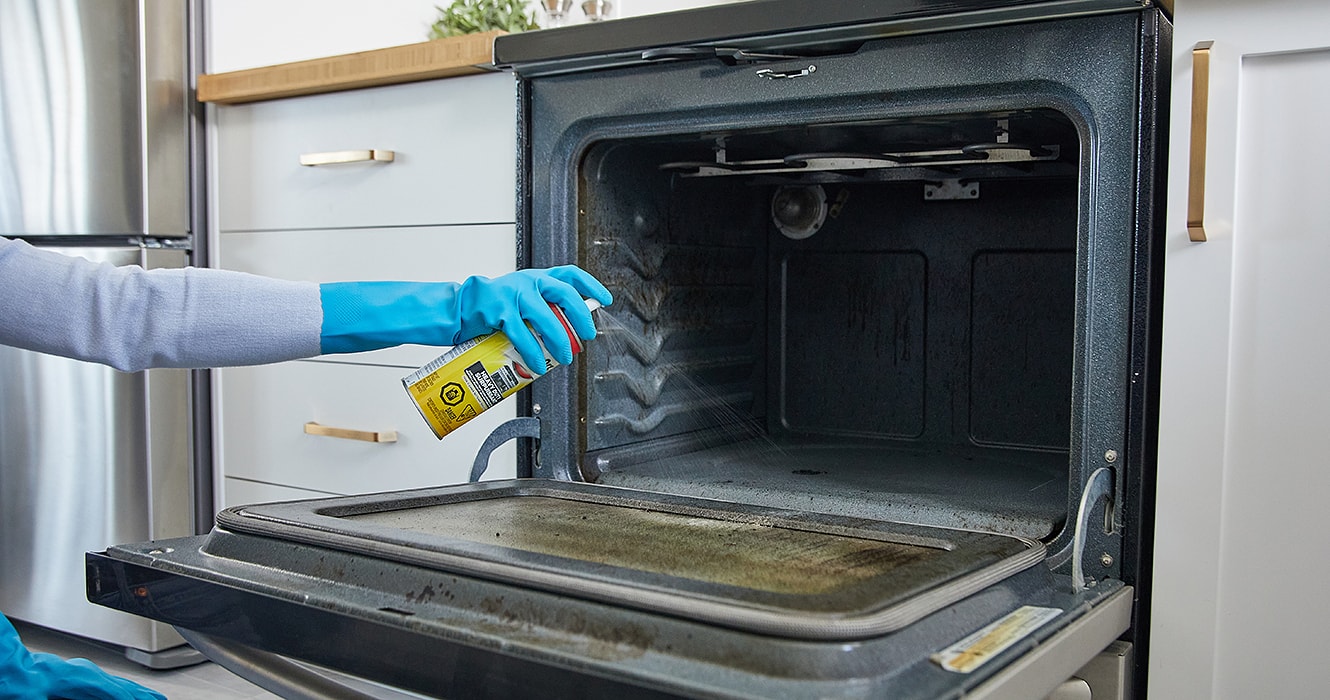
- You can find commercial oven-cleaning products for manual oven-cleaning, but make sure that they are suitable for and recommended by your manufacturer first. When using them, make sure you also follow all instructions and wear the proper safety gear. Confirm that none of the cleaner remains on the thermostat probe when you are done.
Self-Cleaning Ovens
To clean your self-cleaning oven:
- Confirm that your kitchen is properly ventilated and keep any children and pets in a well-ventilated space.
- Remove all items from the oven, including racks.
- Clean out as much loose material as you are able to and give the oven door a cleaning to prevent burnt-on stains.
- Ensure that the vent is unobstructed, that there is nothing on top of the stove, and that there is nothing in the drawer.
After the cleaning is done and the oven is cool, clear out the resulting ash and wipe the inside surfaces down with a damp cloth.
Steam-Cleaning Ovens
To clean your steam-cleaning oven:
- Your manual may recommend scrubbing food deposits with detergent first.
- Fill the reservoir tray with water and run a steam cycle. The manual should tell you whether to use distilled, filtered, or tap water.
- Wipe the oven with a damp cloth once it has cooled. Tough deposits can be tackled with baking soda and white vinegar or with soapy water and a cleaning cloth or non-abrasive sponge.

Oven Exterior
- Your manual may recommend a specific cleaner depending on the exterior finish. Otherwise, simply use water and mild soap, wiping with a soft cloth. For stainless-steel ovens, wipe in the grain direction.
- Be careful not to get any liquid into the vents and seals.
How to Clean the Glass Stovetop or Cooktop
- Before cleaning a cooktop, make sure that all of the burners are off and cool to the touch. Only use cleaners formulated for glass cooktops. White vinegar may also work for your model.
- Most spills and residue can be removed with a plastic scraper. For more stubborn spots, take a razor blade and scrape at a 30° angle while applying a cleaning solution. Clean the cooktop thoroughly once more when you are done.
- Candy, tomato sauce, and other sugary spills need to be cleaned as soon as possible or they may damage the cooktop. Turn off the burner, remove the cookware, and try to push the spill away using a razor blade scraper. Make sure you wear an oven mitt while doing this. When the cooktop is fully cooled, clean the burner thoroughly as well.
Pro Tip
Avoid using window cleaners on glass-top stoves. It can leave residue on the surface.
How to Clean Your Refrigerator
Here are the steps to cleaning your fridge:
- Turn the refrigerator off.
- Take everything out of the refrigerator and freezer. This is also a great chance to sort through all of your food and toss anything that has gone bad.
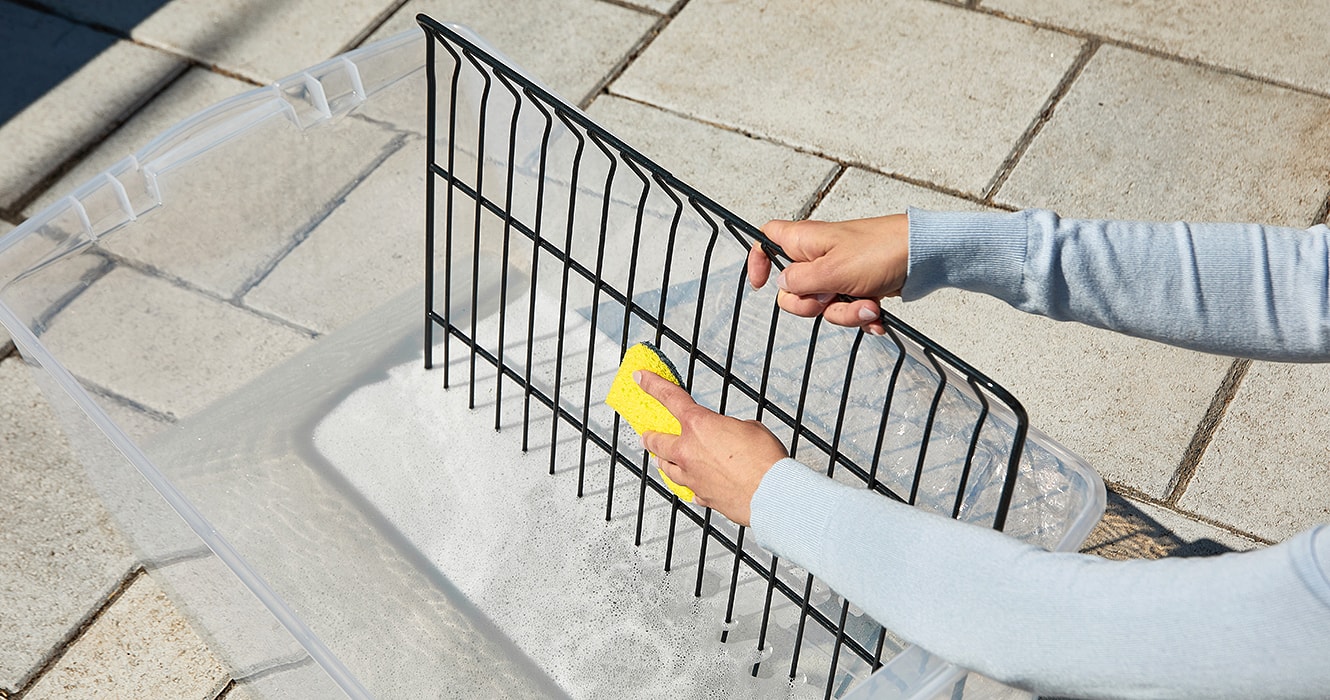
- Take out all of the removable drawers and shelves and place them in the sink or a basin. Clean them with a mix of warm water and dish soap, scrubbing well to remove any residue, grease, and grime. Rinse thoroughly and let dry.
- Clean the inside of the refrigerator with a multipurpose cleaner. Alternatively, you can make a solution of 1 L warm water and 2 tbsp baking soda, which is good for removing odours.
- Clean hard-to-reach areas with a small scrub brush or a toothbrush.
- Clean the exterior of the refrigerator with water and mild soap, using a soft cloth. If it has a stainless-steel finish, wipe in the direction of the grain.
Don’t forget to clean the water and ice dispenser as well, taking care to remove dirt and grime that might affect the water quality and flow. Consult the manufacturer’s manual for instructions.
Cleaning Tips for Smelly Refrigerators
How to Clean Your Microwave Oven
- Take a large glass measuring cup or a microwave-safe bowl and fill it with two cups of water. Add 2 tbsp of vinegar or, if you want to lessen the vinegar smell, 2 tbsp of lemon juice or a drop of essential oil.
- Set the container in the microwave.
- Turn the microwave on high heat for 5 minutes, then let it get steamy by keeping the door closed for 15 more minutes. This will allow the baked-on grime to soften up.
- Take the container out—be careful, it might be hot.
- Get a clean rag, remove the turntable, and wipe it down.
- Wipe the microwave sides, top, bottom, and door with a rag or paper towels, taking care not to get liquid in the vents. If any spots remain, dip a sponge into a water/vinegar solution.
- Place the turntable back.
How to Clean Your Garbage Disposal
- Mix 1/4 cup of baking soda with 1/2 cup of vinegar and pour it into the disposal. After 30 minutes, flush the drain with hot water.
- You can also try breaking down a food clog with rough textures. Take one cup of ice and two tbsp of kosher salt and pour it down the drain. After a few minutes, flush the drain with hot water.
- Make sure the power to your disposal is turned off and have a look inside. If you can see the obstruction, then use tongs or needle nose pliers to remove as much as you can. Restore power, run the water, and test the disposal to see if the clog is clear.
- You can also try using a plunger. Simply position it over the disposal drain and fill the sink with some water. Pump the plunger until the clog is removed.
- If you still have a clog, you may be able to manually turn the disposal blades from under the sink. Be sure to read the manufacturer’s manual first.
- Run a few lemon, orange, lime, or grapefruit wedges into the disposal, along with some cool tap water. Citric acid is great for fighting and neutralizing odours.
- Alternatively, you might just need some dish soap and a toothbrush. Use the toothbrush to scrub all the outward and visible components, including the seams between the splash guard. Then, cover the drain and fill the sink with 2-4” of hot and soapy water. Uncover the disposal and run it until the water finishes draining.
Caution: Never reach into the disposal without first unplugging it or turning off the breaker.
Pro Tip
Don’t try to unclog a clogged garbage disposal with chemicals that aren’t made for it. Disposals have plastic parts that can be damaged by certain chemicals.
Good to know
Ensure Proper Maintenance of Your Washer and Dryer
How to Clean Your Washing Machine
- Remove everything from the tub and use a damp and soapy soft cloth or cleaning wipes to wipe down the interior.
- If your washer has a cleaning cycle, then it should be run either once a month or every 30-40 cycles. If your washer does not have this feature, you can simply run a heavy cycle. Different manufacturers may recommend running the cycle with just water or an added cup of chlorine bleach or cleaning product. A standard rinse and spin may be needed at the end to remove any excess cleaner.
- For top-loading washers that have an agitator, you should clean the inside of the agitator as well (you may have to remove the fabric softener dispenser first). Start a cycle with hot or warm water, adding one cup of bleach and 3/4 cup of laundry detergent. Open the lid after five minutes and use a narrow brush with soft bristles to clean the agitator interior. Rinse it with water from the interior, then close the lid and let the cycle finish.
- Front-load washers come with a debris filter that you should try to clean every 30 days or more if the washer gets heavy use. Check the manual for instructions.
- Some washers have a soap dispenser. To clean it, simply pull it open and give it a wipe with a damp cloth or a general-purpose cleaner.
- Use a cloth and soapy water to wipe the inside and outside of the lid or the door and the door seal.
- Inspect your washer about once every six months and look for signs of rust and chipping. Small chips can quickly rust, and the rust can transfer to and stain your clothing.
Each time you run a washing cycle, ensure that the load is distributed evenly. Uneven loads can cause spin cycle damage over time.
Pro Tip
Keep the door open between washing cycles to let the inside of the washer dry and help prevent odours.
How to Clean Your Dryer
- Take out the lint filter and clean it gently with some soapy water and a nylon-bristle brush. Rinse well and allow it to dry.
- Vacuum the filter housing to remove all lint and dirt, then place the lint filter back.
- Unplug the dryer (if needed, turn off the gas valve as well) and detach the vent hose from the back of the dryer. Remove lint and dirt from the hose and the dryer.
- Plug the dryer back in and turn it on. Run a 15-minute vacuum drying cycle to remove any residual dust from the vent.
- Use soapy water and a soft cloth to clean the drum and the inside of the door.
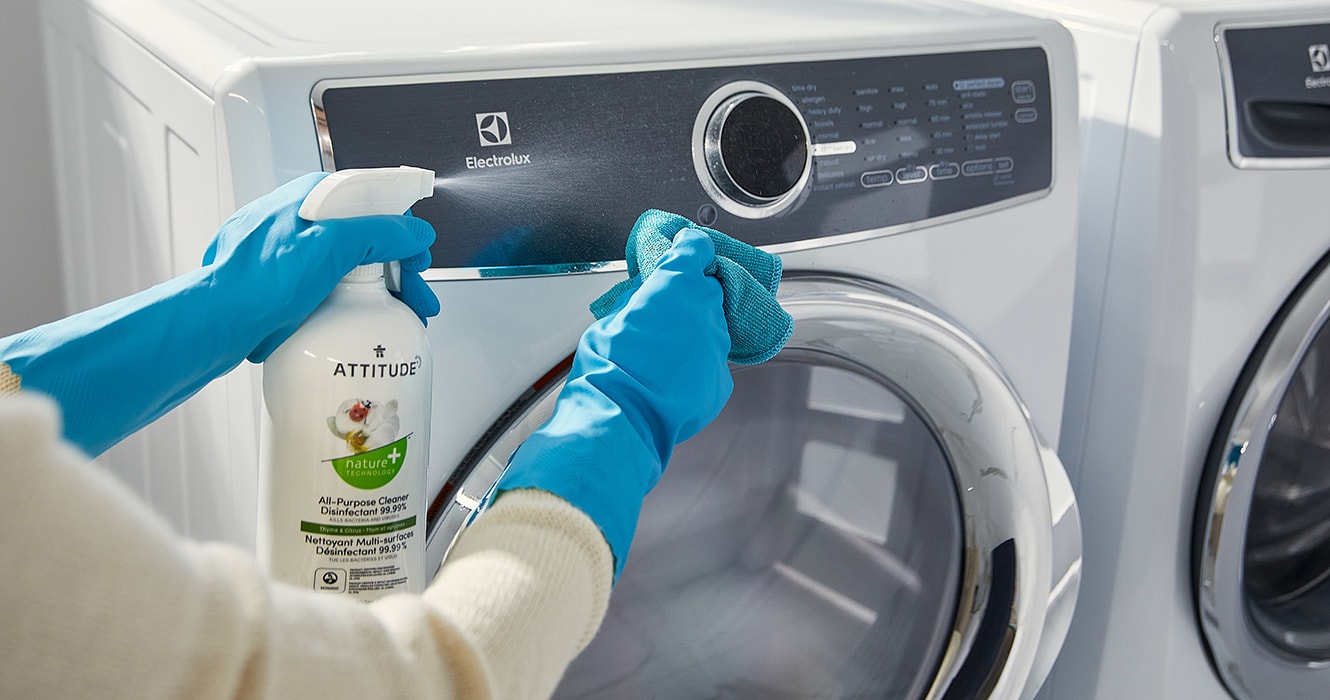
- Use an all-purpose cleaner and a damp cloth to clean all of the exterior surfaces.
Note: Make sure you empty the dryer lint filter before each use.
How to Clean the Humidifier
- The best cleaning methods depend on the humidifier model, size, and type, but removing limescale is typically done by filling the unit with water and white vinegar for about 20 minutes before rinsing. Consult your owner’s manual for specific instructions on how much to use and what components to clean.
- Repeating the same process with a solution of water and bleach is also a good way to disinfect the humidifier. Make sure you check the manual for specific instructions.
- Follow the manual instructions for inspecting and changing the filter if your unit has one.
- Use a soft, damp cloth to wipe the humidifier exterior.


