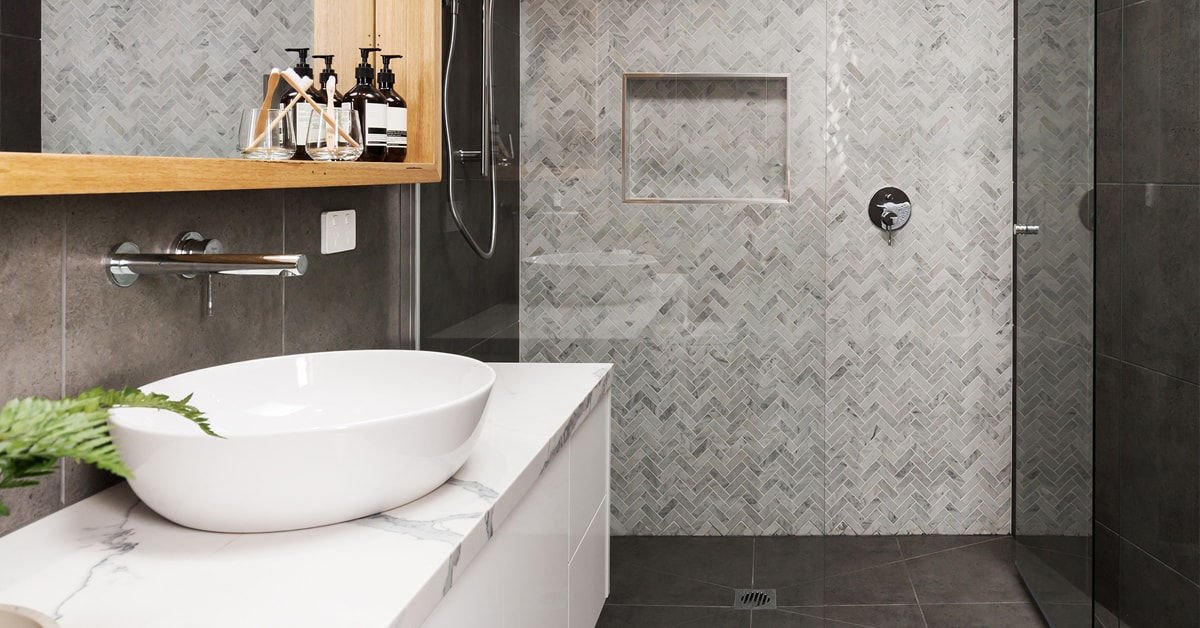
Choose the right grout for your tiling project

Grout is the material used to fill the gaps between surface covering tiles, which may be made of ceramic, natural stone, glass, vinyl or even metal. It must be chosen carefully, so it can easily be put in place and last longer. Here are the main types of grout, as well as the pros and cons to consider before making your decision.

First of all, what tiles have you chosen?

Before choosing which type of grout to use, one of the most important aspects to consider is the finish of your tiles. If they have a glazed ceramic, glass or mirrored finish, or if they are made of natural stone such as slate, marble or granite (even if the finish is not glossy), you will need a grout that will not damage their surface.

Some manufacturers will guarantee the finish on their tiles if they are installed using a specific type of grout that has been pre-tested on their product. A typical example of this is stainless steel, which can tarnish if the wrong type of grout is used.

Always refer to the manufacturer's instructions before using grout with your chosen tiles.

Buying the right amount of tiles

Calculate the surface to cover with your tiles and plan a surplus to cover the losses due to cuts. For a straight tiling installation, add 5% of tiles to your calculation. For a diagonal installation, add 10%. et 15 %.
CERAMIC TILE CALCULATOR

What are your selection criteria?

The choice of which type of grout to use will depend on:

  • the tiles you are using
  • their finish
  • where they are being installed
  • the width of the joint between them
  • and, of course, the look you want to achieve.

Almost all grouts are available in sanded or non-sanded versions, each having their own specific properties and uses.

Sanded:
The mixture contains fine sand, which prevents the grout from cracking and shrinking as it dries. Sanded grout is used to fill joints more than 1/8" wide. It is the ideal choice for ceramic tile floors.

Non-sanded:
Grout that does not contain sand shrinks as it dries. Non-sanded grout is used to fill joints less than 1/8" wide. It is easy to work with, which makes it especially suitable for walls and vertical surfaces.

The different types of grout

There are two main categories of grout: cement-based or cementitious grout (in powder form that you mix yourself), and cement-free grout (premixed or semi-prepared), made from epoxy, urethane or furan resin.

Choosing the right colour for the desired effect

Once you have decided on the most suitable type of grout for your project, it's time to choose the colour. You will find a greater variety of colours in cement-based grouts than in epoxy and other cement-free grouts.

The palette caters to ever-changing trends:  it varies from pale to dark, and from earth tones to bright colours.

A few general tips to have the desired effect:

  • Grout in the same colour as the tiles will provide a uniform, harmonious look and make the space seem larger.
  • Grout in a contrasting colour will emphasize the shape of the tiles and create a striking effect.
  • Grout colour can be chosen to specifically highlight one of the colours in a sheet of mosaic tile, or to match the countertop (backsplash grout) or cabinets (floor grout).
  • The paler the grout and the wider the joint, the more the dirt will show. Neutral tones, such as grey, are always a safe bet.
  • Dark coloured grout in a bathroom shower or an outdoor tiled area will show traces of water or mineral deposits.
  • Darker coloured grouts are obviously a good choice for floors and countertops because they do not show the dirt as easily as lighter tones (deeper shades of grey or beige are perfectly suitable). Avoid white and pale-coloured grout in these areas.

Colour samples

The colour is illustrated on the product packaging, but the flooring or tiling department of your store will often have plastic swatches or brochures with colour samples that you can compare with your tiles to get an idea of what the grout will look like.

PRO TIP

As with paint, pigments of grout will tend to gather at the bottom of the container. To avoid unpleasant surprises, always mix the cementitious grout powder by shaking the bag before preparing it. This will ensure that you have an equalized colour preparation.

Calculating the right quantity

The quantity of grout you will need depends on the size of the tiles, the width of the joints, the area to be covered and the grout's coverage capacity.

For this reason, there is no set rule for calculating the quantity of grout required. However, the coverage in kg/m2 is shown on the product packaging, and the manufacturer will typically provide a chart or an online tool to help you calculate the quantities. Like with tiles, we recommend you add an extra 10% to your total.

You will usually need the following information to determine the right quantity of grout:

  • Length of tile
  • Width of tile
  • Thickness of tile
  • Width of joint

A few tips for a successful application

Grouting should be done only after the mortar under the tiles has set (24 hours). Grout is always applied in the same way, regardless of whether you are tiling a vertical or horizontal surface. It is best to work with rubber gloves to protect your hands from the chemicals contained in the grout.

The usual steps for preparing and applying grout Always refer to the manufacturer's instructions.

  1. Remove any tile spacers, if there are any.
  2. Clean the surface to remove all traces of dust and dirt that could get into the grout.
  3. If working with natural stone tiles, coat them with stone sealer first or you may find the dried grout impossible to remove from their surface. Some porous ceramics may also need to be
  4. Lightly dampen the tiles to make the grout easier to apply.
  5. Gradually pour the cement-based grout powder into the recommended amount of water, stirring with a paint mixer attached to a power drill or using a hand trowel. Follow the manufacturer's instructions closely. Prepare small quantities at a time or the grout may harden in the bucket before you have finished.

    With cement-based grout it's quite easy to tell if you have the right consistency: when you remove the mixing paddle, the grout will form a point at the tip. Turn the mixer horizontally and this point should move slowly downwards but not drip or fall off right away.

    With epoxy grout, prepare the entire contents of the container (only preparing part of it could stop the grout from hardening).

  6. Pour some of the grout over the tiled surface and work it into the joints with a float, covering one section of 24" x 36" at a time. Hold the float at a 45° angle and work diagonally in relation to the joints so as to fill them well.
  7. When the grout starts to set (after about 10 minutes), remove the excess and clean the tiles with a damp sponge. Rinse the sponge often and squeeze it out thoroughly so as not to dilute the grout. Change the water in the bucket frequently.
  8. Finish the joints by gently wiping with the sponge again, but without applying pressure so as not to uncover the edges of the tiles.
  9. After 24 hours, wipe the whole surface again with a damp cloth to buff and polish the tiles.
  10. For cement-based grout, when the grout is completely dry (after 5 to 6 days), seal the joints to protect them from water and stains.

Tools for mixing

Tools for application

All application tools

PRO TIP

For all the steps to lay tiles, take a look at the DIY projects:

How to lay ceramic floor tiles
How to install ceramic wall tiles

A few maintenance tips

Care recommendations vary depending on the type of grout.

Cement-based grout

For light to moderately stained grout:

  • Wash the tiles with water or mild cleaning product; avoid using harsh chemicals or acidic cleaners that may eventually dull the tiles' sheen.
  • Use a cleaner containing citric acid, i.e. a lemon-based cleaner: effective for removing grease, scale, paint, pencil or pen marks and lipstick. Check the directions on the product to make sure it is suitable for the surface.
  • Re-seal the joints according to the manufacturer's instructions.

For heavily stained grout:

To restore the grout on an old tiled surface, it is no longer necessary to scrape away the grout and risk damaging the tiles. Instead, you can apply a coloured or pre-stained sealer. While this can be a rather long and laborious task, it is actually quicker and easier than removing the old grout.

  • Choose a colour to match the tiles
  • Use an application tool suitable for the width of the joints
  • Protect the tiles if necessary

Epoxy grout

Although epoxy grout is by nature highly stain-resistant, it can be cleaned if necessary, using a product made specifically for this type of grout.

  • Test the cleaning product on a small, inconspicuous area
  • Apply with a brush
  • Leave for the specified time (see manufacturer's directions)
  • Remove product with a brush or scraper
  • Rinse well with water

Does sealing help with grout maintenance?

Only cement-based grout should be sealed, as it is porous and accumulates dust and dirt with time. It is preferable not to use it on kitchen counters, as it could contaminate food.

Once the new grout is completely dry (see manufacturer's directions), apply the sealer to the joints with a small brush or a bottle designed for the purpose.

Necessary maintenance products

Suggested products

See all grouts