Share

Updated on March 29, 2023

Do it yourself

How to Remove and Replace Old Exterior Caulking

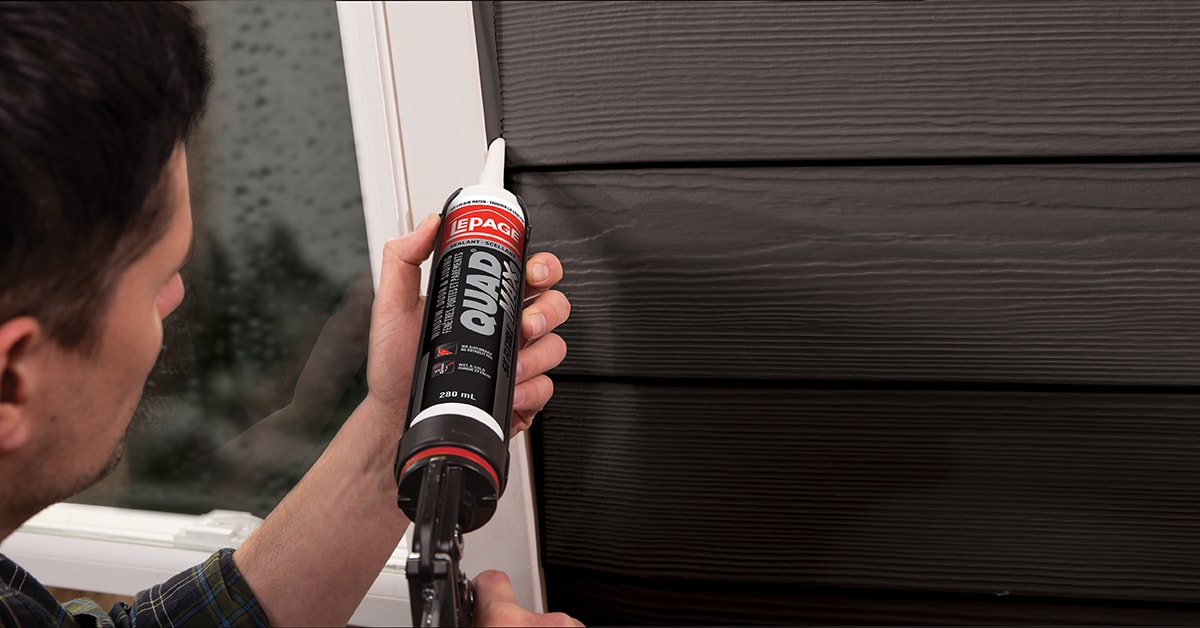
The condition of exterior caulking has an impact on a home’s insulation, pest control, waterproofing, and more. Follow this easy step-by-step guide to remove and replace old caulking to better protect your home and enhance its look!

Difficulty level: Easy
Duration: 3 hours
Before You Start
Spring and fall are the best times to remove old caulking: temperatures are pleasant enough to make it a little more malleable, but not so hot that it gets overly sticky and harder to strip. If it’s too cold, the caulking can be gently warmed with a heat gun. Make sure to start on a low setting, and always keep the heat gun moving to avoid warping or damaging delicate materials like PVC window trim, vinyl siding, or paint.

Also, when using a utility knife, it’s important to wear appropriate protective equipment, such as safety glasses and gloves.
Person removing old exterior caulk
Person cutting caulk with a utility knife
Person removing a long strip of caulk
Person scraping caulk residue
1

Remove the Old Caulking

  • 1.1 - Using a utility knife, carefully cut along the edges of the old caulking, starting from the outer edge of the caulked joint and cutting in towards its centre. Apply firm and steady pressure to avoid scratching siding or windows. The caulking should pull off in long pieces but if it is very old and brittle, it may need to be removed in bits.
  • 1.2 - Once the bulk of the caulking is gone, use a razor scraper to carefully remove the residue from the surface.
icon-bulb

Pro Tip

Some tips for harder-to-remove strips:

  • Use a hair dryer to slightly soften the sealer without damaging the siding.
  • An oscillating multi-tool can help speed up the removal process. It should be kept on a low setting to avoid cutting or marring surfaces. Also be sure to use a caulking remover blade.
  • A wire brush can also be used for sealants bonded to porous surfaces such as brick.

Person cleaning a caulk joint
2

Clean the Joint

  • 2.1 - Using a small, soft-bristled brush, clean any small debris from the joint.
  • 2.2 - Change work gloves out for the nitrile gloves.
  • 2.3 - Apply a small amount of rubbing alcohol to a clean rag and test an inconspicuous location to make sure it doesn’t damage the finish or paint.
  • 2.4 - To help ensure a good bond for the caulking, use the rubbing alcohol and rag to clean the area where it will be applied.
icon-bulb

Pro Tip

If the joint is wider than about 3/8” (1 cm), a closed-cell backer rod should be installed, which means less caulking used, in addition to a more durable and flexible joint.

3

Prep the Surfaces

  • 3.1 - Using a good-quality masking tape, tape the edges of the area where caulking will be applied. In addition to keeping the joints straight, it will make cleaning up much easier and ensure a professional look.
  • 3.2 - Smooth the tape out to make sure caulking doesn’t seep out from under it.
icon-bulb

Pro Tip

Remember that tape sticks best to a dry surface!

4

Get Ready to Apply the Caulking

  • 4.1 - Make sure to have everything close at hand (safety glasses, caulking gun, thermoplastic caulking, shims or caulking tools, rags, pail with warm soapy water).
  • 4.2 - If you don’t have a caulking tool, trim a shim to the size of the joint. Make a flat joint with the ends of the shim, going from one line of tape to the other. If there are different-sized joints, cut different-sized shims for each joint.
icon-bulb

Pro Tip

For the caulk, make sure to choose a colour that matches the exterior of your home!

Person cutting a caulking tube nozzle
Person applying exterior caulking
5

Apply the Caulking

  • 5.1 - Cut the caulking tube nozzle to the appropriate size (slightly smaller than the joint), at a 45° angle.
  • 5.2 - Thermoplastic caulking tubes have a foil seal. Some caulking guns have a thin metal stem to pierce this. If not, simply pierce the seal with any piece of metal.
  • 5.3 - Load the caulking tube into the gun and do a small test on a piece of scrap cardboard to get used to the handle squeeze pressure needed.
  • 5.4 - Starting from one side of the joint, apply the caulking—called a “bead”— with a slow, steady motion. Squeeze the handle gently and move slowly to ensure a smooth flow of caulking and even-looking bead.
icon-bulb

Pro Tip

A common mistake is to cut off too much of the caulking tube tip, leaving a hole that’s too big for much caulking work.

Also, try starting on the shortest, smallest joint. This will help you get the hang of things so that you’ll be getting pro results by the time you caulk around that showcase front door or picture window!

Person using a caulking tool
Person removing excess caulking with a shim
6

Smooth the Joint

  • 6.1 - Using the shim or caulking tool, start at one end of the joint and apply delicate but firm pressure, slowly pulling the shim or tool along the bead. This will help push the sealant into the joint, while also giving the bead a professional look.
  • 6.2 - If too much caulking is collecting on the shim or caulking tool, wipe it off with a wet rag and continue the finishing work.
  • 6.3 - If there are gaps in the bead, add a little more caulking.
  • 6.4 - Carefully remove the tape by pulling out and away from the joint.
icon-bulb

Pro Tip

It’s not a disaster if there’s a bit of excess caulking outside the tape! Let it dry and then carefully remove it with a razor scraper.

Disclaimer

These DIY projects are provided for informational purposes only. The information contained in RONA’s DIYs is intended to provide general guidelines to simplify jobs around the house. Because tools, products, materials, techniques, building codes, and local regulations are continually changing, RONA inc. assumes no responsibility for the accuracy of the information contained herein and disclaims any liability for the omissions, errors, or outcome of any project. RONA inc. makes no representation on the feasibility of any project and the viewer bears all risks coming with the realization of the projects. It is the responsibility of the viewer to ensure compliance with all applicable laws, rules, codes, and regulations for a project. The viewer must always take proper safety precautions and exercise caution when taking on any project. If there is any doubt in regard to any element of a project, please consult a licensed professional.