Share
Do it yourself

How to Make a DIY Backyard Rink

Like many NHL players, the Montreal Canadiens spent their childhoods ripping it up on local outdoor rinks in their communities. Whether you’re just learning to skate or looking to fine-tune your skills, a backyard rink is the perfect way to enjoy skating as a family. Get active and spend time together, all while staying home. This winter, we’ve partnered with the Habs to help you make the most of your yard with a backyard rink! Check out our step-by-step guide and get ready for a winter on the ice.

Before You Start

  • Evaluate the space where you plan to build your rink. Check that the ground is level, or whether you need to make any repairs before starting construction.
  • Always double-check your measurements! Make sure to account for support beams on the rink’s exterior and leave plenty of space between the rink and your fence, patio, or any other obstacles in your yard.
  • Plan your rink based on your needs and budget. To save costs, opt for 2-foot boards. This allows you to cut your plywood in half, or to skip the boards altogether.
  • You may want to use a tarp to protect your lawn. In this case, use a thick tarp and secure it outside of the frame.
  • Think about where you will store your backyard rink during the off-season. If you do not have enough storage space, you might want to opt for a smaller rink.
  • Before starting your construction project, check with your home insurance company and your municipality for any regulations you might need to follow.
1

Measure Your Boards

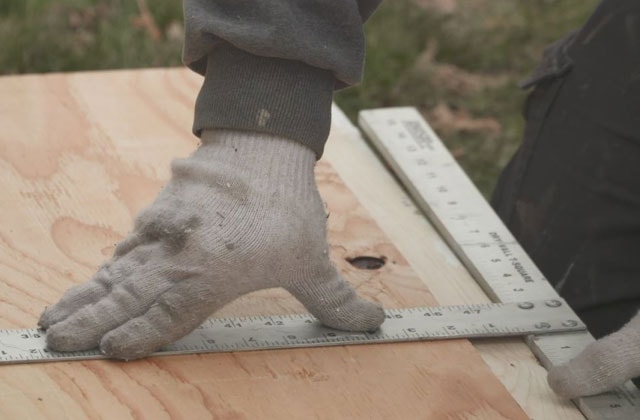
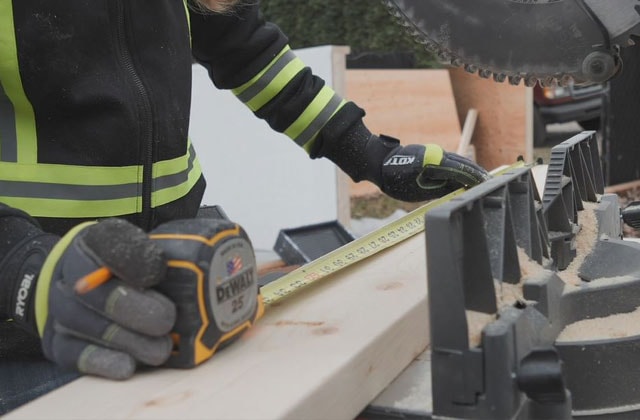
  • 1.1 - Using the measurements you have determined for the length and height of your rink, carefully measure and cut the plywood to create the rinkboards.
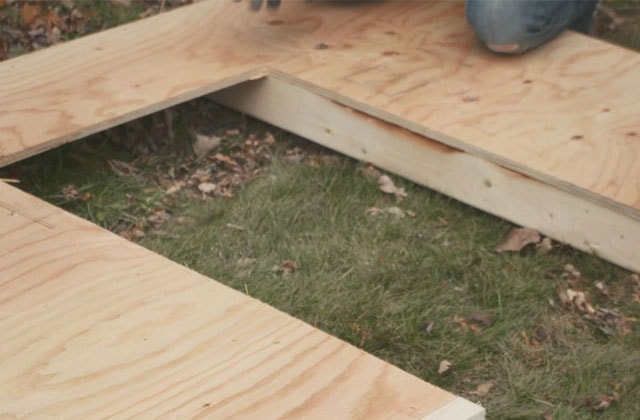
  • 1.2 - Place your cut pieces on a solid surface and begin to assemble your boards.

Pro Tip

You can screw or nail your boards together. Nailing the boards is quicker but can be harder to disassemble if you plan on taking the boards apart for storage at the end of the season.
2

Plan for a Door

  • 2.1 - If you want, you can add a door to your rink. A door will make it easier to access the playing surface, especially in rinks with high boards. Measure and cut those pieces of plywood as well.
3

Assemble the Boards

  • 3.1 - Assemble the boards, making sure to reinforce the door opening by doubling the support beams.
4

Cut Out the Door

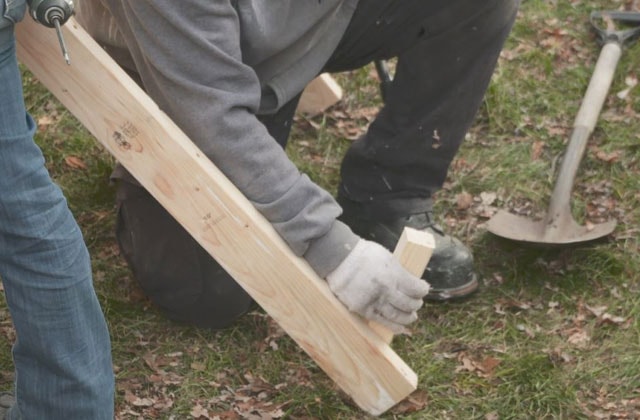
  • 4.1 - Measure and cut the materials for your door. Create 45° wooden brackets to install in all four corners of the door to ensure it will stay even as it freezes and thaws throughout the winter.
5

Lay Out the Tarp

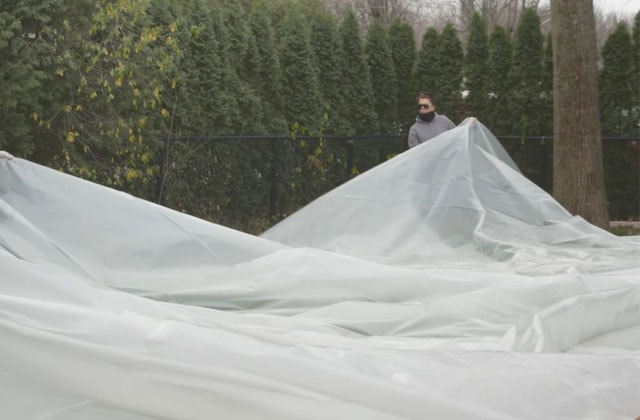
  • 5.1 - Lay your tarp on the ground exactly where you plan to install your backyard rink.

Pro Tip

Be careful not to damage the tarp. Clear the area of any rocks or debris that may puncture it, and do not walk on the tarp once it has been laid down.
6

Attach the Boards

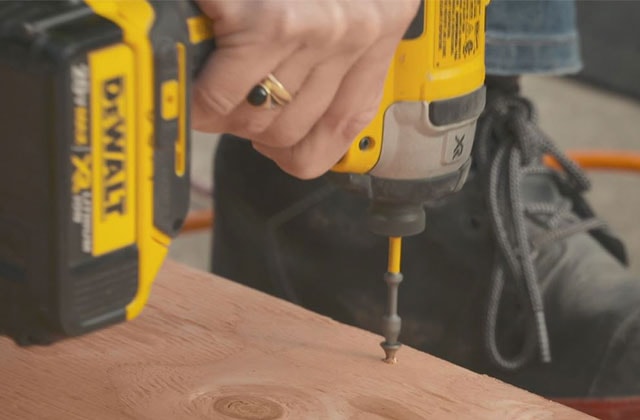
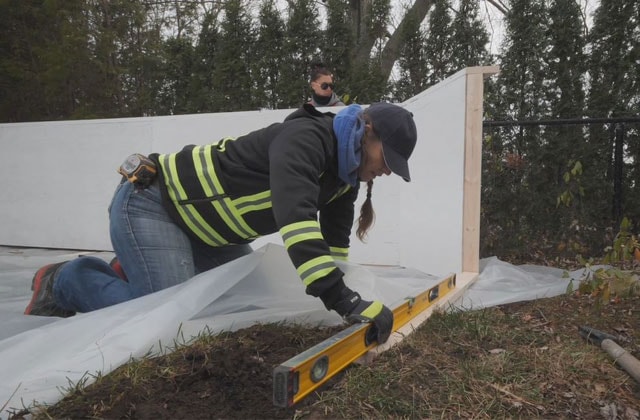
  • 6.1 - Place the boards side-by-side on the ground directly at the edge of the tarp and attach them to each other one at a time using your drill. Make sure to use a drill bit large enough to accommodate your bolts.
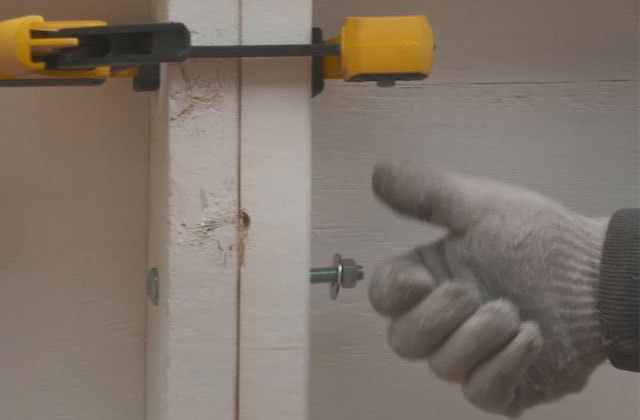
  • 6.2 - To make assembly easier, use a C-Clamp to keep your boards together. Place one at the top of the boards and one at the bottom before drilling your holes or adding your bolts to secure the boards. 
7

Bolt the Boards Together

  • 7.1 - Insert your bolts, add a washer, and screw on a nut. This will keep your boards extra secure.
  • 7.2 - Check that each section of your boards is level before securing your bolts.

Pro Tip

Make sure the distance between your boards is equal by measuring the width of the rink before installing each new set of boards. For example, if you are planning a 20' x 36' surface, ensure those measurements are consistent as you install each rinkboard.
8

Install the Door

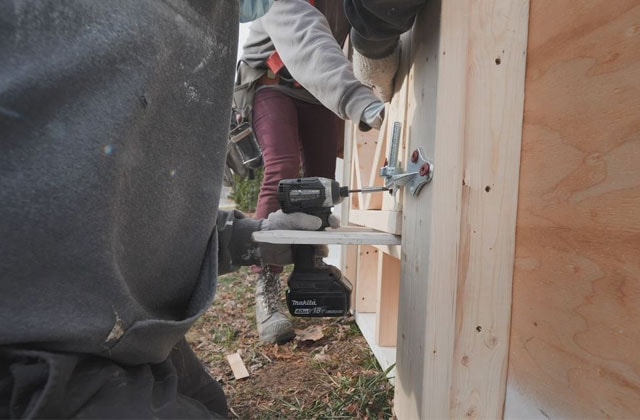
  • 8.1 - Screw hinges onto to your door. To make sure your hinges don’t freeze during the winter, use a stake eye model.
  • 8.2 - Install the door
9

Install Support

  • 9.1 - Affix your boards to the ground or install support legs.
  • 9.2 - Reinforce the rink. There are several ways to reinforce your boards and ensure your rink is solid, including triangle feet, stakes driven through the base, or 12-inch galvanized nails.
10

Paint the Boards

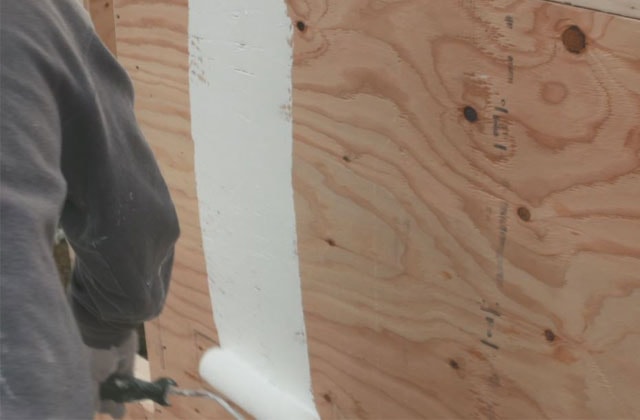
  • 10.1 - Paint your boards. You can use any colour you like, but make sure to use exterior paint so it holds up to the weather. You can also paint the boards before they are installed.

Suggested products