Published on July 18, 2024
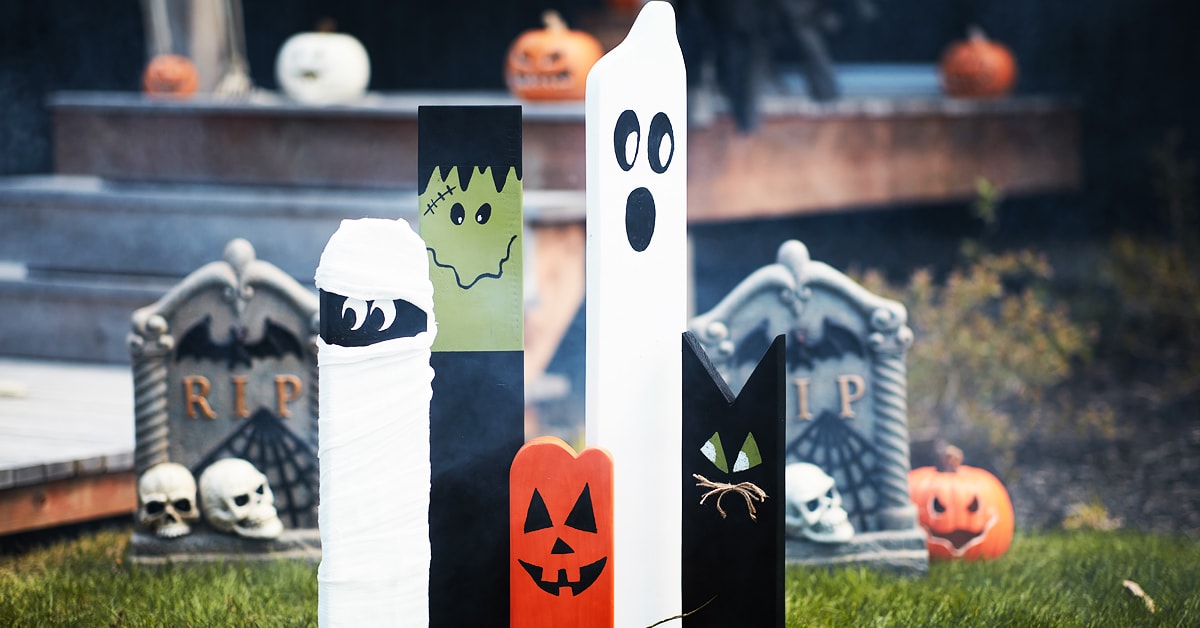
DIY Halloween Decorations: Wooden Characters
Want to make your own Halloween decorations? These fun and colourful DIY wooden characters are just the thing. Follow our easy step-by-step guide. Young and old will love them!
1Cut the Planks
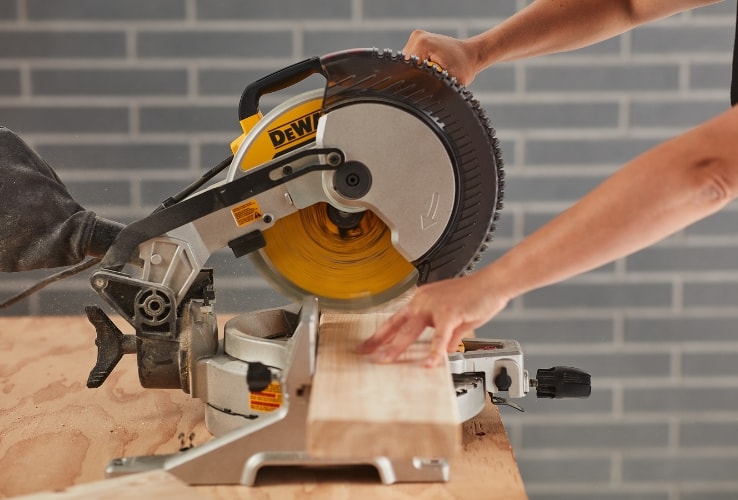
- 1.1Using a mitre saw, cut the five 2x6 planks to random lengths to create characters of different heights.
- 1.2Cut the 2x8 plank to create the base.
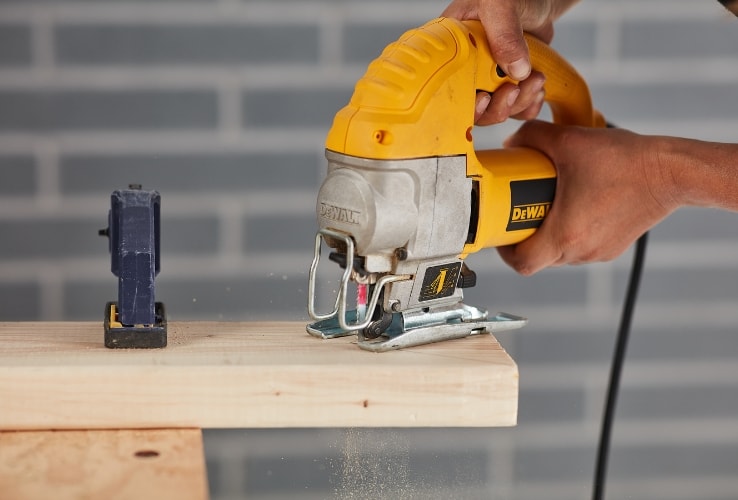
- 1.3Trace the cut lines using the printable patterns, then cut the extremities of the five 2x6 planks (character heads) using a jigsaw.
2Sand the Cuts
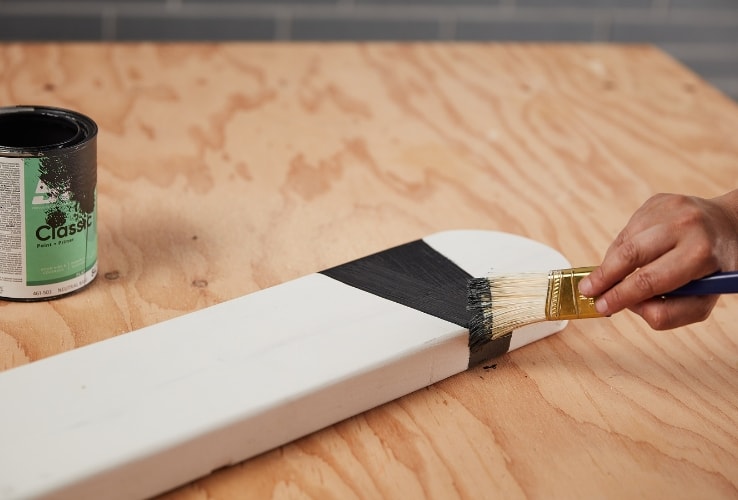
3Paint the Pieces
- 3.1Paint the base black.
- 3.2Play around with the colours—think orange, green, white, or purple—of the creatures.

4Assemble Your Project
- 4.1Place the creatures (the five 2x6 planks) on the black base (the 2x8 plank).
- 4.2Secure each creature using screws (from below).
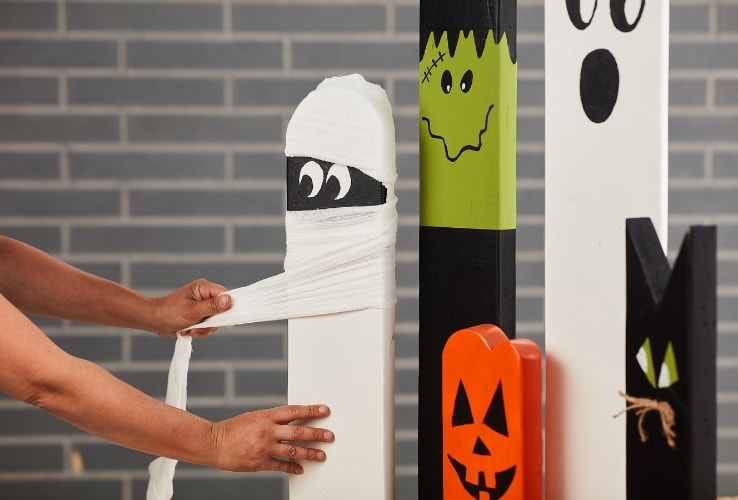
5Decorate
Pro Tip
Take your project to the next level by adding LED lights to bring your characters to life at night!
Disclaimer
These DIY projects are provided for informational purposes only. The information contained in RONA’s DIYs is intended to provide general guidelines to simplify jobs around the house. Because tools, products, materials, techniques, building codes, and local regulations are continually changing, RONA inc. assumes no responsibility for the accuracy of the information contained herein and disclaims any liability for the omissions, errors, or outcome of any project. RONA inc. makes no representation on the feasibility of any project and the viewer bears all risks coming with the realization of the projects. It is the responsibility of the viewer to ensure compliance with all applicable laws, rules, codes, and regulations for a project. The viewer must always take proper safety precautions and exercise caution when taking on any project. If there is any doubt in regard to any element of a project, please consult a licensed professional.


