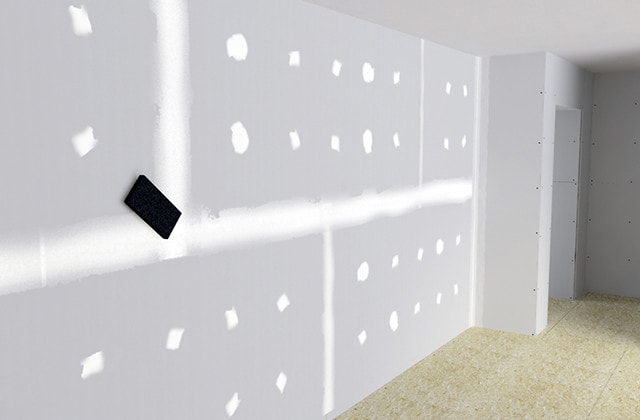
How to finish drywall joints

Coating drywall joints calls for patience, time and a deft touch, but with the right tools and techniques, good results are easily achievable. This project gives detailed instructions on how to coat and finish inside and outside corners as well as flat joints to produce clean edges with a smooth surface. Follow each step carefully for a professional-looking finish.
1

Repair imperfections and cover screws and nails

  • 1.1 - Clean any loose residue from the drywall surface, including torn or damaged paper.
  • 1.2 - Check that screws are not protruding, and tighten them if necessary.
  • 1.3 - For deformed nails, drive in a new nail 1 ½" away, then sink the old nail under the surface. Cut off the damaged paper.
  • 1.4 - Apply a thin layer of compound over every nail and screw hole. Also cover any torn edges.
  • 1.5 - With the edge of the knife, remove the excess and smooth the surface.
  • 1.6 - Wait 24 hours for the compound to dry completely before applying a second coat.

Pro Tip

Always wait for the compound to dry completely between coats. Before applying a new coat, remove any lumps or dry pieces of compound from the bucket.
Applying joint compound to inside corners of drywall
2

Coat inside corners

  • 2.1 - Starting on one side of the corner joint, skim a thin coat of drywall compound from top to bottom with a 4" drywall knife. Repeat on the other side.
  • 2.2 - Cut a piece of drywall tape to the length of the corner joint.
  • 2.3 - Fold it in half down the middle.
  • 2.4 - Centre the tape on the corner joint and press it in with your fingers.
  • 2.5 - Moisten the corner trowel and smooth the joint compound over the tape in one continuous stroke.
  • 2.6 - Remove the excess compound and repeat as necessary.
  • 2.7 - Allow the compound to dry completely for 24 hours.
  • 2.8 - Apply a second coat on one of the sides only, with a 7" knife.
  • 2.9 - Remove the excess compound with strokes moving outwards from the corner.
  • 2.10 - Allow the first side to dry before applying the second coat on the other side.
  • 2.11 - Apply a third coat if needed.
  • 2.12 - Wait 24 hours before lightly sanding with sandpaper (150 to 180 grit).
Finishing outside corners of drywall
3

Coat outside corners

  • 3.1 - Install metal or plastic corner bead with screws or nails every 6". For plastic bead with teeth, tap it with a rubber mallet so that the teeth sink into the drywall.
  • 3.2 - Apply a generous layer of compound to one of the sides of the corner using a 7" drywall knife.
  • 3.3 - Smooth the compound and remove the excess with strokes moving outwards from the edge.
  • 3.4 - Repeat on the other side and leave to dry for 24 hours.
  • 3.5 - Apply the second coat, gradually feathering it to a thin layer that extends beyond the edges of the first coat by 2".
  • 3.6 - Allow to dry completely.
  • 3.7 - Apply a finishing coat to cover and extend beyond the edges of the second.
  • 3.8 - When completely dry, sand with fine sandpaper (120 to 320 grit). Gently sand down the joint to achieve a seamless corner edge.
Coating flat joints with drywall compound
4

Coat flat joints

  • 4.1 - Spread a coat of compound about 3" wide over all the joints using a 6" knife. Apply pressure so that the compound penetrates down to the stud.
  • 4.2 - Centre the tape on the fresh compound.
  • 4.3 - Hold the tape in place and smooth over with the drywall knife.
  • 4.4 - Remove the excess compound by feathering out the edges with the drywall knife.
  • 4.5 - Allow the compound to dry for 24 hours.
  • 4.6 - Scrape, sand or wipe off with a damp sponge any imperfections or excess thickness of compound on the joint.
  • 4.7 - Apply the second coat with an 8" drywall knife to feather out the joints. Extend beyond the edges of the first coat by 4" to 6" on either side.
  • 4.8 - Allow to dry for 24 hours.
  • 4.9 - Scrape, sand or wipe off with a damp sponge any imperfections or excess thickness of compound on the joint.
  • 4.10 - Slide a 10" finishing knife over the joint to check the surface is level.
  • 4.11 - Apply a thin coat of compound with a 10"-12" finishing knife. Extend beyond the edges of the previous coat by 3" to 4" on either side.
  • 4.12 - Sand all excess compound and rough spots using fine sandpaper (100 or 120 grit).

Pro Tip

Clean the surface with a soft bristle brush or workshop vacuum and wipe off all remaining dust with a damp cloth or sponge.

Related products