Share
Do it yourself

Build a desk and a pegboard

This project for the intermediate handyman is useful for setting up a workspace at home. The customizable pegboard is perfect for organizing your items and is easy to build.

1

Cut the desk surface

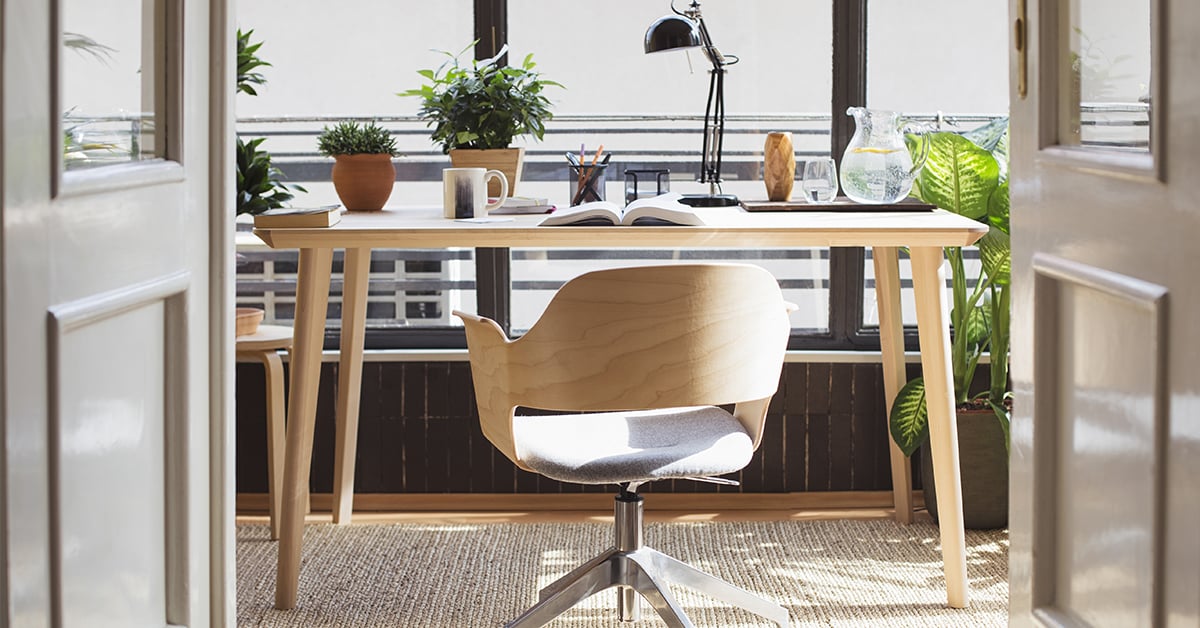
  • 1.1 - Measure and cut the top of the desk to the desired size. The dimension of the desk surface in the photo is 46 "x 24".
  • 1.2 - Measure and cut trim strips approximately 4 inches wide for each side of the desk, at a 45-degree angle. This step is to hide the edge of the plywood and make the desk more massive. You can also simply apply an edge banding of the same essence as the wood.

Pro Tip

There are several material options for this project: Russian birch plywood, MDF panel veneered with different essence of wood, solid wood, etc.
2

Cut the legs in a X shape

  • 2.1 - Measure and cut the pieces of white pine.
    • 4x - 2 in x 4 in x 33 ½ in
  • 2.2 - Mark a 36-degree angle on each end of the 2 x 4, using an angled square. Note that the angle will change depending on the width of your desk top.
  • 2.3 - Cut the 4 pieces at 36 degrees, using a mitre saw. Make sure that the cuts of each piece are parallel. The pieces should have a final length of 33 ½ ”.
  • 2.4 - Take two pieces of 2 x 4 and mount them against the wall to validate the cutting angle of the centre of the crossed legs. On the wall, measure a height of 28 inches and a width of 23 inches. Then, cross the two pieces at the right measurements and draw, with a pencil, the angle in the centre of the crossed legs.
  • 2.5 - Cut the centre of each 2 x 4 piece with a circular saw, to a depth of 3/4 in (halfway cut). The angle will also change depending on the width of your desk top. The first step is to cut at each pencil mark. It is important to be inside the pencil marks. After both pencil marks are cut, repeat between those two lines, until all of the wood is removed.
  • 2.6 - Use a wood chisel and sandpaper to clean the space.
  • 2.7 - Assemble the legs in an X shape. You can add wood glue for better strength.
  • 2.8 - Repeat steps 2.4 to 2.7 to make the second X-shaped leg.

Pro Tip

You can use your speed square as a guide to make sure your first cut is perfectly straight and that it is inside the pencil mark. Secure it with clamps.
3

Set up the desk

  • 3.1 - Glue and nail the 4-inch strips on each side of the desk surface using wood glue, a pneumatic nail gun and 18-gauge nails. Hold your gun upright to prevent the nails from coming out.
  • 3.2 - Prepare the surface to fix the X-shaped legs. Depending on the choice of material, there must be a solid area to fix the legs. If necessary, add pieces of solid wood at least 1 inch thick, and secure them under the table with wood glue.
  • 3.3 - Secure the legs under the desk surface, using wood glue and screws.
  • 3.4 - Add a wood cross member between the two legs to provide more support.
4

Cut the pieces for the pegboard

  • 4.1 - Measure and cut the panel to the desired size. The dimension of the pegboard in the photo is 24 "x 32".
  • 4.2 - Measure and cut dowels to a length of 6” and shelves to the desired size.
  • 4.3 - Drill the holes on the panel using a drill and a bit 1/6 inch larger than the dowels. To make the first hole, calculate 4 inches from the top of the board and 4 inches to the side. To make the second row, calculate 2 inches from the side. The goal is that holes are disposed offset relative to each other. Finally, leave 4 inches between each hole.
  • 4.4 - Sand the panel and the holes.

Pro Tip

When drilling the panel holes, place a piece of wood in the back and hold in place with a clamp. The piece of wood will hold the fiber and prevent the wood from bursting at the exit of the drill bit.
5

Install the pegboard

  • 5.1 - Fix two screws on the back and attach a metal wire, to hang the pegboard.
  • 5.2 - Insert the dowels.
  • 5.3 - Install the shelves.

Pro Tip

If you want to put heavy objects on the pegboard, find the studs in the wall with a stud finder. Mark the studs with a pencil. Using a level, trace a line on the wall at the desired installation height. 2 screws will be necessary. The type of screw used will depend on the wall and the weight of the items being placed on the pegboard. In most cases, 2" wood screws will suffice. If you’re unable to find the studs, use wall anchors.

Suggested products