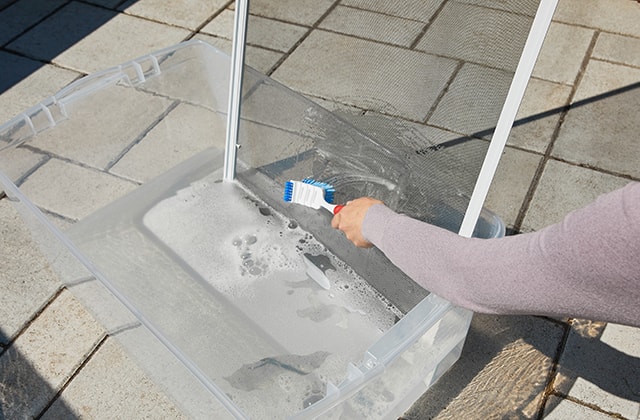
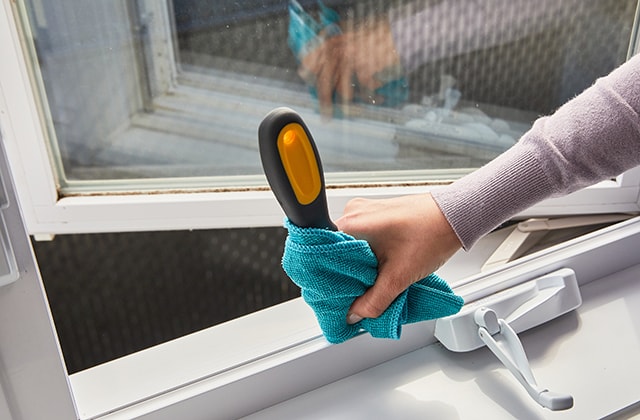
Clean Screens
- 1.1 - Remove the screens.
- 1.2 - Add a bit of dish soap to a large tub of warm water.
- 1.3 - Scrub the screen and the frame using a nylon brush.
- 1.4 - Rinse the screen under running water.
- 1.5 - Let dry completely.
Veuillez vous connecter à votre compte afin de profiter de vos rabais en ligne.
Se connecterPlease sign in to your account to take advantage of your online discounts.
Sign inUpdated on March 29, 2023
Deep cleaning your windows will restore their shine and transparency, just like when they were new. Proper maintenance will make your windows look amazing and extend their lifespan. Find out how to clean them in a few easy steps!


If you have windows with rails, align a sponge with the rails and draw lines where the rails are. Cut the sponge along the lines using a utility knife, then use it on the rails to remove all the dirt in one go!


Don’t put too much pressure on the squeegee. Instead, make a continuous motion from left to right.
These DIY projects are provided for informational purposes only. The information contained in RONA’s DIYs is intended to provide general guidelines to simplify jobs around the house. Because tools, products, materials, techniques, building codes, and local regulations are continually changing, RONA inc. assumes no responsibility for the accuracy of the information contained herein and disclaims any liability for the omissions, errors, or outcome of any project. RONA inc. makes no representation on the feasibility of any project and the viewer bears all risks coming with the realization of the projects. It is the responsibility of the viewer to ensure compliance with all applicable laws, rules, codes, and regulations for a project. The viewer must always take proper safety precautions and exercise caution when taking on any project. If there is any doubt in regard to any element of a project, please consult a licensed professional.

