Share
Do it yourself

How to build a beadboard wall

I am super happy to be able to share another simple little project. Beadboard is a relatively easy way to add personality to any room in the home. I could’ve bought pre-made paneling, but I couldn’t find any that I loved, and, in the end, doing it yourself is less expensive.

Joëlle Fréchette
Lifestyle and decor blogger
1

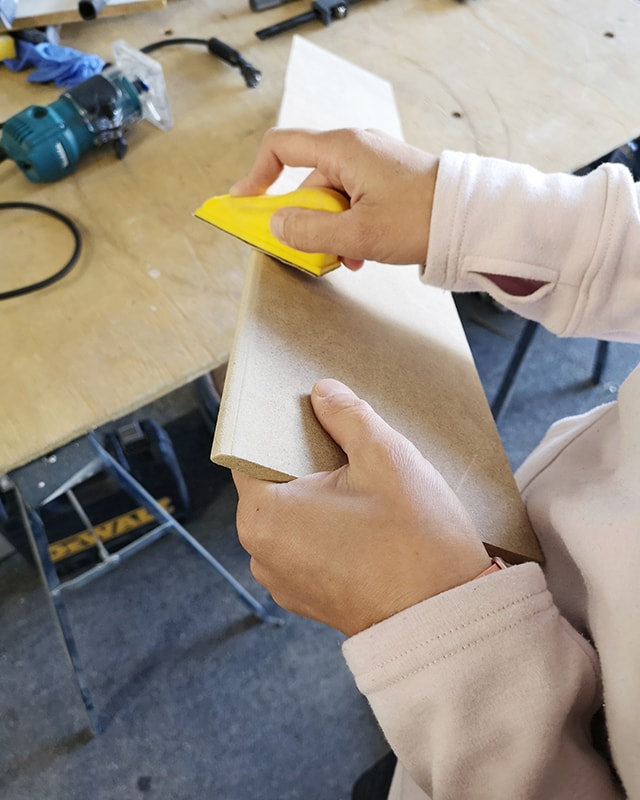
Preparing the planks

Pro Tip

If you don’t have a router, you can use 2 quarters to space out the planks on the wall.
2

Paint the planks

  • 2.1 - Before painting, clean the planks with a dry rag.
  • 2.2 - Apply a coat of primer with a foam paint roller and let dry. Apply a second coat.
  • 2.3 - Apply a first coat of paint and let dry. Apply a second coat.

Pro Tip

For the best results, let the primer and paint dry for at least 4 hours in between coats.
3

Installing the planks on the wall

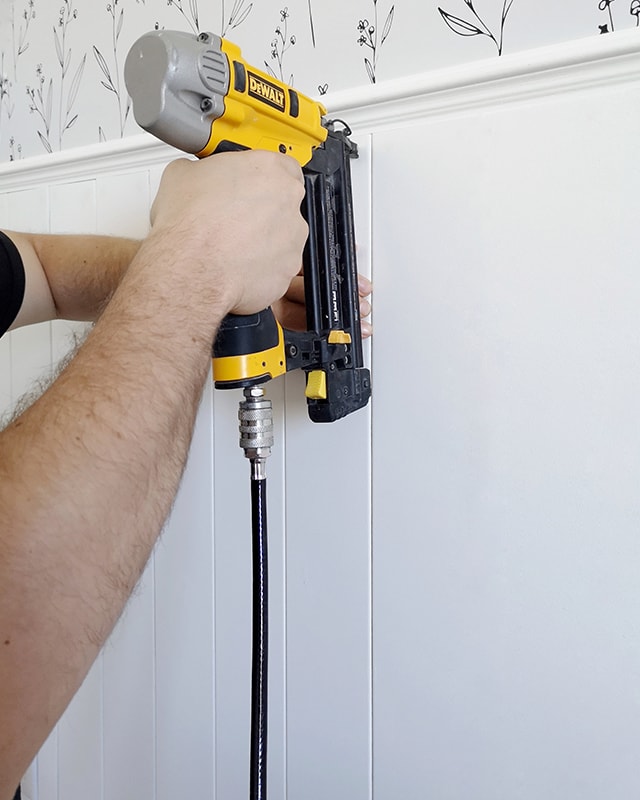
  • 3.1 - Using a nail gun, install each plank on the wall.
  • 3.2 - Install a moulding at the centre of the wall if necessary.
4

Doing the finishing touches

  • 4.1 - Hide any nail holes using a wood filler and let dry.
  • 4.2 - Once the wood filler is dry, carefully sand any excess.
  • 4.3 - Apply a final coat of paint to the wall. Avoid applying too thick a coat as to not fill the joints between the planks.
Joëlle Fréchette
Lifestyle and decor blogger
Mother of 4, Joëlle loves sharing about her family, her home, and her never-ending DIY projects. Nothing makes her happier than seeing her friends and family enjoy the spaces that she creates. You can follow her work on her Instagram account @thefarmhousedream.

Suggested products