 Product selection from
F. CORRIVEAU INTERNATIONAL
Online Only
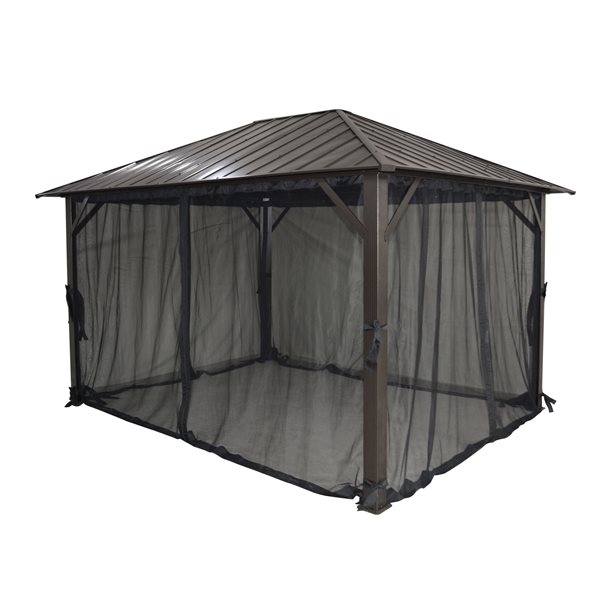
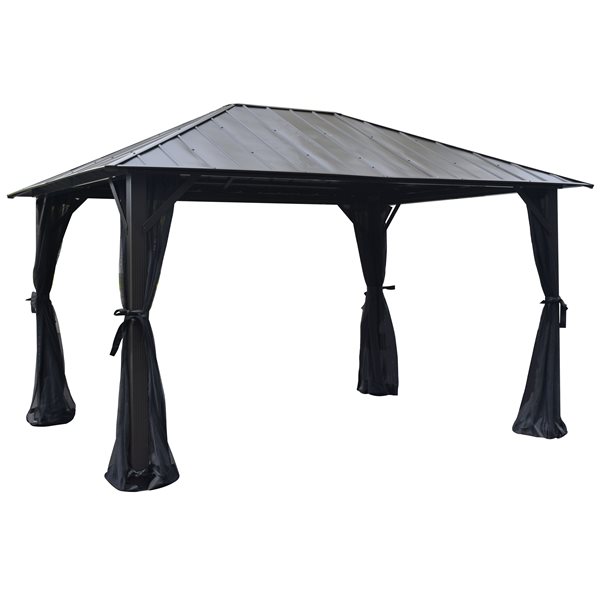
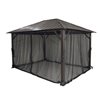
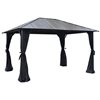
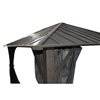
F. Corriveau International Seoul 10 x 14-ft Bronze Aluminum/Steel Framed Gazebo - Galvanised Steel Roof and Nettings
Article #330666498
Model #B101424-FNE-POL
$
2,315
Each
This item is not currently available for immediate purchase, but can be ordered by visiting the selected store.
Most orders will ship next business day. Some orders may take up to 7-14 days (where inventory is not available in store). Delivery time may vary due to factors beyond our control. You will receive an email when your order has shipped. See all details.
Gift cards are delivered 2 to 5 days following the confirmation of your order in major urban areas and within 7 business days for remote locations. Gift Cards can be delivered across Canada, except the Yukon, Nunavut, Northwest Territories and Northern Quebec. See all details.
Sold online only. Total price includes delivery without any additional fees. Delivery time may vary due to factors beyond the control of RONA. Some restrictions may apply for remote areas. Signature may be required. Deliveries are made to threshold or curbside only, subject to carrier discretion.
The earliest delivery date displayed is only an estimate. The actual delivery date may change based on availability of products, or due to other circumstances beyond our control. Appliance delivery date can be selected in the checkout. If there is no option to schedule your appliance delivery, our team will contact you to schedule a delivery within 24 hours. Learn More.
RONA's third-party partners handle all express deliveries. Only available for select in-store items in sufficient stock at the participating selected store. Delivery address must be within delivery zone of the selected participating store. Weight limit of 1,475 Kg (3,250 lbs) per order. Not available on national/provincial holidays. Service may not be available due notably high in-store traffic, bad weather conditions or any other situation affecting the availability of the service. See all details.
Our expert center will contact you to schedule a delivery within 24 hours. The delay for delivery is an estimate and may vary according to the availability of products, or due to other circumstances beyond our control. Delivery prices only include curbside delivery, except for appliances. Delivery service is only available within a 50 km radius from the selected store (75 km for RONA+ stores). Additional charges may apply for installation. We will not leave deliveries at an unattended site – note that additional delivery charges may apply for subsequent delivery attempts. See all details.
Add to Cart
Hassle-Free Returns
90 days to return or exchange in original condition and packaging.
Read Return Policy
Warranty
1-year
Add to Cart
Description
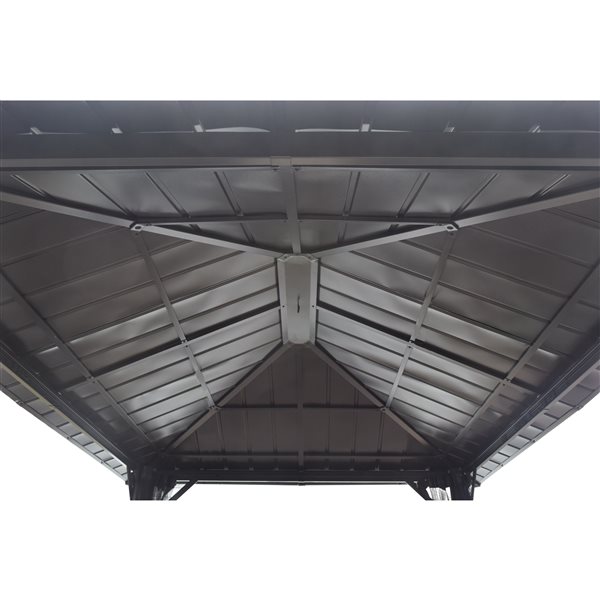
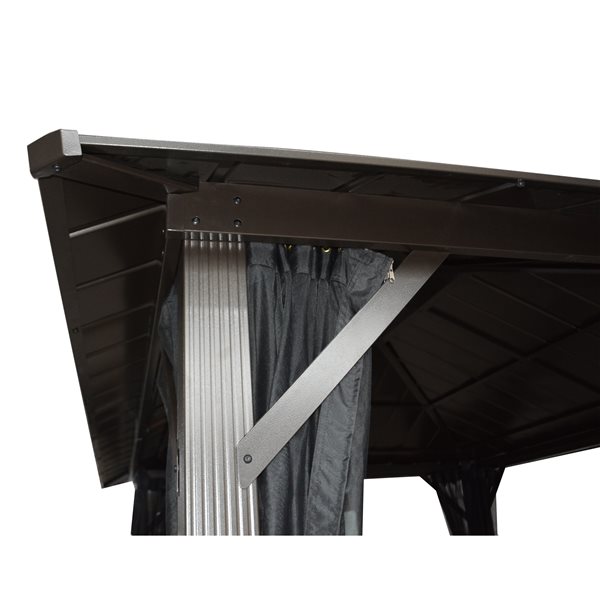
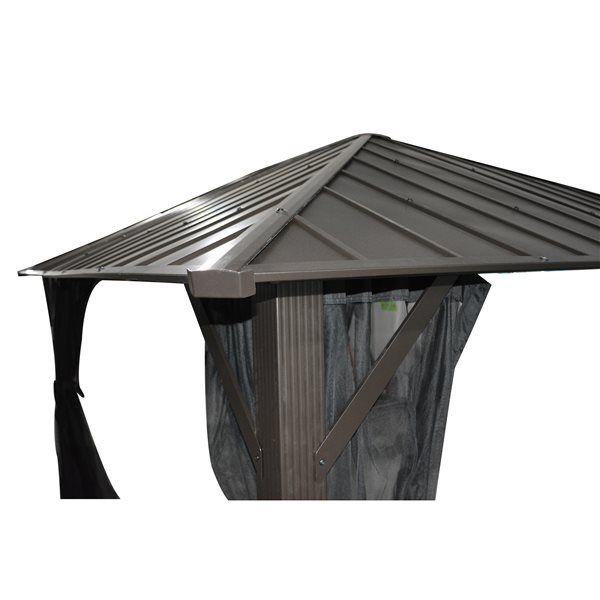
Enjoy the Seoul Gazebo 10-ft x 14-ft for shade in sunny, rainy and windy days. The aluminum e-coated steel frame and galvanized steel roof gazebo is well designed to deliver style and utility to your backyard. The bronze marble powder-coated finish resists corrosion and looks great on every patio or backyard. The two rails make it possible to install polyester mosquito nets (included), curtains or micas (sold separately).
- Four seasons
- Assembly required, approx. 6 hours with 2 people
- Rust proof aluminum and e-coated steel frame, stainless steel screws, galvanized steel roof
- Double tracks system for mosquito netting and curtains
- Polyester mosquito netting (included)
- A winter post and winter cover can be added in order to provide even more support to your gazebo during winter and to remove the snow easily
- Four anchor holes at the base of each post to fix the gazebo more securely to the ground; anchoring hardware not included
- No need to store the roof away for the winter, snow should always be removed from the shelter
Product specifications
Benches Included
No
Collection Name
Seoul
Floor Included
No
Roof Material
Steel
Warranty
1-year
Manufacturer Color/Finish
Bronze
Type
Permanent
Frame Material
Aluminum
Metal Type
Steel
Paintable
No
Primary Material
Steel
Patio Furniture Color/Finish
Tan
Shingles Included
No
Shape
Rectangle
Screen Included
Yes
Exterior Depth(ft)
14
Exterior Height(ft)
8.8
Exterior Width(ft)
10
Interior Peak Height(ft)
8.8
Foundation Length(ft)
14
Foundation Width(ft)
10
Country of Origin
China
Hi - I would like to know the colour of this steel roof gazebo? Thanks
Is the mosquito netting the thicker PVC coated type?
how many boxes does it ship in?
F. Corriveau International Seoul 10 x 14-ft Bronze Aluminum/Steel Framed Gazebo - Galvanised Steel Roof and Nettings is rated
out of
5 by
2.
Rated 4 out of
5
by
Mother Mel from
Good quality
We bought this gazebo just as the snow melted and put in up a few weeks later. It was just my husband and I and it took us about 6.5 hours of steady work. Just remember not to tighten anything until they tell you as we had a few things to loosen to get into the right place. We found it to be good quality and very spacious we would definitely recommend it.
As mentioned by another reviewer the 2 boxes it comes in are very heavy and we are glad we got it delivered. It was packed well and we had no issues with damage.
My only complaint is once we went to put on the mesh curtains we were short of two hooks as luck has it on our front side of the gazebo. I contacted the manufacturer and never heard back; I gave them adequate time respond. Disappointing and such a small thing for them to take care of.
Date published: 2021-05-01
Rated 5 out of
5
by
Nyeent from
A challenge to assemble but worth it.
10 x 14 Seoul Gazebo
So! This gazebo looks great now that it is assembled. The instructions state that 2 people can assemble this in 6 hours and it is better with 4 people. I think that 4 is too many. Only certain things can be done at any one time. Here is my experience with this process.
First, the gazebo comes in two HEAVY boxes. The boxes just showed up in my driveway and I did not even know that they had been delivered. No knock on the door, no doorbell, nothing. This is a delivery company issue but if I had been made aware, I would have asked to have the boxes dropped at the back of the driveway and not in the middle of the driveway (blocking any vehicles from leaving also!).
The main box weighs 74KG or about 160lbs. I had to open the box and transport all the components to the deck individually. The second box was not as heavy but is all sheet metal so it flexed and could not be carried so had to put it onto a wheelbarrow to move it.
All frame components have a lettered sticker on them and are enclosed in a clear plastic bag. The tools, bolts, guidebook and touch up paint come in a smaller box. There is also a bag of extra bolts. I suggest that you take your time and familiarize yourself with the guidebook before taking on this assembly.
The sheet metal roof has material between each piece to prevent scratches. Use gloves and be careful! The edges are sharp and some corners are very pointy.
The package also comes with two adjustable poles to support the longer, horizontal span when there is snow on it. Great idea!
Preparation: You will benefit from having a taller ladder, (6-10’), a bench or similar to stand on, a 20’ measuring tape and a c-clamp or c-vice grips. Gloves when handling the roof is also suggested. And patience. Lots of patience.
Assembly: I assembled this with a friend who is mechanically inclined, as am I. It helped that we were both like-minded in our methods. The booklets/instructions (English & French) are typical line diagrams and provide basic directions. The most important point is to NOT tighten the bolts until all components of a section are assembled. In fact, during assembly of the roof, we did not tighten any components until completed. The exception to this were the topmost screws of the roof panels. See Roof section.
Expanding on this concept, do not OVER tighten. Some of the threads are just cut into sheet metal and it would easy to strip these threads. The riv-nuts are more robust so you can apply more torque but be aware that the threads can be stripped relatively easily.
This gazebo was assembled on a deck so being level was not an issue. If you are doing this on ground, ensure that your posts are level. Things will just go easier. I mean, less difficult.
The very first issue came with connecting the base plates to the bottom of the posts. The instructions state to insert three bolts through three holes in the post, and into the plate. There are only two holes. I was not going to pack everything up and send it back to Lowe’s for that, so I carefully drilled a hole, put a bolt in and …..the base plate is not threaded! I am not sure if this is a quality control issue or not but this is poor design. The base plate should have all three bolts attached. Moving on.
The longer and shorter horizontal members assembled easily. We assembled the horizontal members to the posts on the ground, then stood the assembly up. The only time an extra hand would have been beneficial was during this step. Diagonal braces went on without issue. Once the four horizontal members are bolted onto the four posts, carefully measure the diagonal and adjust before tightening the braces and moving on.
For the next step, you will need a hover-board from Back to the Future. Seriously. OK, the instructions do not say how to do the roof trusses so this is what we did. The heavier K pieces were attached to the corners. (They will self support for the amount of time needed) Then my friend stood on the ladder and held the bottom roof plate in place while I stood on the bench and attached the corner members to the roof plate. The remaining L pieces all attached easily. Do NOT tighten these as adjustments will be made until the very end.
Lateral cross members are installed now. Again do not over tighten.
The top roof plate went on next. Leave this very loose. Looking back, we both agreed that this heavy component could have been left off completely until the just before the last roof panel was put on. The issues that we had with trying to wedge the roof panels between the top and bottom roof plates could all have been avoided by simply not having that plate on until much later in the process.
The hook goes into the bottom plate. I actually used the hook to pull down on the bottom plate to allow more room to install roof panels at the top.
If you made it to this stage in a few hours and are feeling confident, that is about to be shattered.
We assembled the frame in less than 2 hours. The remaining time was spent on the roof panels. Here are some points to ponder from our experience.
You may need to leave the top and bottom roof plate Very loose in order to slide panels between them. Again, consider leaving it off entirely until the end. The catch here is that you need to tighten it before putting the last few panels in place. If you do not, you will not be able to tighten it once all the panels are in place.
The manual says to install panel Y first. This is fine for the first side but as we progressed, the order was less important. In fact we put Y in last on the last side in order to be able to tighten the top cap.
The roof is where the concept of not tightening the frame bolts comes into play. As panels were slid into place, the holes would not always align. However, being that the trusses were loose, it was easy to align the holes in the roof panels with the mounting points on the frames.
NOTE! When you tighten a roof panel, it will easily deform the plate and cause a buckle to either side of where you tightened it. This works to your advantage for the triangular corner pieces but against you on the main panels. The buckling will also provide an entrance for mosquitoes. Again, do not tighten any roof panel bolts until all are in place. You need to be aware of tightening the upper row of bolts on the roof before putting all the panels in. The lower row of bolts can be tightened from the ladder.
We were frustrated at the wide gap between the corner K supports and the triangular roof panels but as the roof and frames were tightened, the gaps closed up and had a surprisingly good fit.
Once the roof panels were tightened, we tightened the trusses from under the roof. We also attached the edge/trim/drainage channels. I am not sure how these will work. The design seems to be to channel the water to the corners and drain from there.
I contacted Corriveau for 6 extra CC bolts and nuts. The instructions say to use BB bolts to attach the edge/trim. These bolts are fine for the centers of the trim but at the joints, there is an additional gusset welded onto the ends to allow the two to be bolted together. This additional thickness makes it impossible to use a BB bolt with an HH plastic washer. Remember the clamp/C-vice grip from above? We used that to squeeze the gusset together in order to BARELY get a BB nut and bolt to thread together without a washer.
Screens went up quickly with each piece being half of a short side and half of a long side and a ribbon sewn at the junction to tie the screen to the post.
In total, assembly time took 8-9 hours. The majority of time was spent adding and removing roof panels. We are both of the opinion that this process could have been a lot easier without the top plate until the end.
Actual dimension of the roof is just over the 10’ x 14’ advertised size. There have been several good rains and it does not leak. I think that the plastic washers on the roof will start to fail over time due to UV but time will tell.
There are some rubber edge gaskets that work well at the points where there is roof panel to horizontal member contact, but mosquitoes will easily get in through the ribs. I will probably plug the gaps with plugs of circular foam.
All in all, it is a nice gazebo. Deck furniture fits nicely under it and the net pulls into place smoothly and the zippers seem robust. Curtains do not come with this kit and at present, we are still not able to find the correct ones for this gazebo.
I cannot give it 5 stars due to things like the missing holes in the base-plate and other issues that were encountered.
Service from Corriveau was excellent.
If this review allows me to update it, I will let you know how it survives the winter snow.
Date published: 2020-06-03


