Interior paint: from selection to application

Key steps to make your project a success
Whether you want to repaint a piece of furniture, change the colour of your walls, or plan your kitchen renovation, product choice and properly preparing the surface to be painted is of capital importance. Before you begin, read these tips, you are sure to produce professional looking results in no time!

Water-based or solvent-based?

Water-based paint contain pigments, a binder, a coalescing agent, and water. They are also known as latex paint. Solvent-based paint contain pigments, a binder, and solvents.
Water- based paint is formulated differently than solvent-based, and so they behave differently under moist and dry conditions. Such differences are used to determine which type of paint is best suited to a particular job. The following chart presents the main advantages between these two types of paint.

In general, water-based paints are more user-friendly than their solvent-based counterparts. However, there are certain applications where the benefits of the finished application outweigh the hassle of dealing with oil-based paints.

If the surface is already painted, you must check to see if the previous coating was water- or solvent-based.

Here are two simple ways to find out:
  • Lightly swab surface with a rag moistened in alcohol. A water-based coating will soften and stain the rag.
  • Look behind a picture frame. Yellowed paint is a clear sign of solvent-based paint.
If you are still unsure, apply a base coat before the finishing coat.

It should be noted that water-based (latex) paints will not adhere to oil-based paints. Oil-based paints can, however, be applied over water-based paints. Always read the manufacturer's recommendations for specific product details.

Advantages of water-based (latex) paint:

  • Dries quickly
  • Cleanup requires only soap and water
  • Better colour retention
  • Breathable, keeping moisture from becoming trapped
  • Less odour
  • Non-flammable
  • Low VOCs

Best uses

Works great on drywall, primed wood, and previously painted or primed surfaces

Advantages of solvent-based (oil or alkyd) paint

  • Easy to apply
  • Easier flow and levelling, giving a smoother finish with fewer roller or brush marks
  • Long lasting finish
  • Better adhesion to the surface

Best uses

  • Painted surfaces, especially when previously painted with oil-based paints
  • When a super smooth, glossy finish is desired
  • When durability is needed to resist scratching, scuffing, fingerprinting, or staining such as on woodwork, cabinets, furniture, and more

What about primer?

Though primers are always a good idea, you should definitely use them when you are painting:
  • Raw wood (the primer seals in resins)
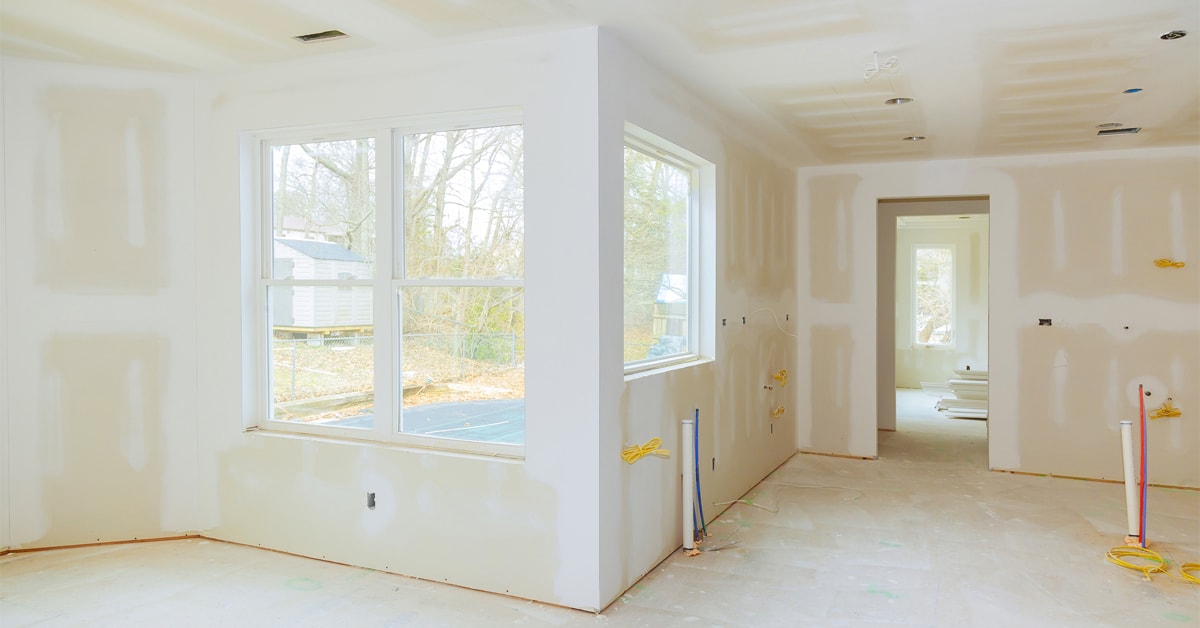
  • Raw drywall (primer seeps into the paper and provides a smooth paint surface)
  • Patched walls
  • Raw metal (the primer will help with adhesion)
  • Rough surfaces (the primer will help make these smoother)
  • Stained surfaces (the primer will help cover the stain, requiring less coats of paint)
Many paints on the market now offer a primer and paint in one can. With the single swipe of the brush, you're literally priming while you paint.

Pro Tip

If the paint that will go over the primer is a darker hue, ask the paint department to tint your primer. The result will require less coats of paint in order to adequately cover the primer.

Quality paints & tools

It is vital that you start any painting project with both high quality paints and applicators. You will likely spend more money up-front for these materials, but in the long run, you will save yourself both time and money.
High quality paints contain a greater volume of solid material, pigments and binders than lower-grade paints. These will help:
  • Reduce application time
  • Provide better coverage while painting
  • Look better in the end
  • Save both time and money on re-application
You should also invest in high quality brushes and rollers. Brushes are available in an array of shapes and sizes for different uses. By purchasing the correct brush for each application (i.e.: a cut-in brush for corners and detailed work), you'll save yourself time and ultimately will end up with a nicer paint finish.

In a paint brush, look for these qualities:

  • A non-corrosive ferrule (metal band) attached by rivets or screws
  • Spacers separating bristles to allow more paint to be held
  • Densely packed bristles
  • Solid (rather than hollow) bristles won't bend easily
  • Tapered or chiseled bristles to create smooth finishes

When choosing a roller, make sure the nap of the roller accommodates the surface to be painted:

  • Shorter naps are used for smoother surfaces.
  • Longer naps have the ability to get into crevices and are used for rough or textured surfaces. They also hold more paint than shorter nap covers.

Figuring out the finishes and sheens

Appearance is a general term used to express the percentage of light reflected by the film in a paint or varnish. Other terms like “finish” or “luster” or “sheen” are also used to designate the appearance of such products. We typically distinguish between the following kinds of finishes: lustrous, glossy, semi-glossy, pearly, melamine, platinum, velvety, satiny or eggshell, and flat.

Not only does the type of appearance determine how much light is reflected, it also determines product toughness.

Glossy products last longer and can withstand moisture better, because they contain more resin. Resins harden in the coating film once the liquid evaporates. This is why glossy products are recommended for kitchens and bathrooms. They are easy to clean and better resist rubbing and repeated washing. However, they require a very smooth base because they will reveal surface flaws.

On the other end of the spectrum, flat products easily retain dirt and are not as resistant to moisture because they are more porous. They allow microorganisms to form when they retain moisture. However, they do an excellent job of concealing surface imperfections and brush strokes. They are thus recommended for walls and ceilings requiring little washing, as well as less busy parts of the house.

Choice of finishes ultimately depends on how a room is used.

The following table outlines the recommended finishes for walls and ceilings in various types of rooms. Also indicated is the percentage of light reflected for each type of finish.
icon_crochet Recommandé
icon_crochet Choix correct
icon_x Non recommandé
Finish
Living Room
Dining Room
Adult Bedroom
Kitchen
Bathroom
Children's Bedroom
Hallway
Game Room
Light reflection
Flat
icon_crochet Ceiling
icon_x Wall
icon_x Ceiling
icon_x Wall
icon_crochet Ceiling
icon_x Wall
0-5 %
Eggshell
icon_crochet Ceiling
icon_crochet Wall
icon_crochet Ceiling
icon_x Wall
icon_crochet Ceiling
icon_x Wall
5-12 %
Platinum
icon_x Ceiling
icon_x Wall
icon_crochet Ceiling
icon_x Wall
icon_crochet Ceiling
icon_crochet Wall
10-20 %
Pearl
icon_x Ceiling
icon_x Wall
icon_crochet Ceiling
icon_crochet Wall
icon_x Ceiling
icon_crochet Wall
20-30 %
Melamine
icon_x Ceiling
icon_x Wall
icon_crochet Ceiling
icon_crochet Wall
icon_x Ceiling
icon_crochet Wall
20-30 %
Semi-Gloss
icon_x Ceiling
icon_x Wall
icon_x Ceiling
icon_crochet Wall
icon_x Ceiling
icon_crochet Wall
35-45 %

The most important step: preparation

Though it is often tempting to jump right in, immediately getting the new colour up on the wall—don't do it. A successful paint job relies mostly on surface preparation. Careful planning and attention to details are therefore essential.
First, invest in good quality tools. Like with any other home improvement project, quality painting supplies will last a long time and make your experience run smoother, easier and more efficient.

Pro Tip

Take the structure's measurements before heading to the store to purchase. Always purchase a little extra paint in case you need to apply touch-ups in the future.

The surface must be contaminant-free and dry

Before launching into a painting project, it is important to first prepare the surface. Whether the contaminant is grease, soot, chalking or old paint, it must be removed to allow the new paint to adhere to the surface evenly and properly.
  • Remove dirt with trisodium phosphate (TSP).
  • Remove mould with a chlorine-based cleaner.
  • Remove old paint with a scraper and sandpaper. (If you get down to raw wood, be sure to prime before painting.)

The surface should be smooth if possible

If you are painting interior drywall, patch holes with a putty knife and spackle. When the spackle has dried, lightly sand flush with the wall using 220-grit sandpaper. Primers can help fill cracks, crevices and small holes.

If the surface is too smooth and shiny for paint to adhere, consider scratching the surface with a light sandpaper for better adhesion. Primer should also help the paint adhere.

Safeguard areas that you don't want painted

Use a drop cloth for the floor and painter's tape and/or tarps to cover other items.

Application: a few rules to follow

Use a primer if necessary, however, before applying it, ensure proper ventilation in the area you will be painting, especially if using oil-based paint.
  • Open windows
  • Bring in fans
  • Wear the proper safety gear—goggles, a mask, and gloves. Read the label for safety precautions.
If you are painting a room, follow these steps:
  • Cut in around edges—trim, windows, doors, etc.
  • Run a line of paint around the ceiling, ensuring there are no drips.
  • Use a roller to cover the walls.
  • Repeat steps 1-3 as necessary for a second or third coat of paint.
  • Paint the trim and other mouldings.

Safety first

Before you begin protecting your possessions from potential paint spills and splatters, think protection for yourself first!
  • Ladders: The use of ladders requires certain precautions. The base of the ladder should be set away from the wall, at a distance equivalent to one quarter of its height. So, if the top of the ladder is 12' off the ground, the foot of the ladder should be 3' away from the wall. And if at all possible, tie the foot to the side of the house.
  • Lead paint: If you suspect the previous coat of paint contained lead, call your local professionals to ensure everyone's safety.
  • VOCs: Follow the paint manufacturer's recommendations on the warning label for dealing with the paint's VOCs (volatile organic compounds).
  • Use safety goggles or glasses to protect your eyes from flying particles while sanding or paint droplets while priming or painting.
  • Use gloves when handling chemicals or even certain paints.
  • Use a respirator when you smell a solvent or paint, because that means you are breathing it. Ensure the area is properly ventilated, especially while working indoors.
  • Last step: recycle any leftover paint by bringing us your old cans.

Suggested products

See all interior paint